The species Ariocarpus kotschoubeyanus might have a name hard to pronounce and even harder to consistently spell correctly, but it’s a charming and subtle little plant.

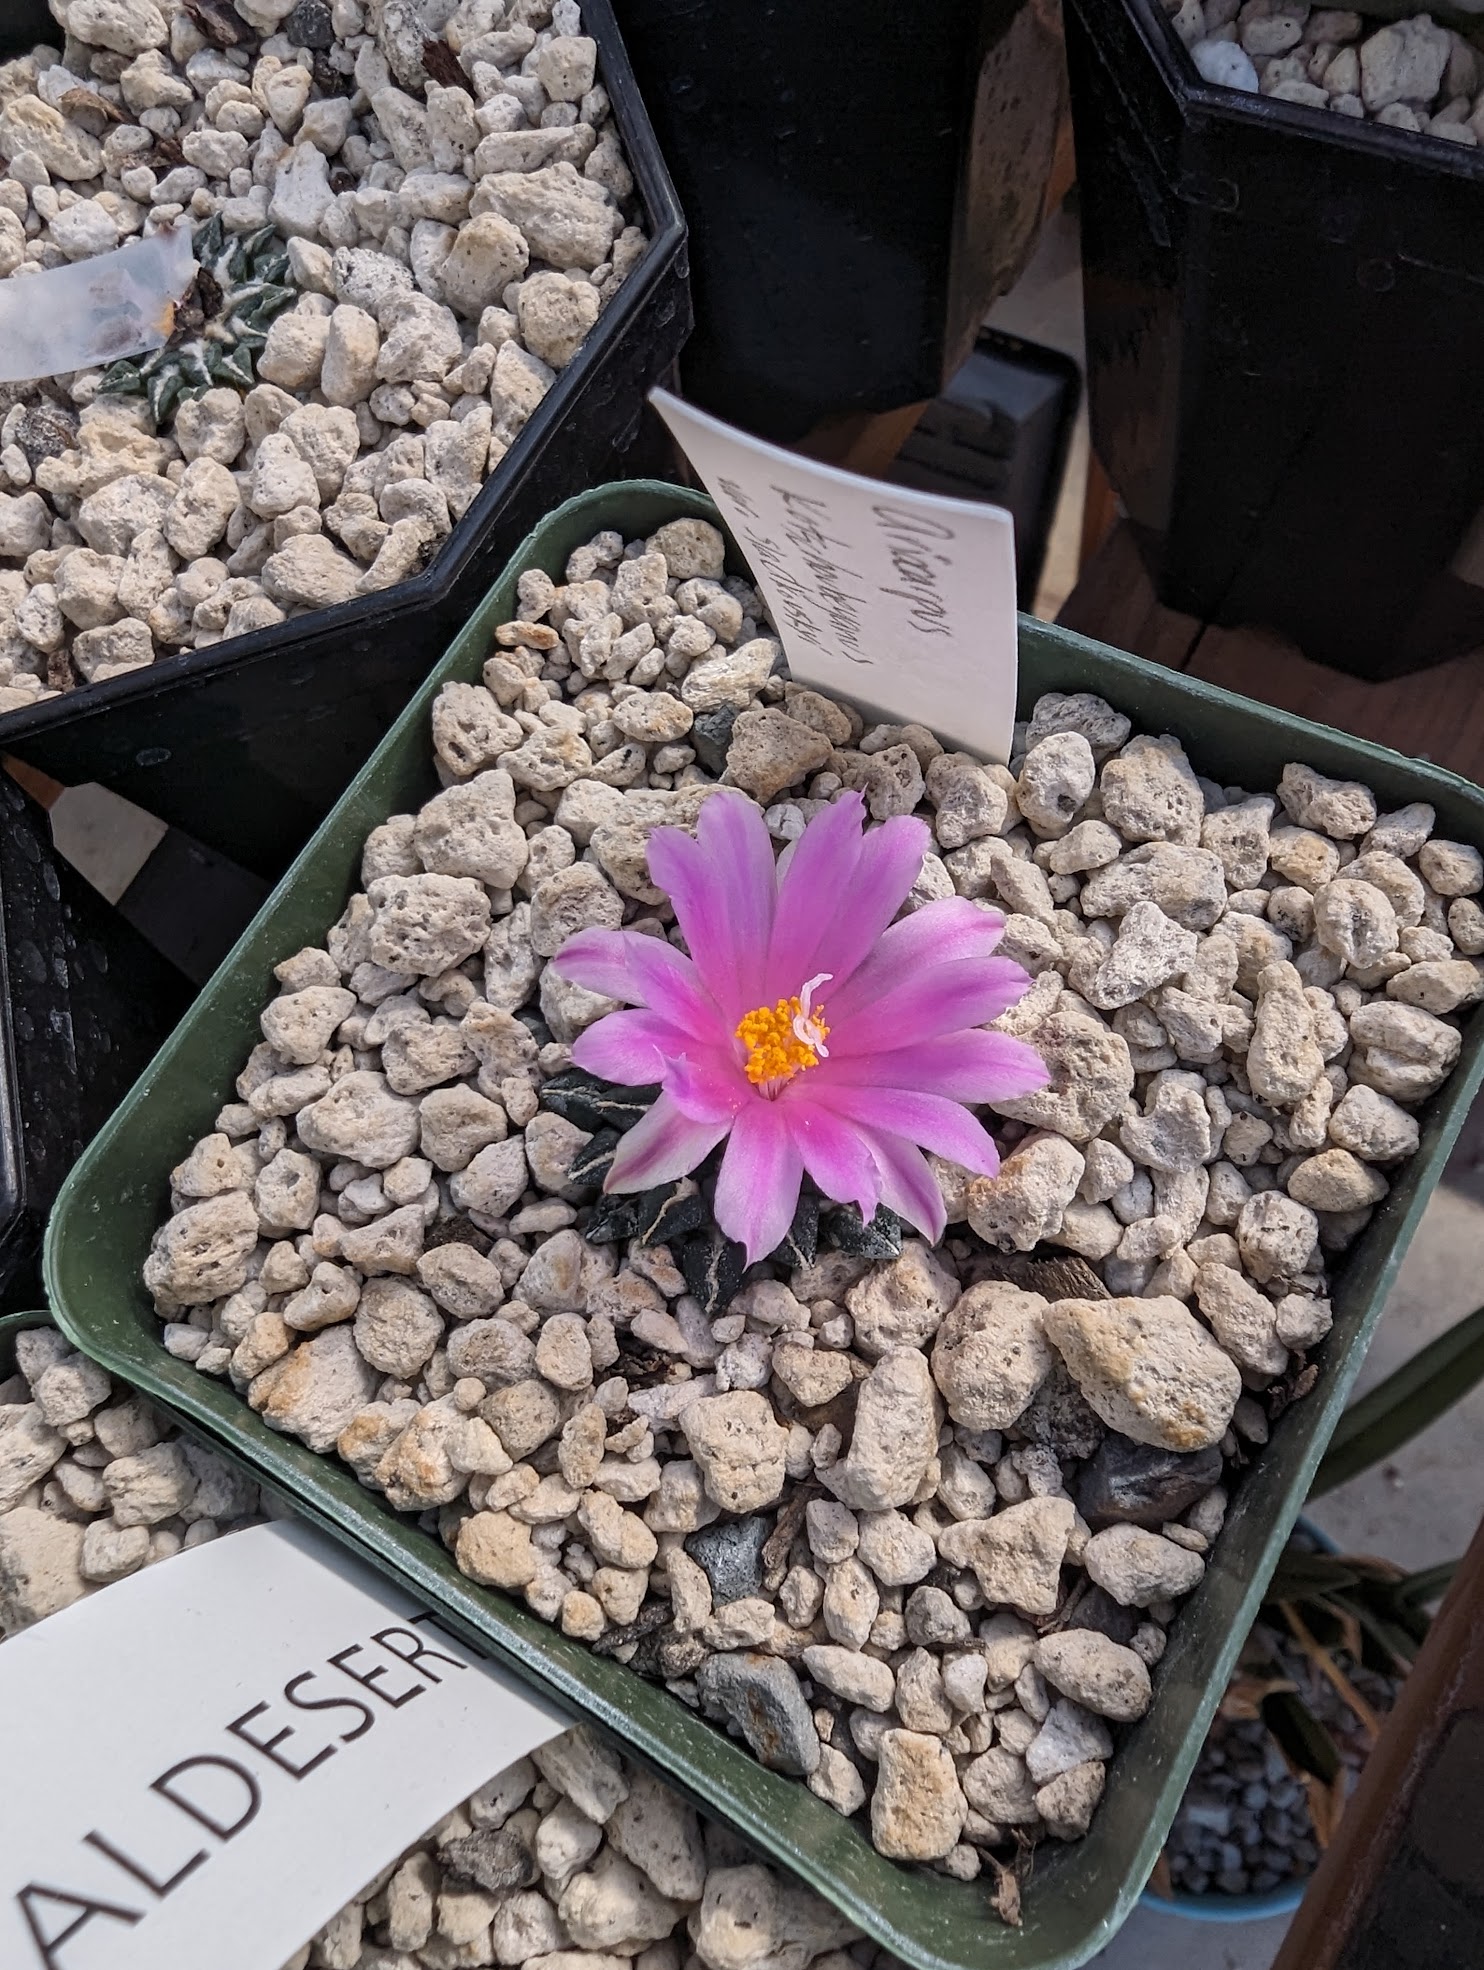
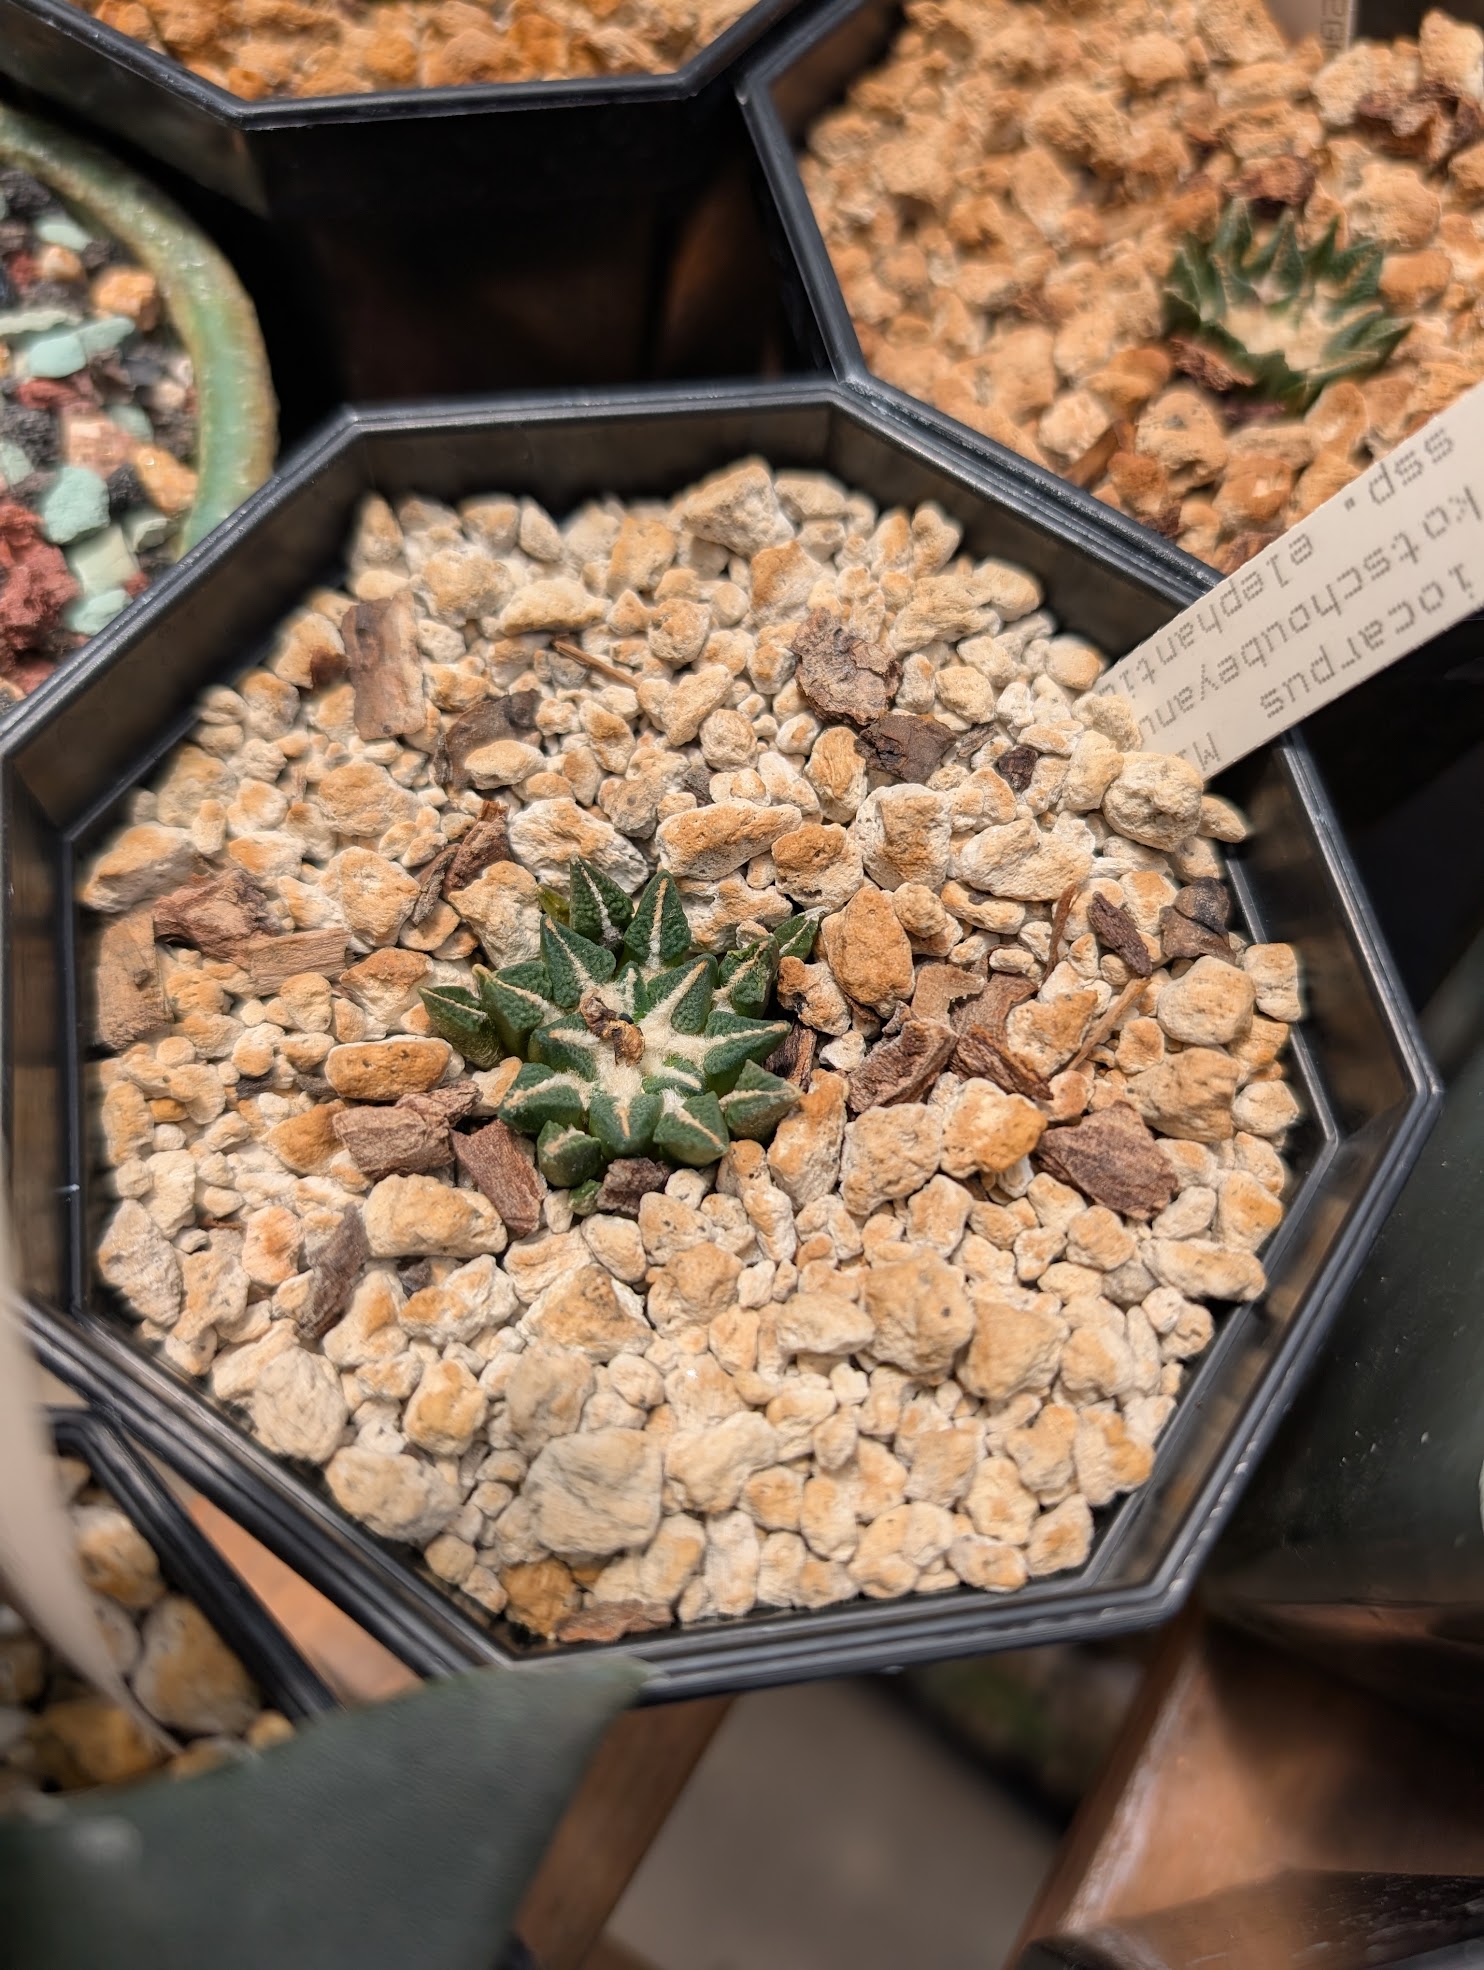
One of my Ariocarpus kotschoubeyanus ssp. elephantidens in late May, around when the cacti really start to wake up.
Habitat of Ariocarpus kotschoubeyanus
These little cacti are native to Mexico, with a fairly wide range – though the populations are small pockets within that range. It’s entirely in the Chihuahuan desert on the north eastern side of the country, in Coahuila down to Queretaro. It shares the desert with a few of my favorite kingsnake species, such as the San Luis Potosi.
They overlap in some areas with Lophophora williamsii, and share the trait of being highly attractive to poachers.
In the summer months, the edges of the desert where these grown can get quite a bit of rainfall. As a result, the Ariocarpus grow quite well when it’s hot out, and even tolerate the occasional flooding from heavy rainfall. A side effect of all the rain is the resulting mud – so in habitat, these cacti can be almost impossible to see once they’ve dried off.
They are able to survive their long dry periods in habitat thanks to their enormous tap roots, which are generally as big around as the plant itself. The tap roots swell up with water, and the plants ever so slightly emerge over the edge of the ground – only for the cactus to sink down, nearly invisible, when dried back out.
Growing the Ariocarpus kotschoubeyanus
Those impressive tap roots have multiple elements to consider when growing the species.
You need to consider the roots when selecting a pot; it must be large enough to accomodate the large tap root and provide some room for the thinner fibrous roots to grow around it.
The tap root is also a sign of health: plump, fleshy, and almost carrot-like is a sign of active growth, ready access to water, and porous soil that it can easily grow into. In winter, during the dormant season, the tap root will likely have a skin on it, look wrinkled, or otherwise a little woebegone.
Even a hard-grown Ariocarpus is distinct from a poached specimen, though, and that’s worth being aware of. The tap roots are one very good way to identify a poached plant vs. a seedgrown one (more on this in a bit).
A de-grafted Ariocarpus will also have a smaller, less robust tap root than one grown from seed.

With time, a degrafted Ariocarpus will produce a new tap root, but it won’t be the behemoth that one grown entirely from seed will have. This is one reason it’s attractive – and significantly more expensive – to buy an Ariocarpus kotschoubeyanus grown from seed, and on its own roots.
“On its own roots” means what you’d expect: the cactus has its own roots, and is (or should be) actively growing.
Before we get into how to grow your Ariocarpus kotschoubeyanus, I’ll spend a bit on how to identify a poached plant, and on why there’s so many grafted specimens available on sites like eBay.
First: poached.


At left, there’s an Ariocarpus kotschoubeyanus in habitat next to a Lophophora williamsii, showing their evolutionary tactic of sinking down into the mudflat and becoming almost invisible. That appearance with the white mud caked on to the cacti, and how low and flat the Ariocarpus is growing, is a look that some growers strive to achieve.
At right, you can see a specimen I found on eBay, showing some of that white apperance. It’s small, but the leaves are perfect. The leaves are consistent from the outer edge to the inner leaves, and even though it’s sinking down a bit, again – it’s consistent and green under the white coating.
The cactus at left has browned, ragged leaves, and they’re quite thin. Habitat plants often have damaged outer bits, and the greenest new growth can be uneven (based on the damage).
The challenge with this species is that the hard grown and attractive appearance that dedicated collectors will strive for also looks an awful lot like habitat plants. This grower, for example – if I hadn’t found the link to these photos talking about this specific grower and how well he’s known for achieving a habitat look, I’d be inclined to think it was poached!
When it comes to avoiding poached plants, I follow a few rules of thumb:
- Get familiar with the grower: have I met them in person? Do they show plenty of other plants that are clearly seed grown? Do others in the plant community buy from them? What else do they post for sale?
- Anything coming from overseas gets a double dose of skepticism. It’s far too easy to get a phytosanitary certificate even for poached plants.
- If the price seems too good to be true, it probably is. Unless it’s Miles.
- If you’re not sure…walk away. Don’t buy it. You’re not “rescuing” the plant; you’re funding the poaching efforts. If you’re unsure AND the price is too good to be true, listen to your spidey senses and don’t support the poacher.

Potting Your Ariocarpus kotschoubeyanus
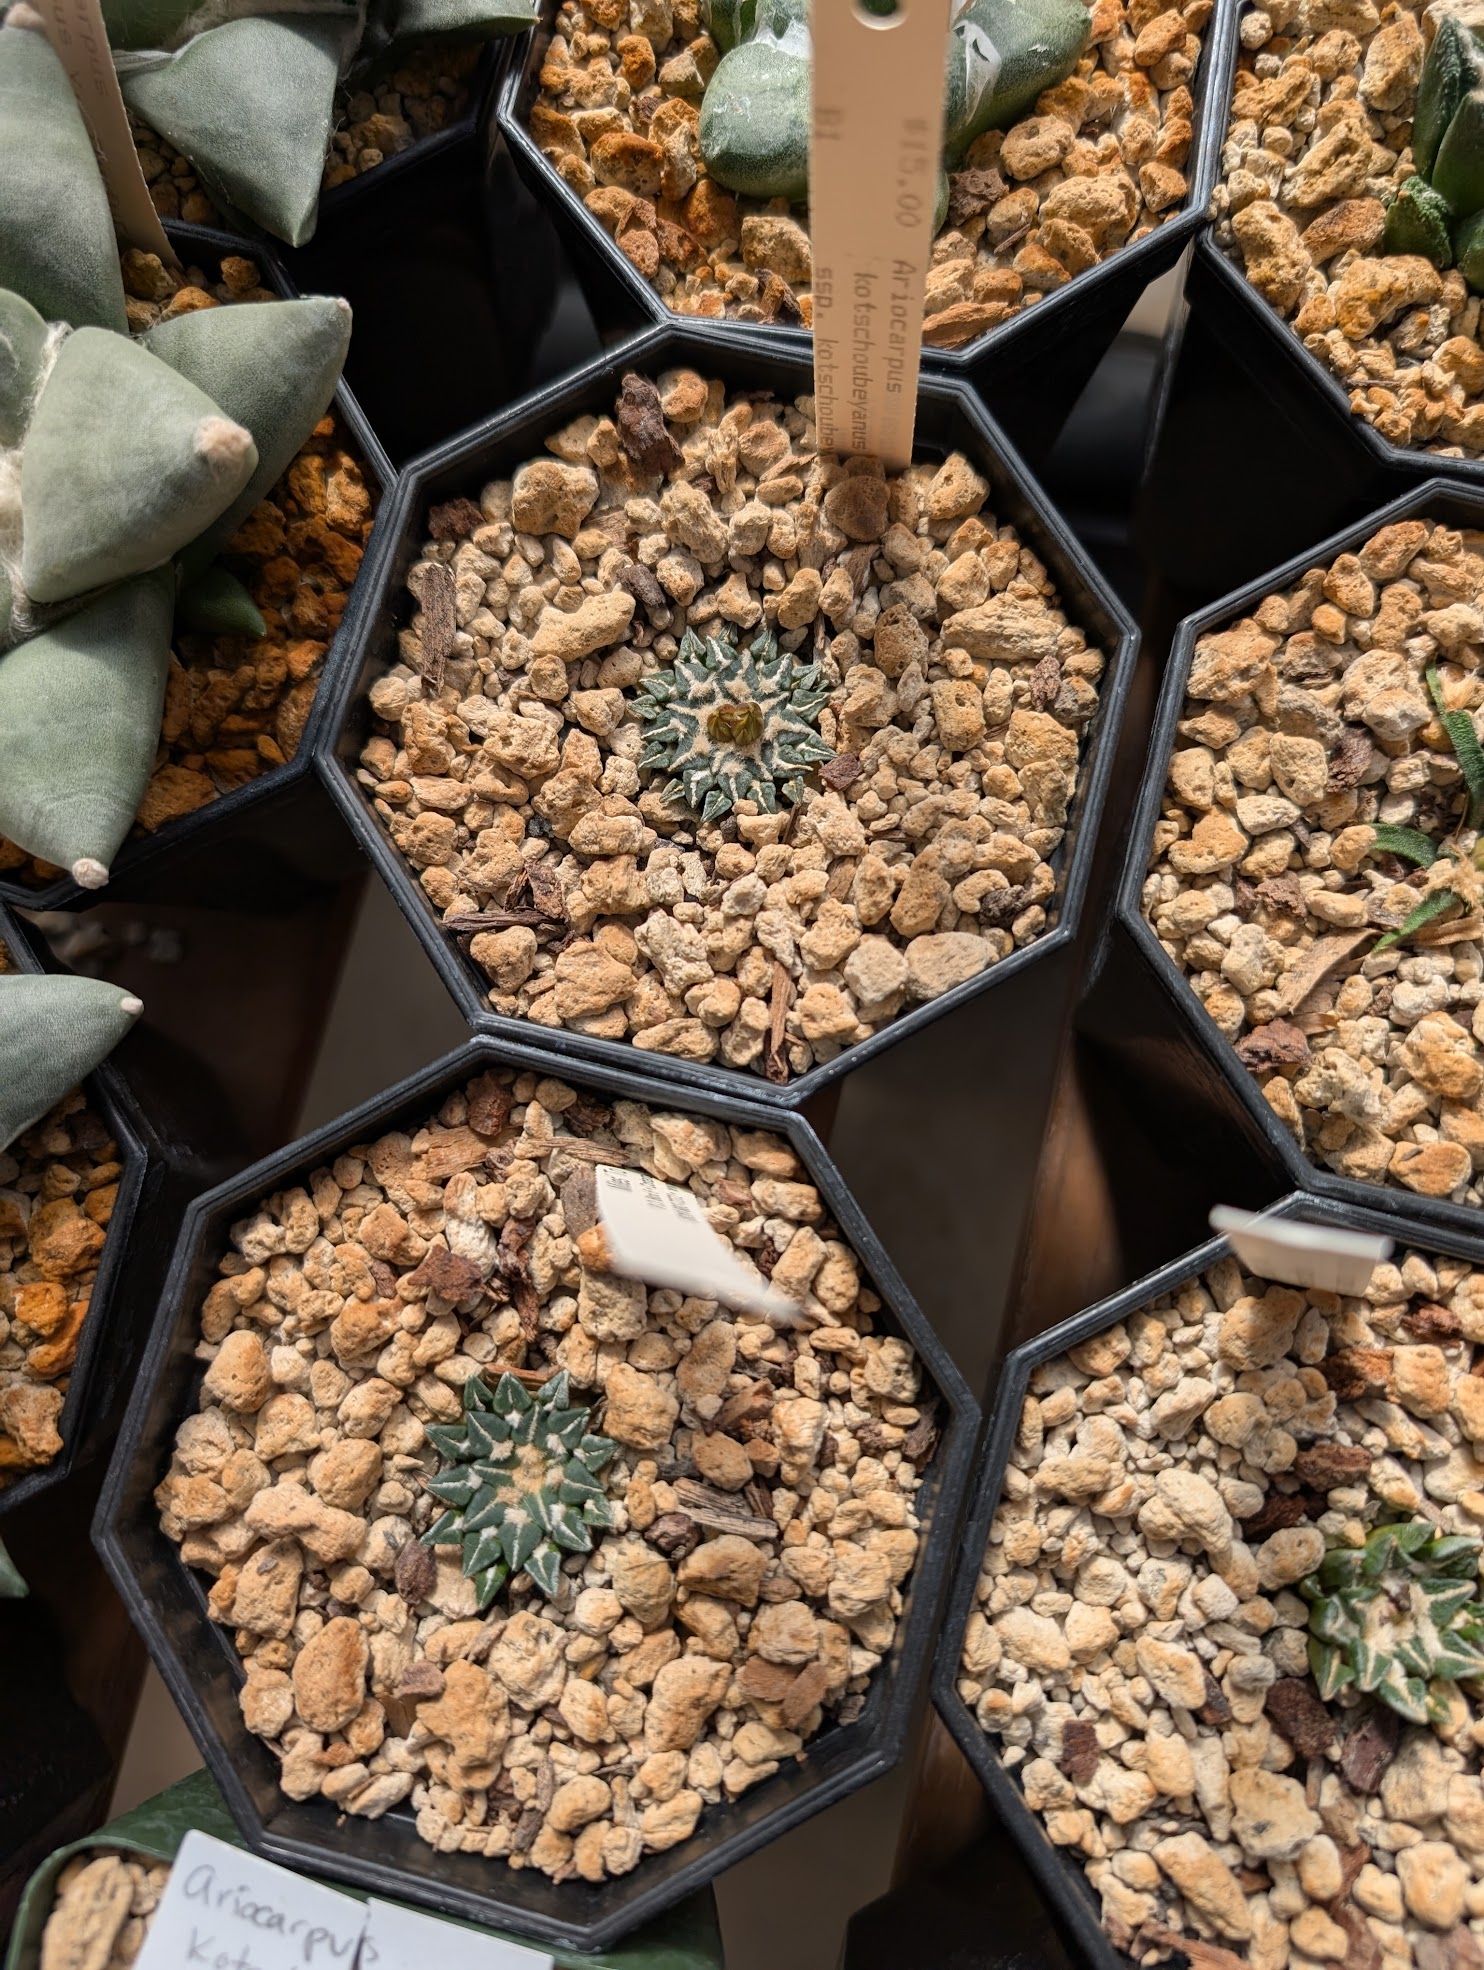
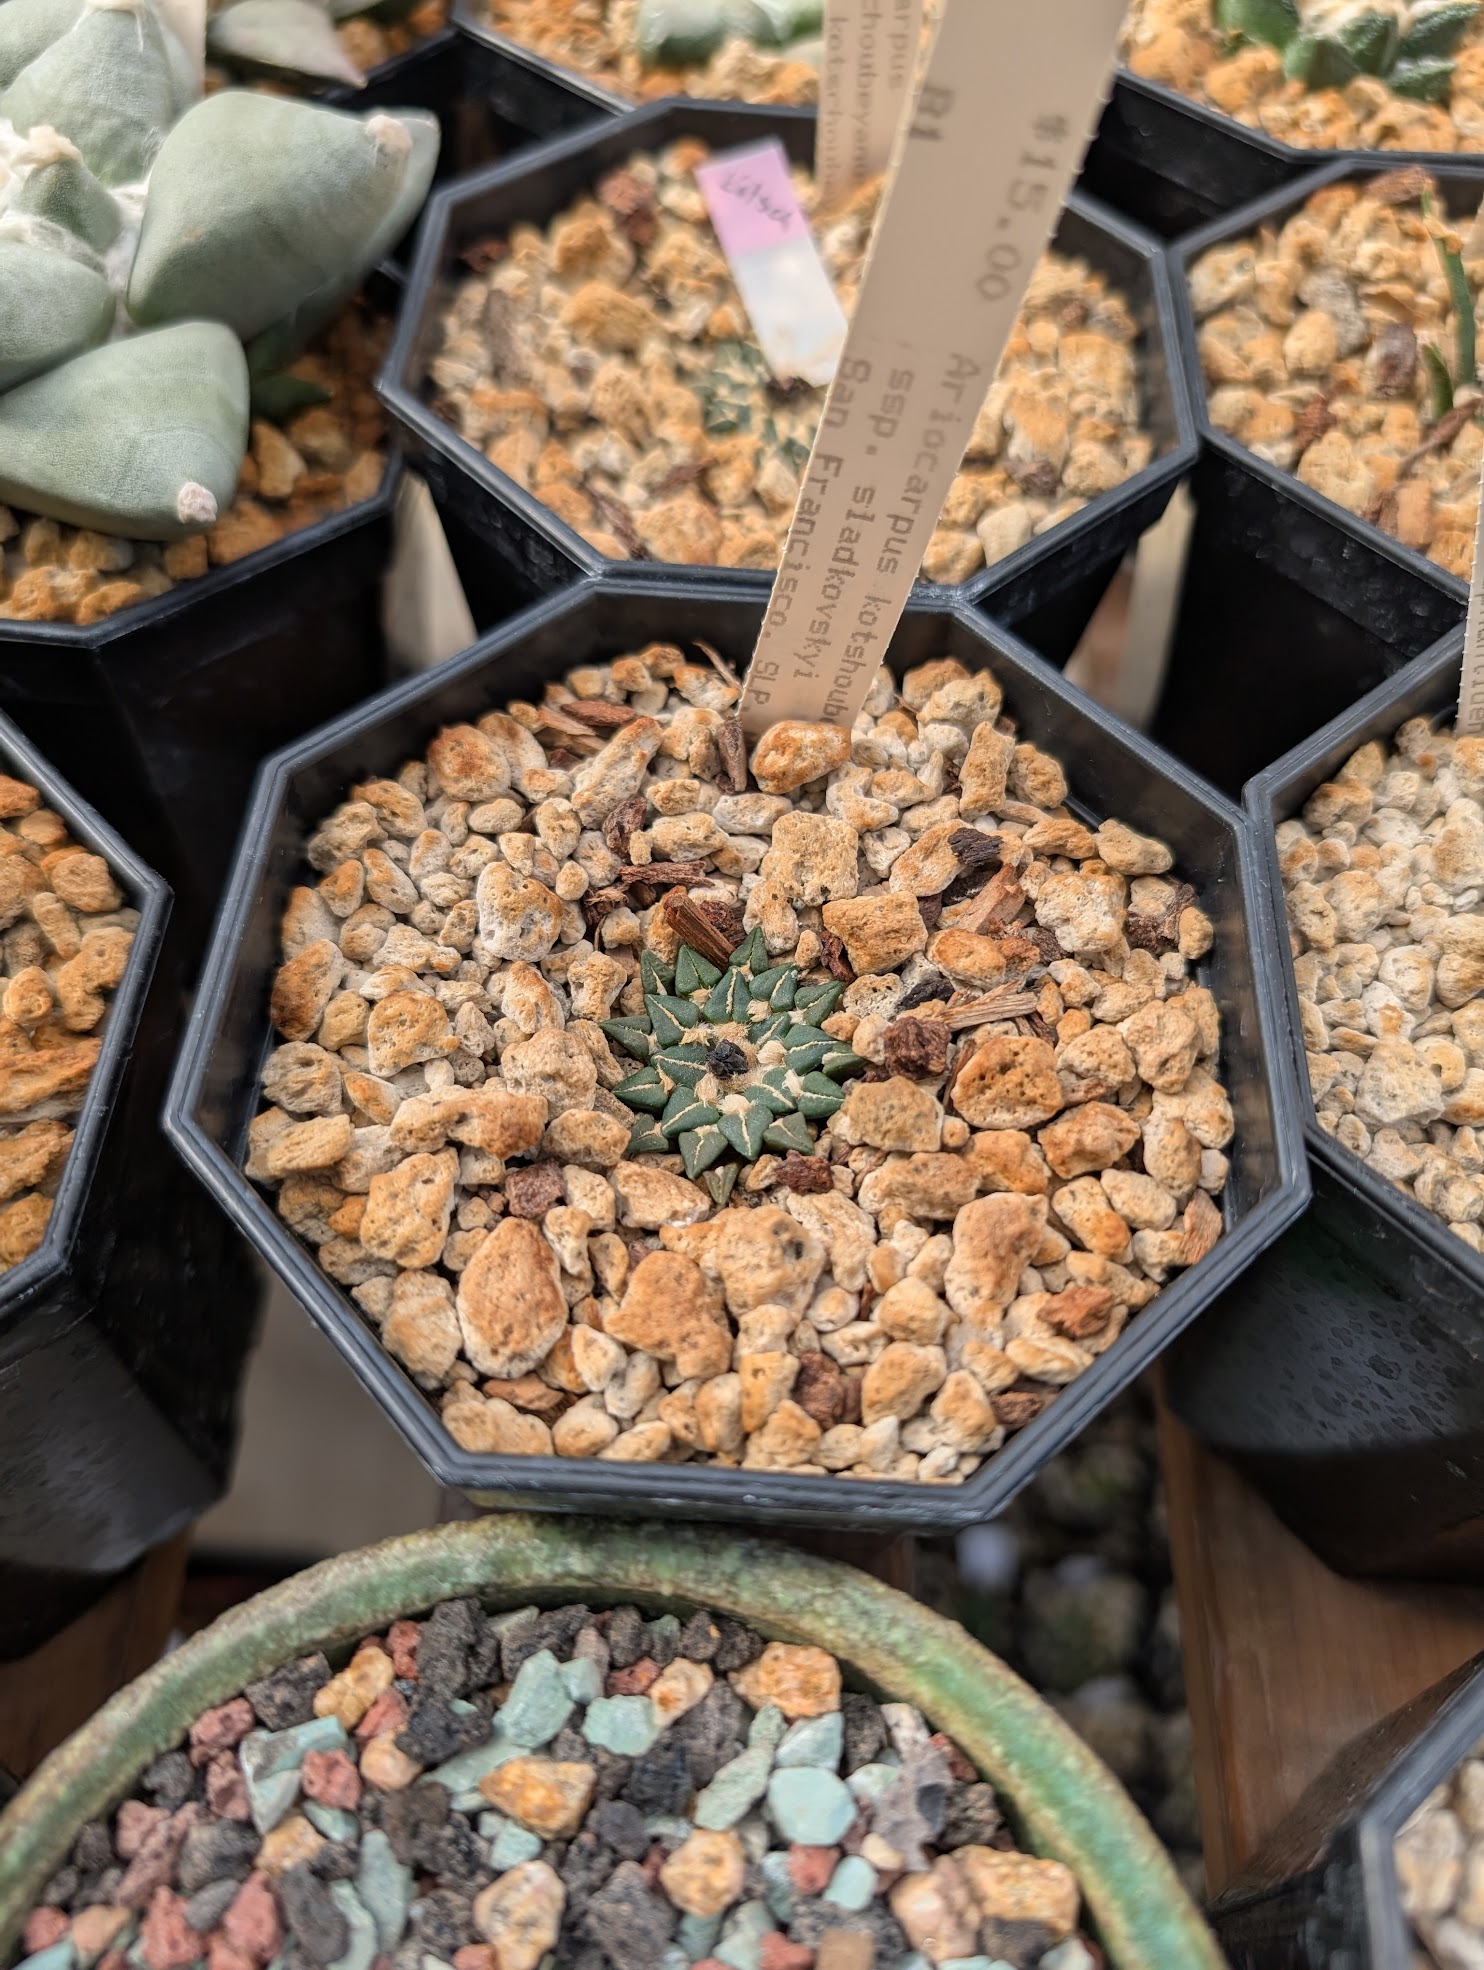
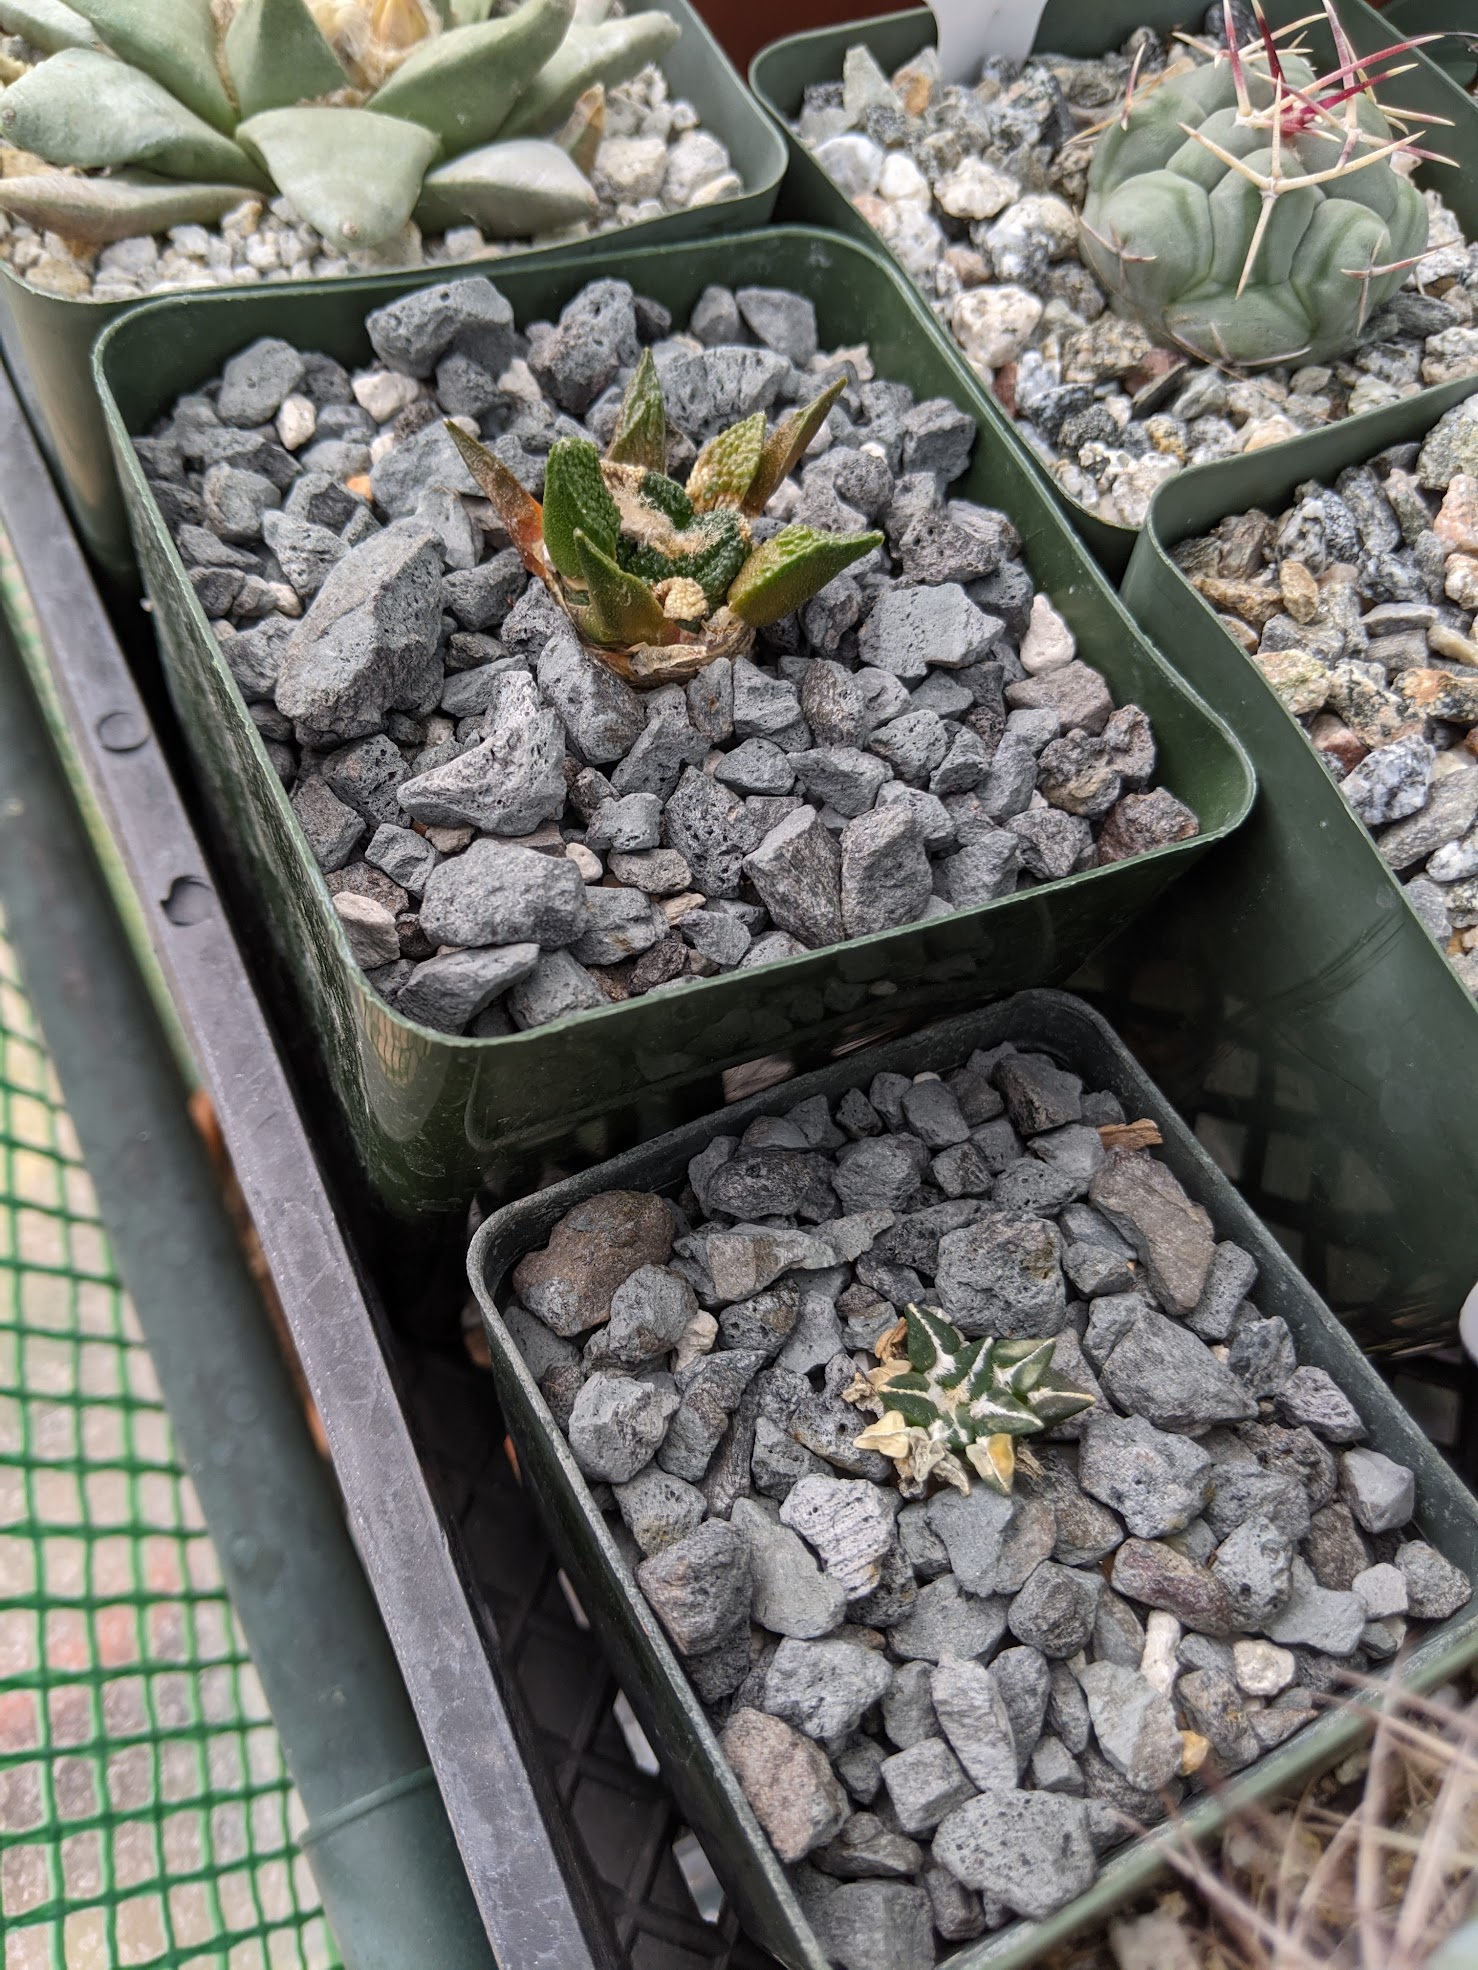
To successfully grow these little cacti, you’ll need a suitably deep and wide pot – as I’ve mentioned already. That said, it doesn’t need to be particularly large. I’ve grown several in 4″ square pots for years, although lately I’ve switched to the attractive octagon pots you can see in many of my photos.
The largest Ariocarpus kotschoubeyanus I’ve ever seen in person was at a cactus show, and even that one was only about 6″ across. This makes them ideal for small container cultivation, and they don’t need to be repotted too often.
What not to do:
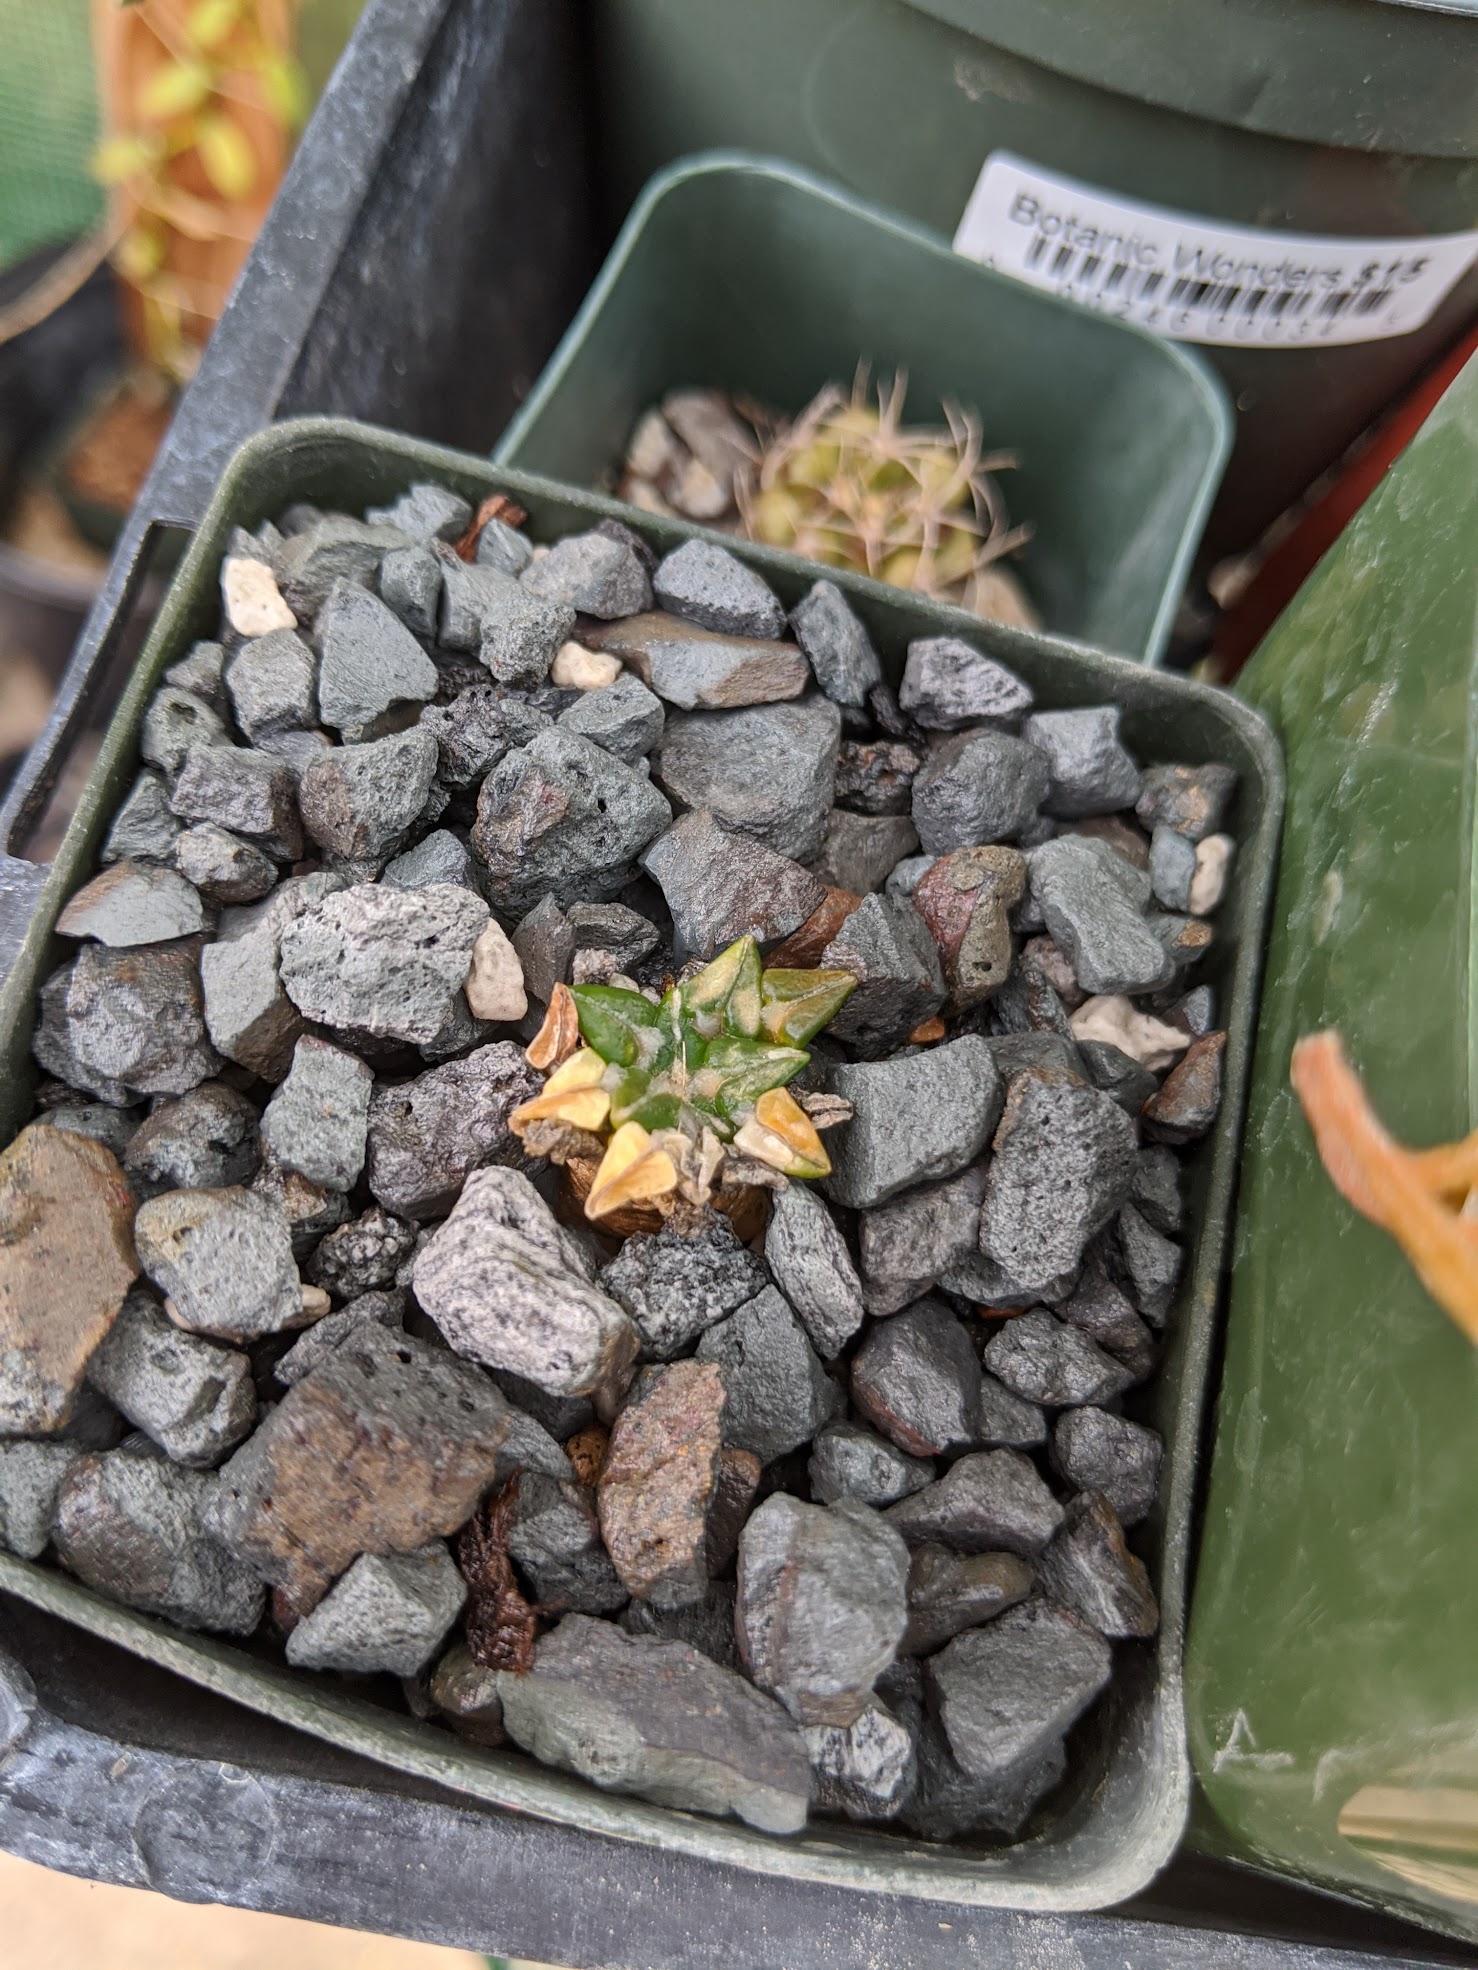
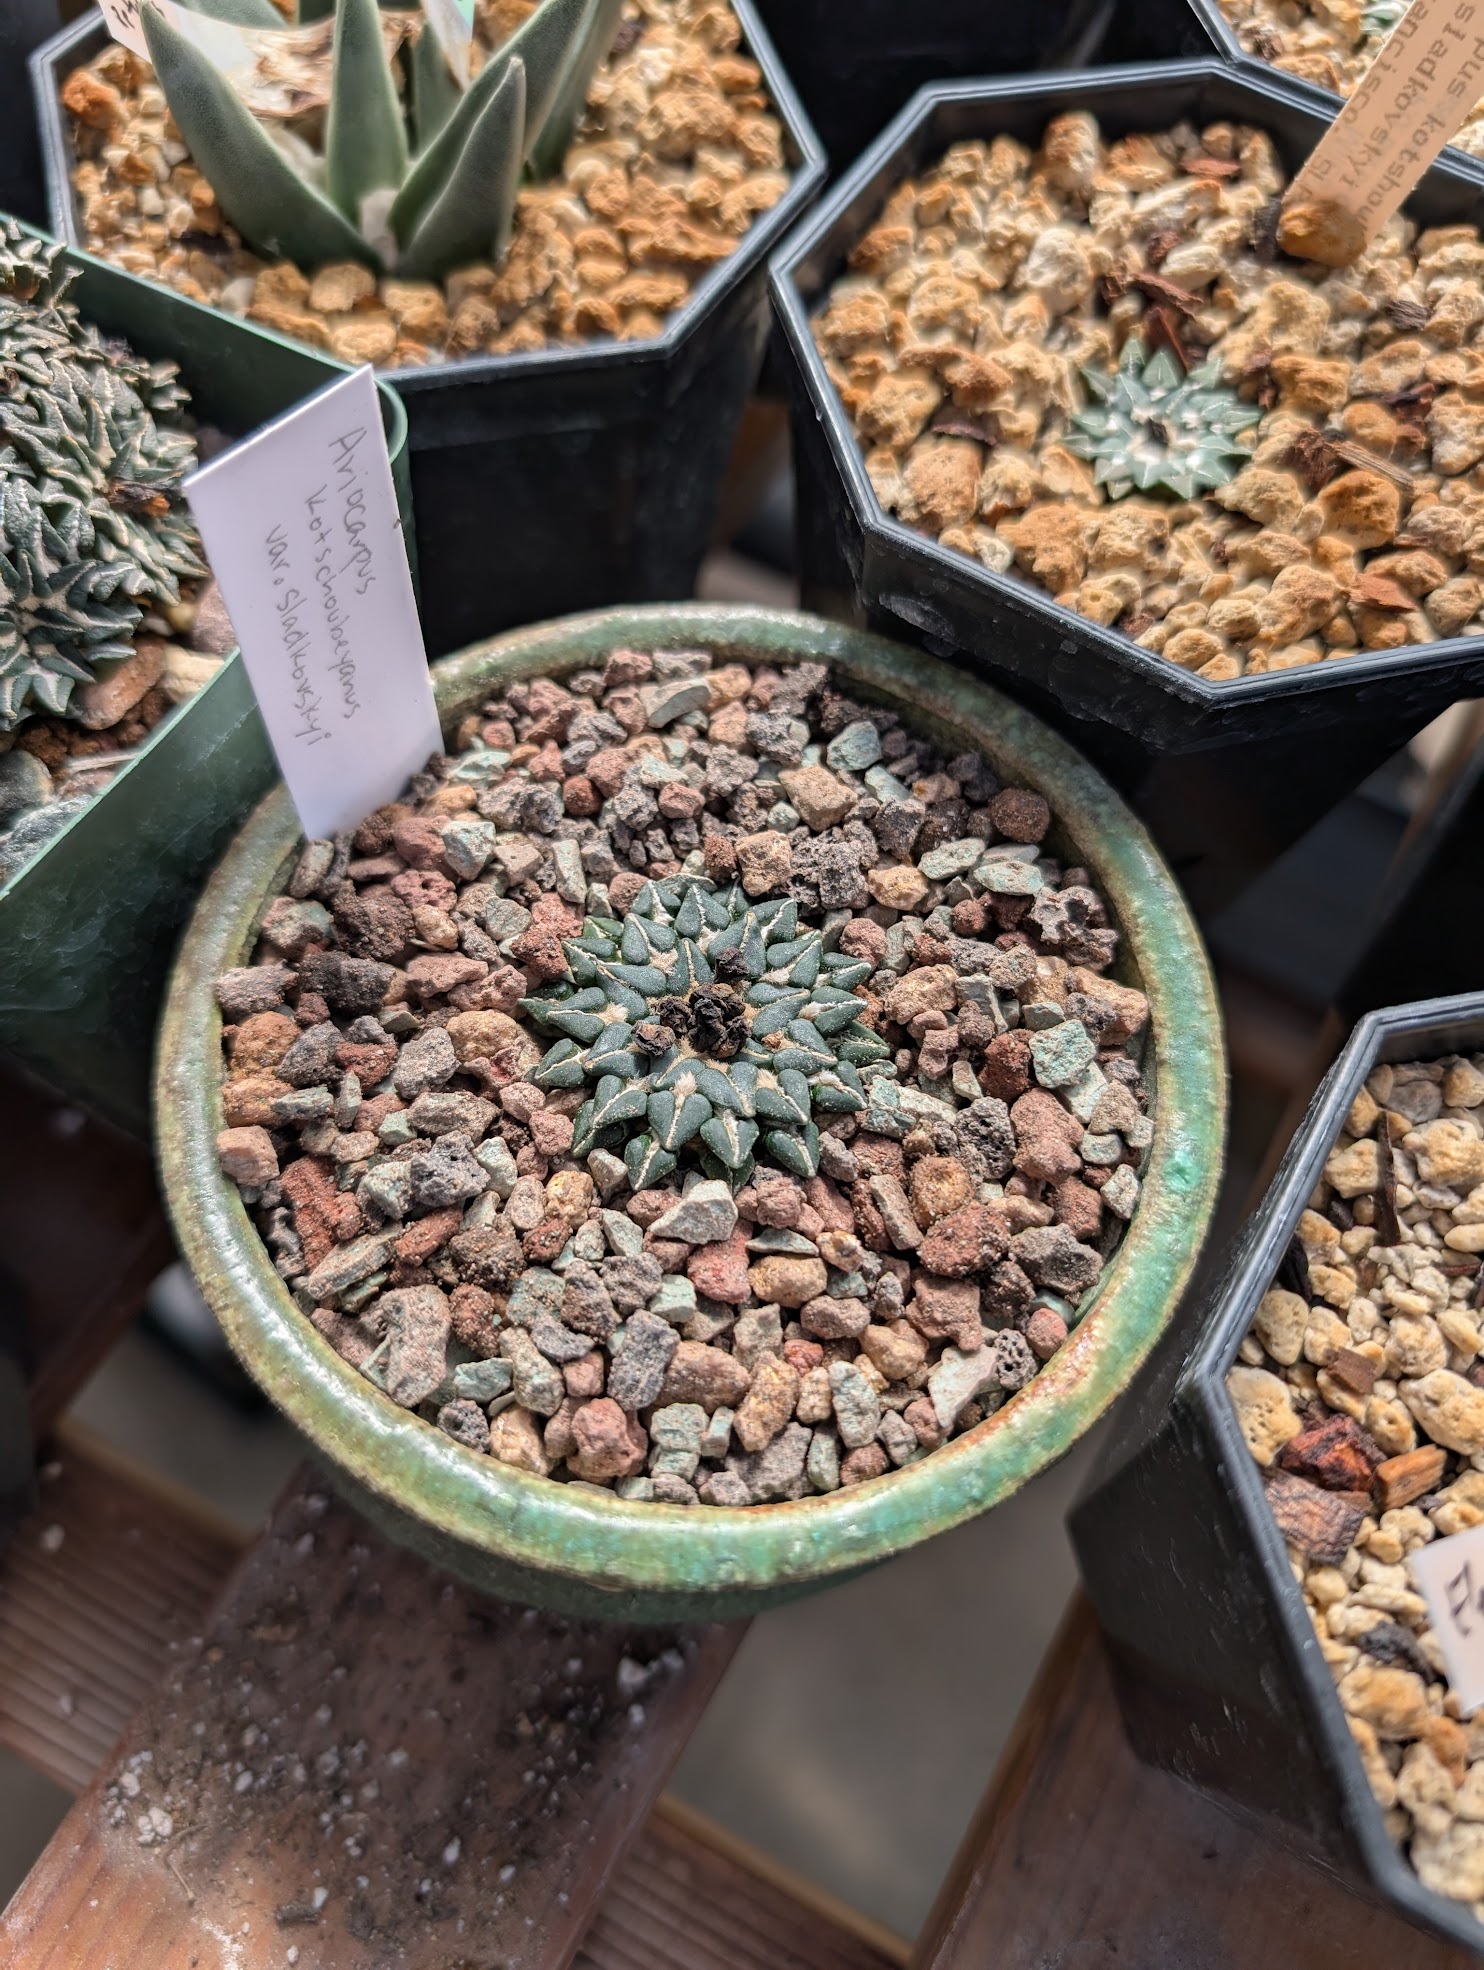
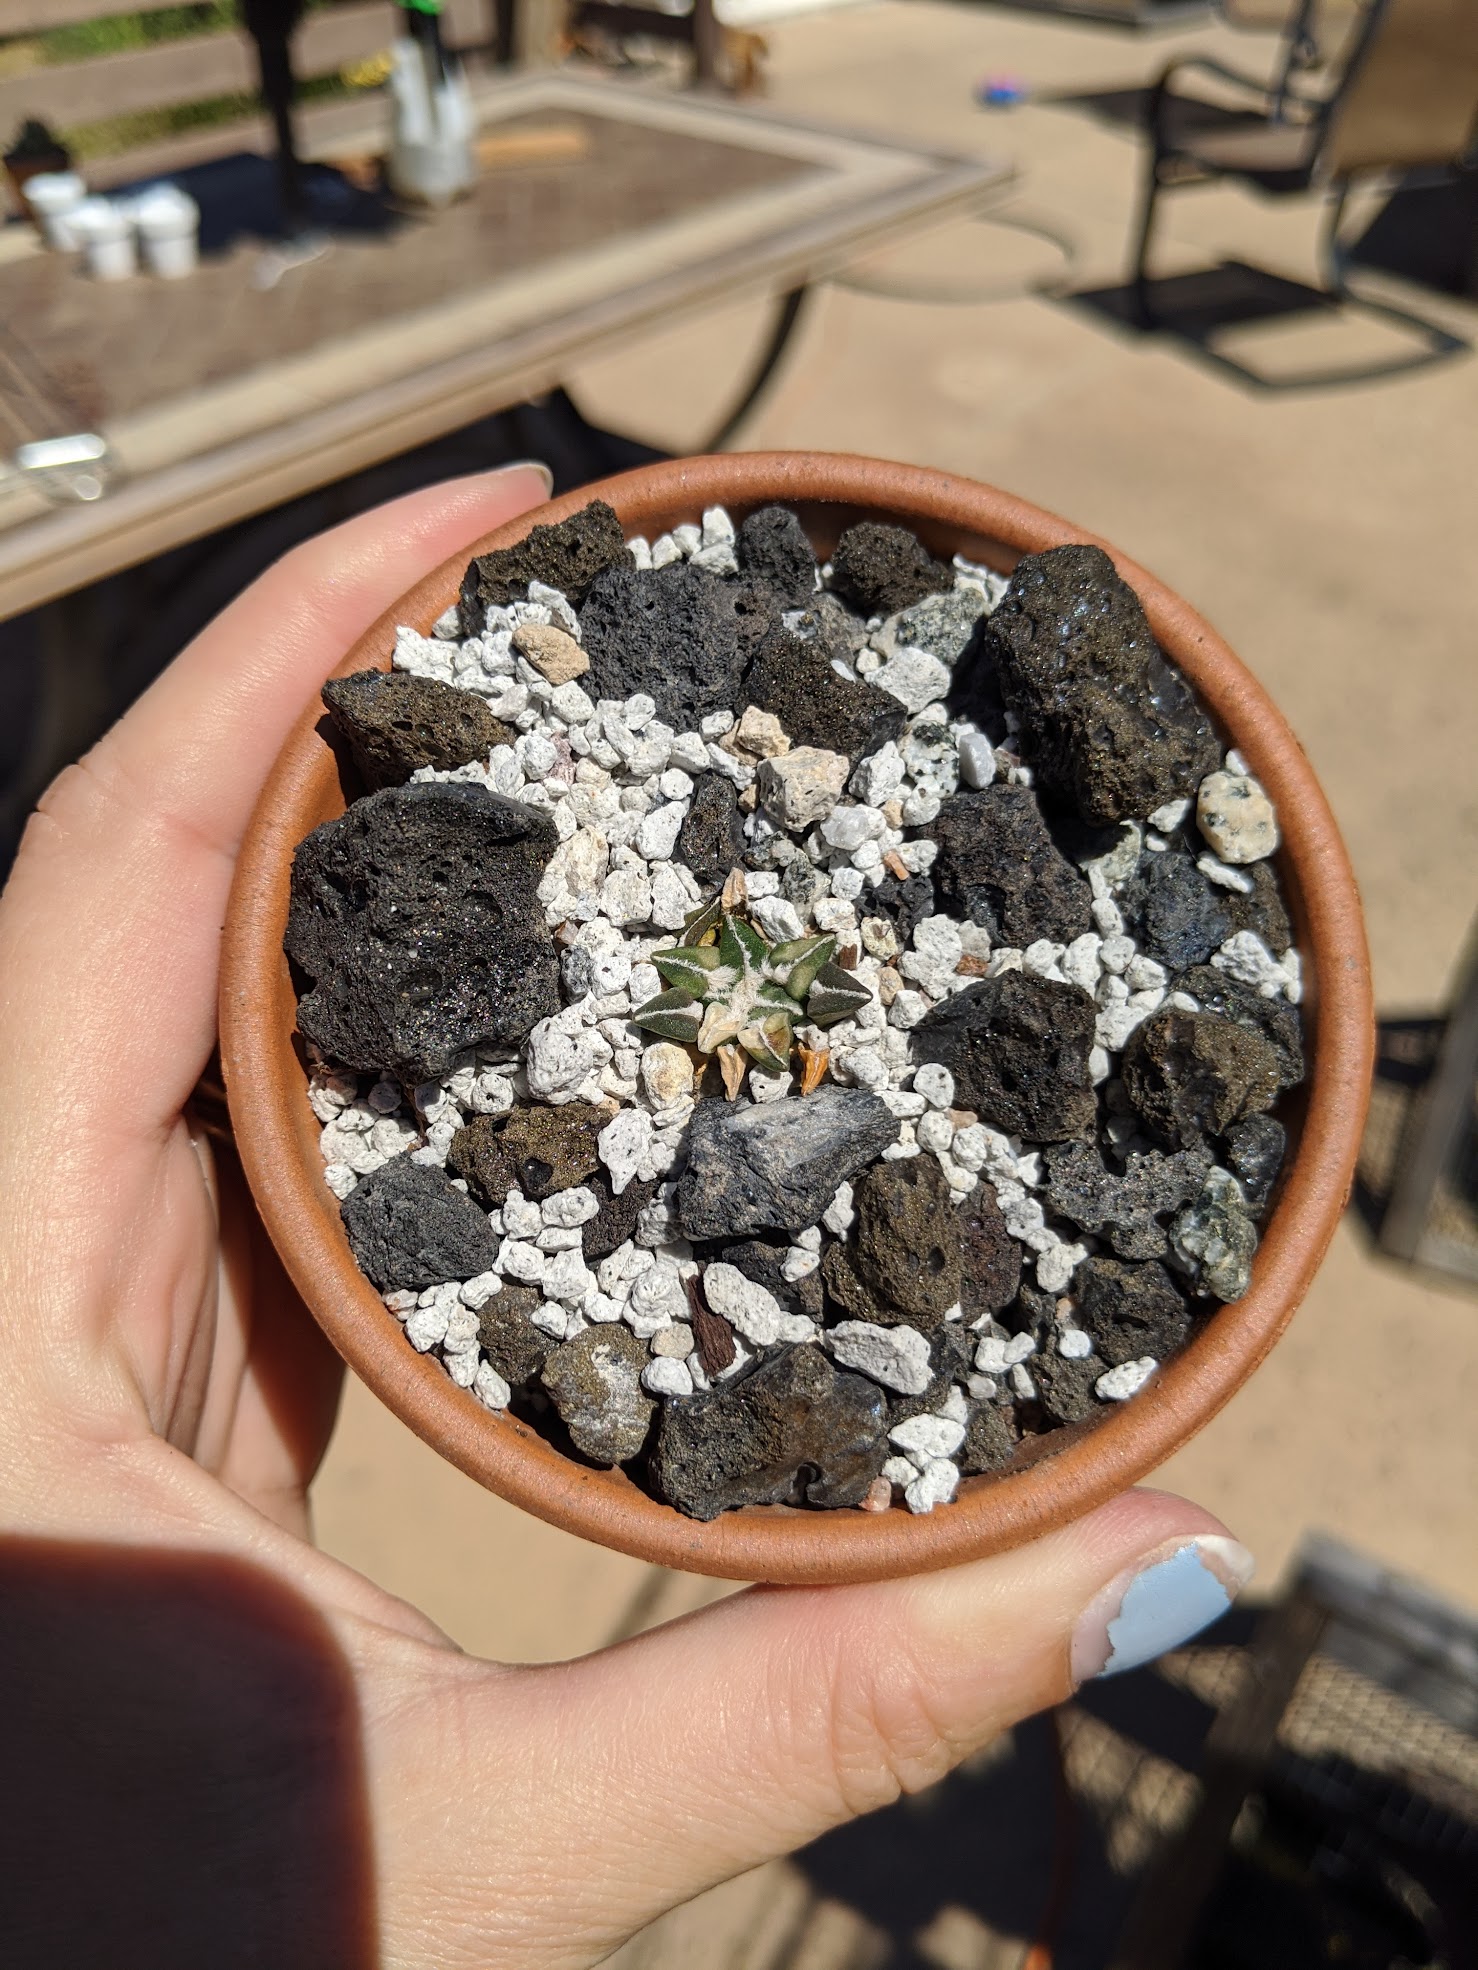
I acquired my first Ariocarpus kotschoubeyanus ssp. sladkovskyi in 2020, and decided to pot it in a small terra cotta pot with lava rock, thinking this would work for keeping it well-drained. Unfortunately, I hadn’t yet learned about slowly acclimating my shipped plants to brighter sunlight, and hadn’t considered the impact of how hot black lava rock would get. Oops.


As a result, it only took two days to burn the poor thing to a crisp.
It survived! But it took a while to grow out of the damage.
The takeaway: watch your top dressing! Slowly acclimate your cactus!
Terra cotta is also not a bad pot choice, but it does make it more challenging to keep the roots happy. If you’re striving to hard-grow your cactus, then that’s perfect! If not, there’s no shame in a plastic pot. I ended up repotting this cactus (and the hintonii I acquired around the same time) into plastic pots for several years. A simple 4″ plastic pot works beautifully!
Soil for your Ariocarpus kotschoubeyanus
Well-draining soil is a must!
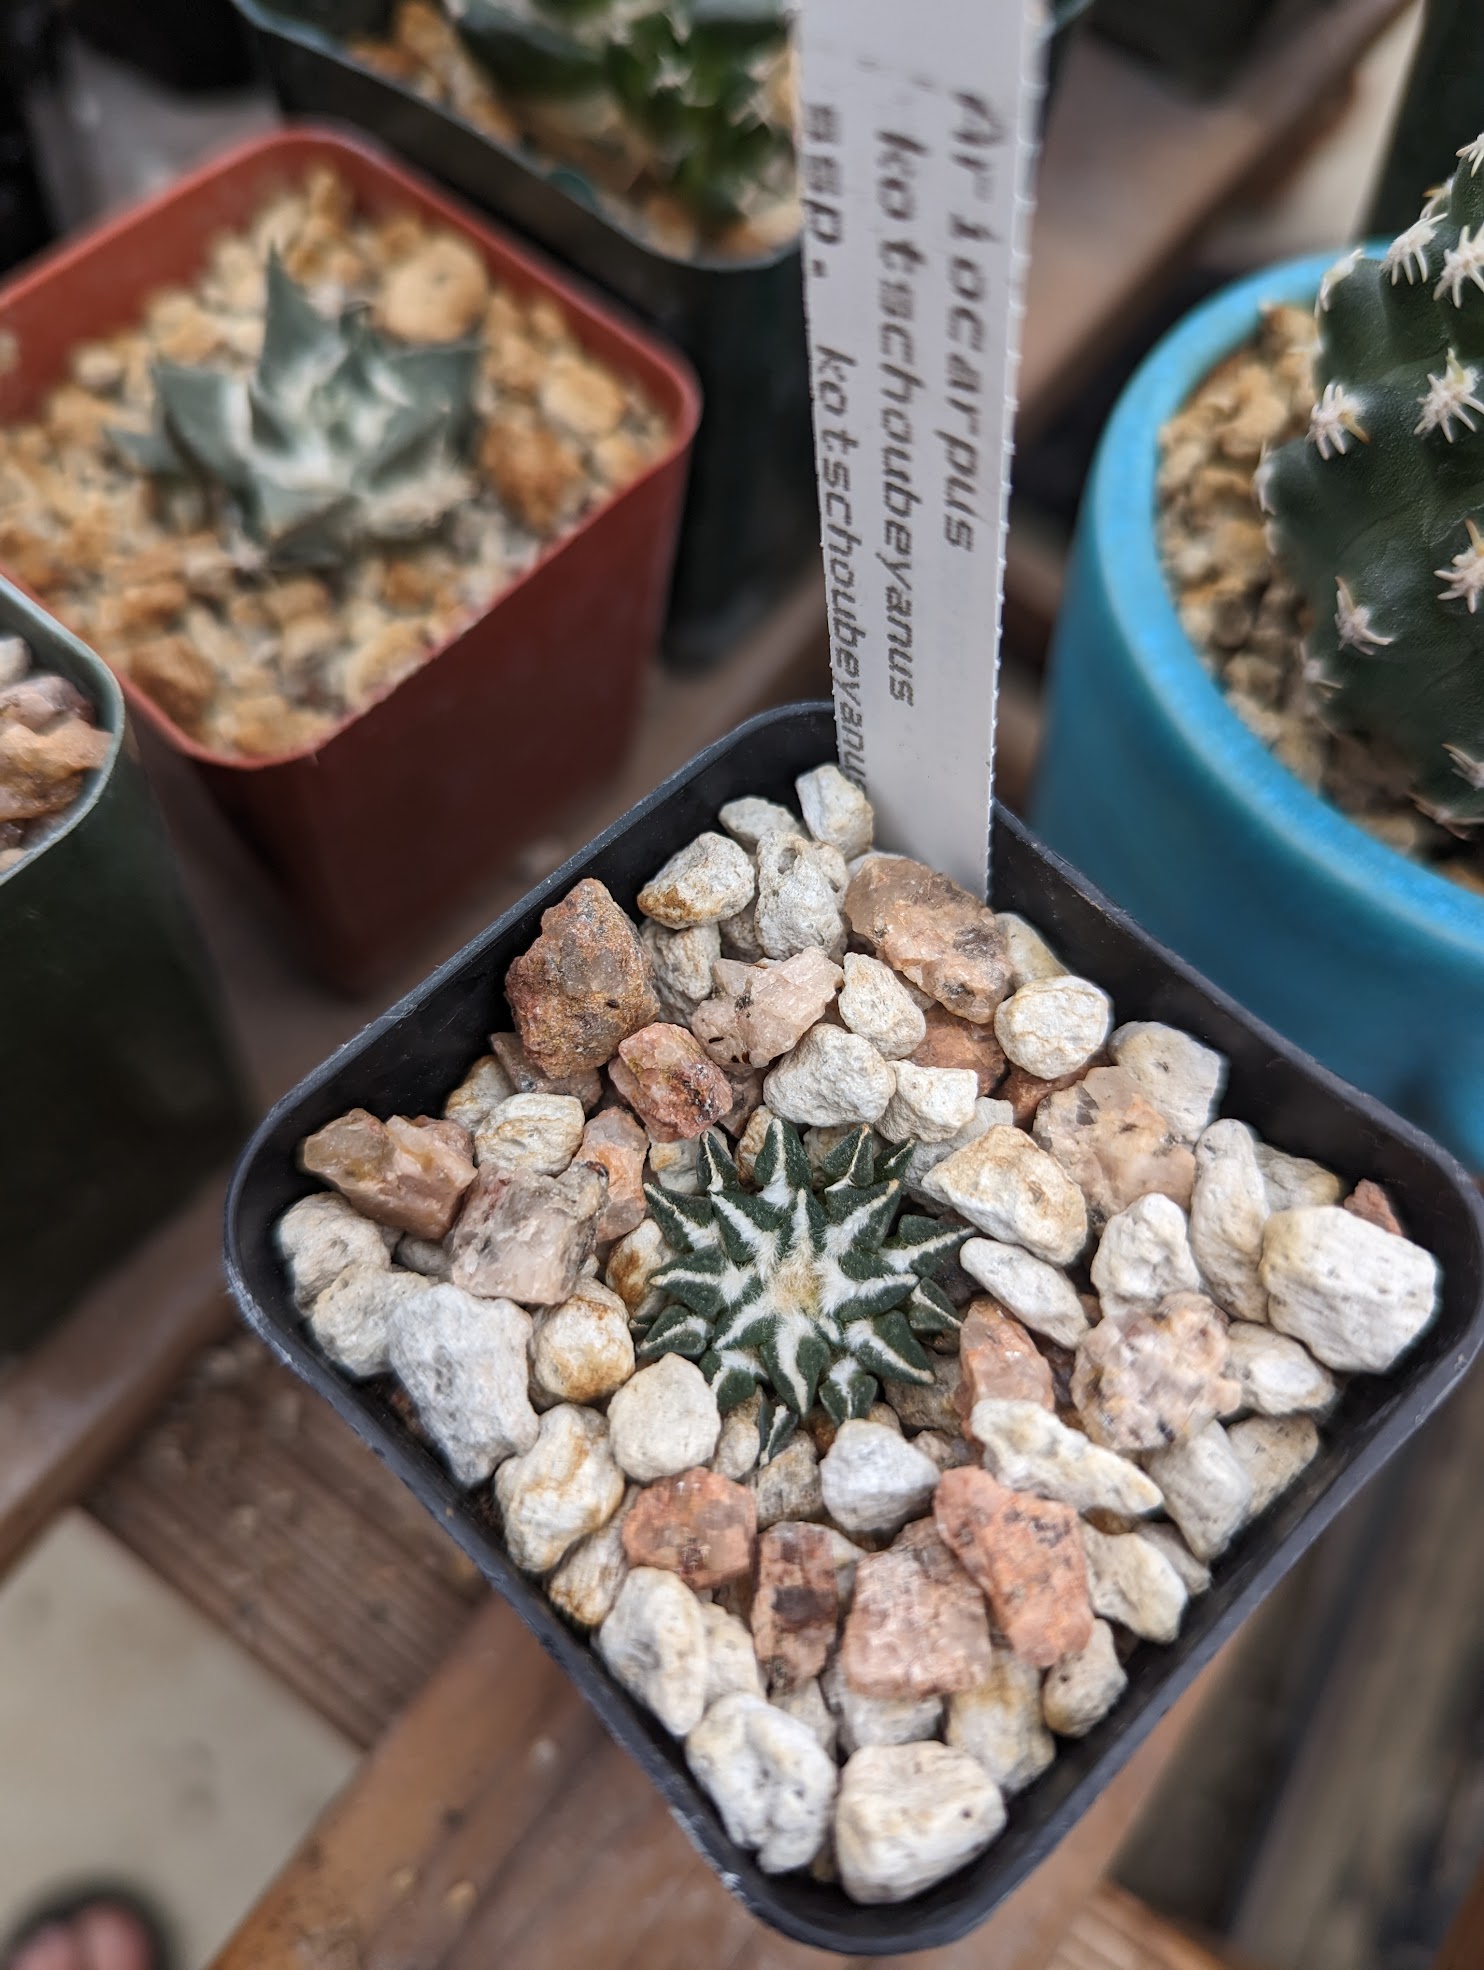
It doesn’t have to be fancy, “habitat balanced” or with various micro-minerals or whatever fluff is out there, either.
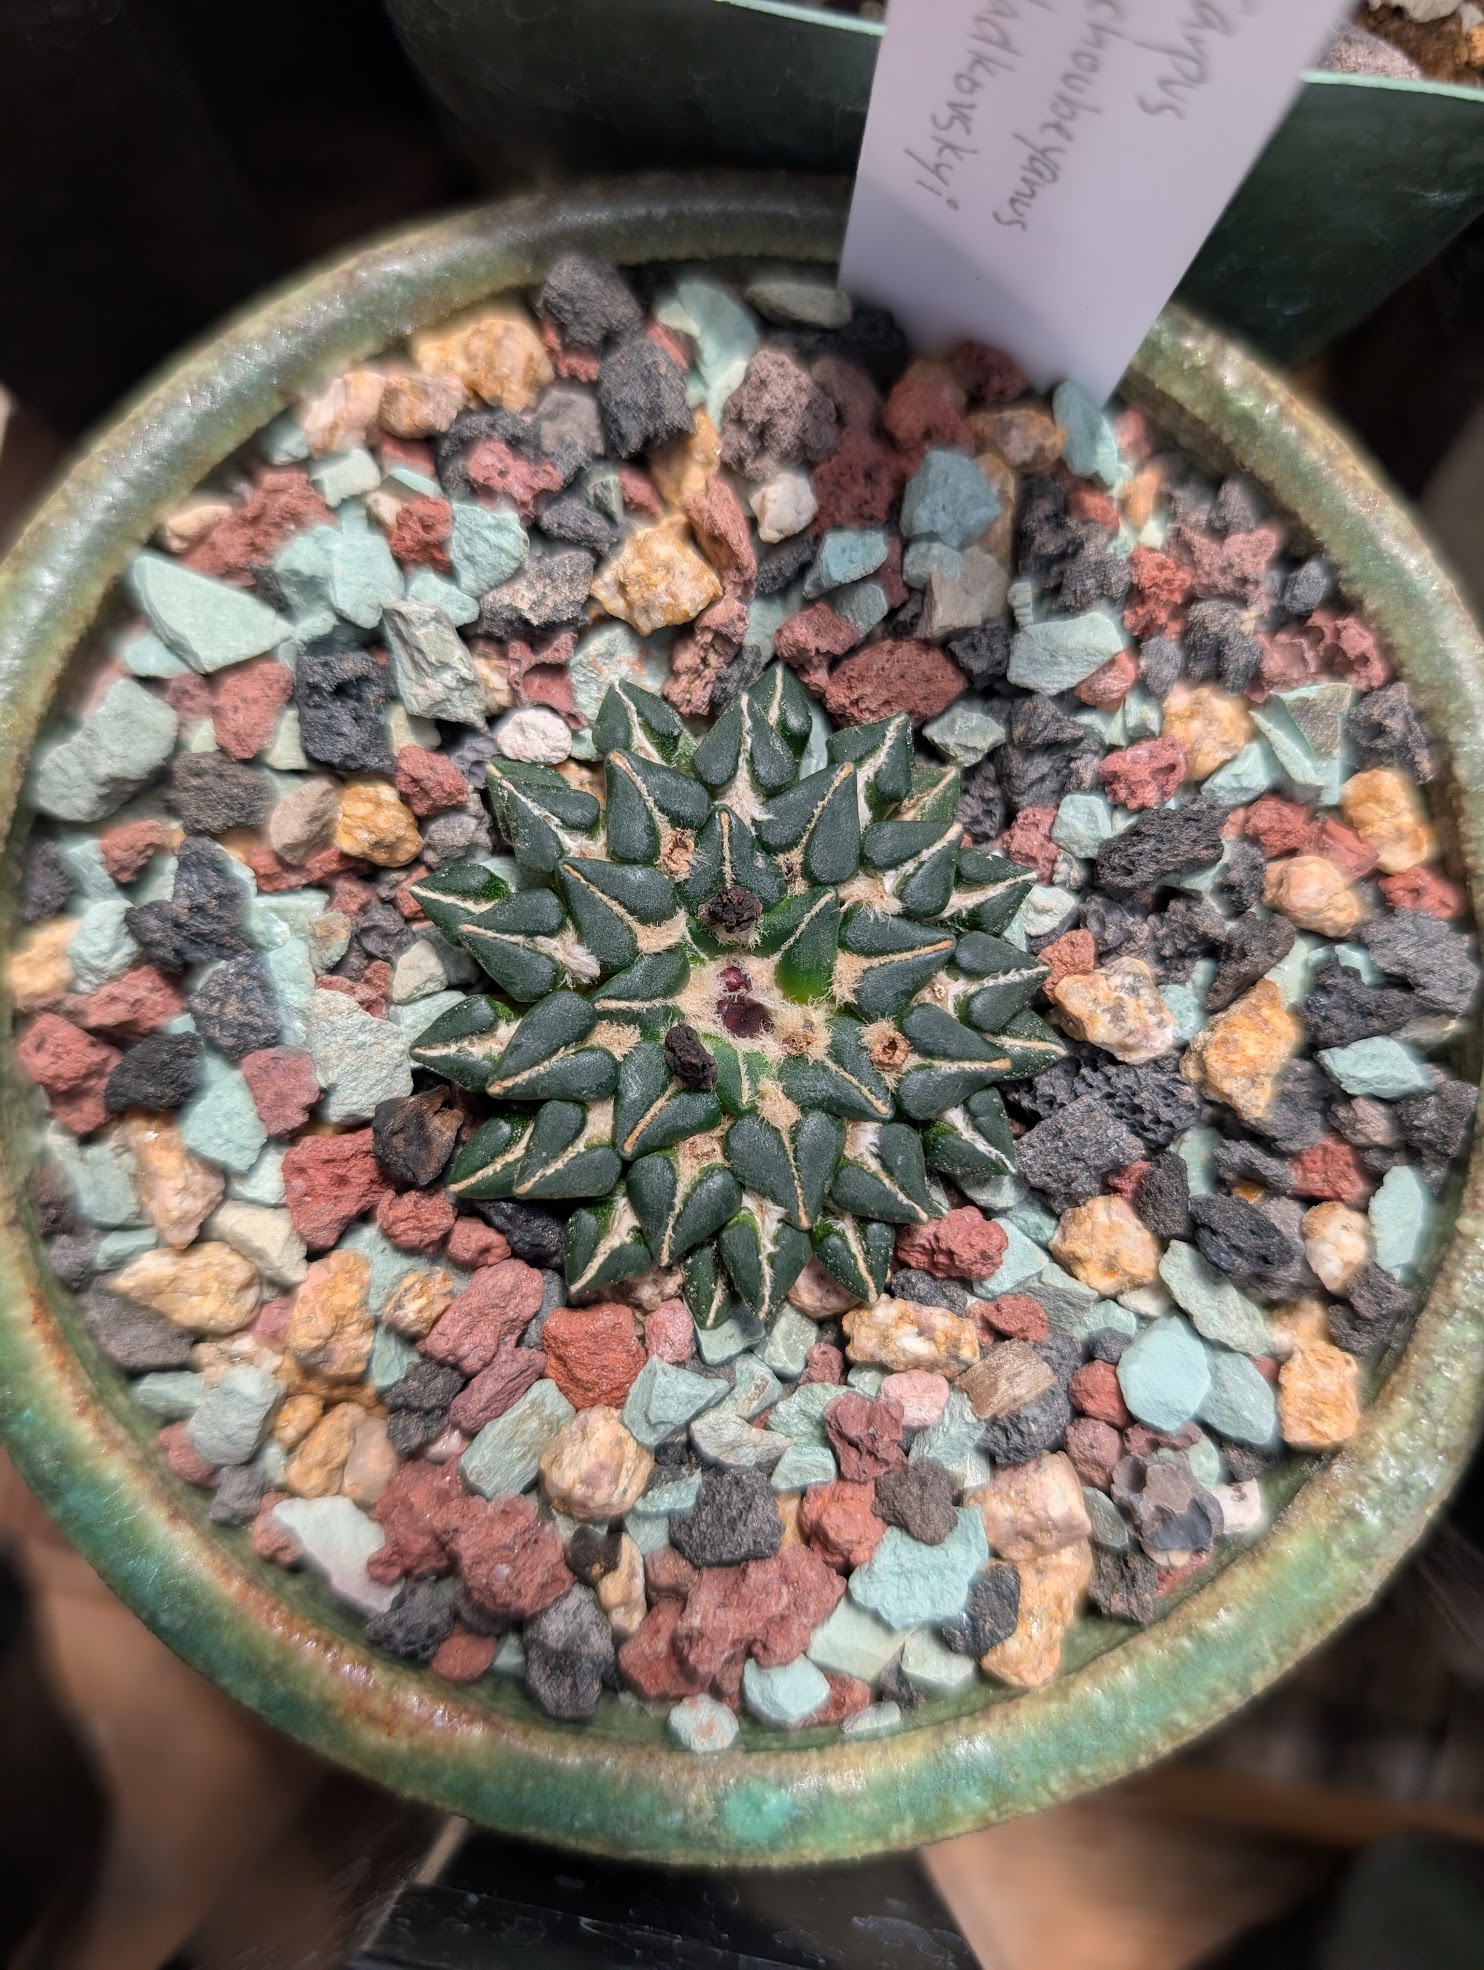
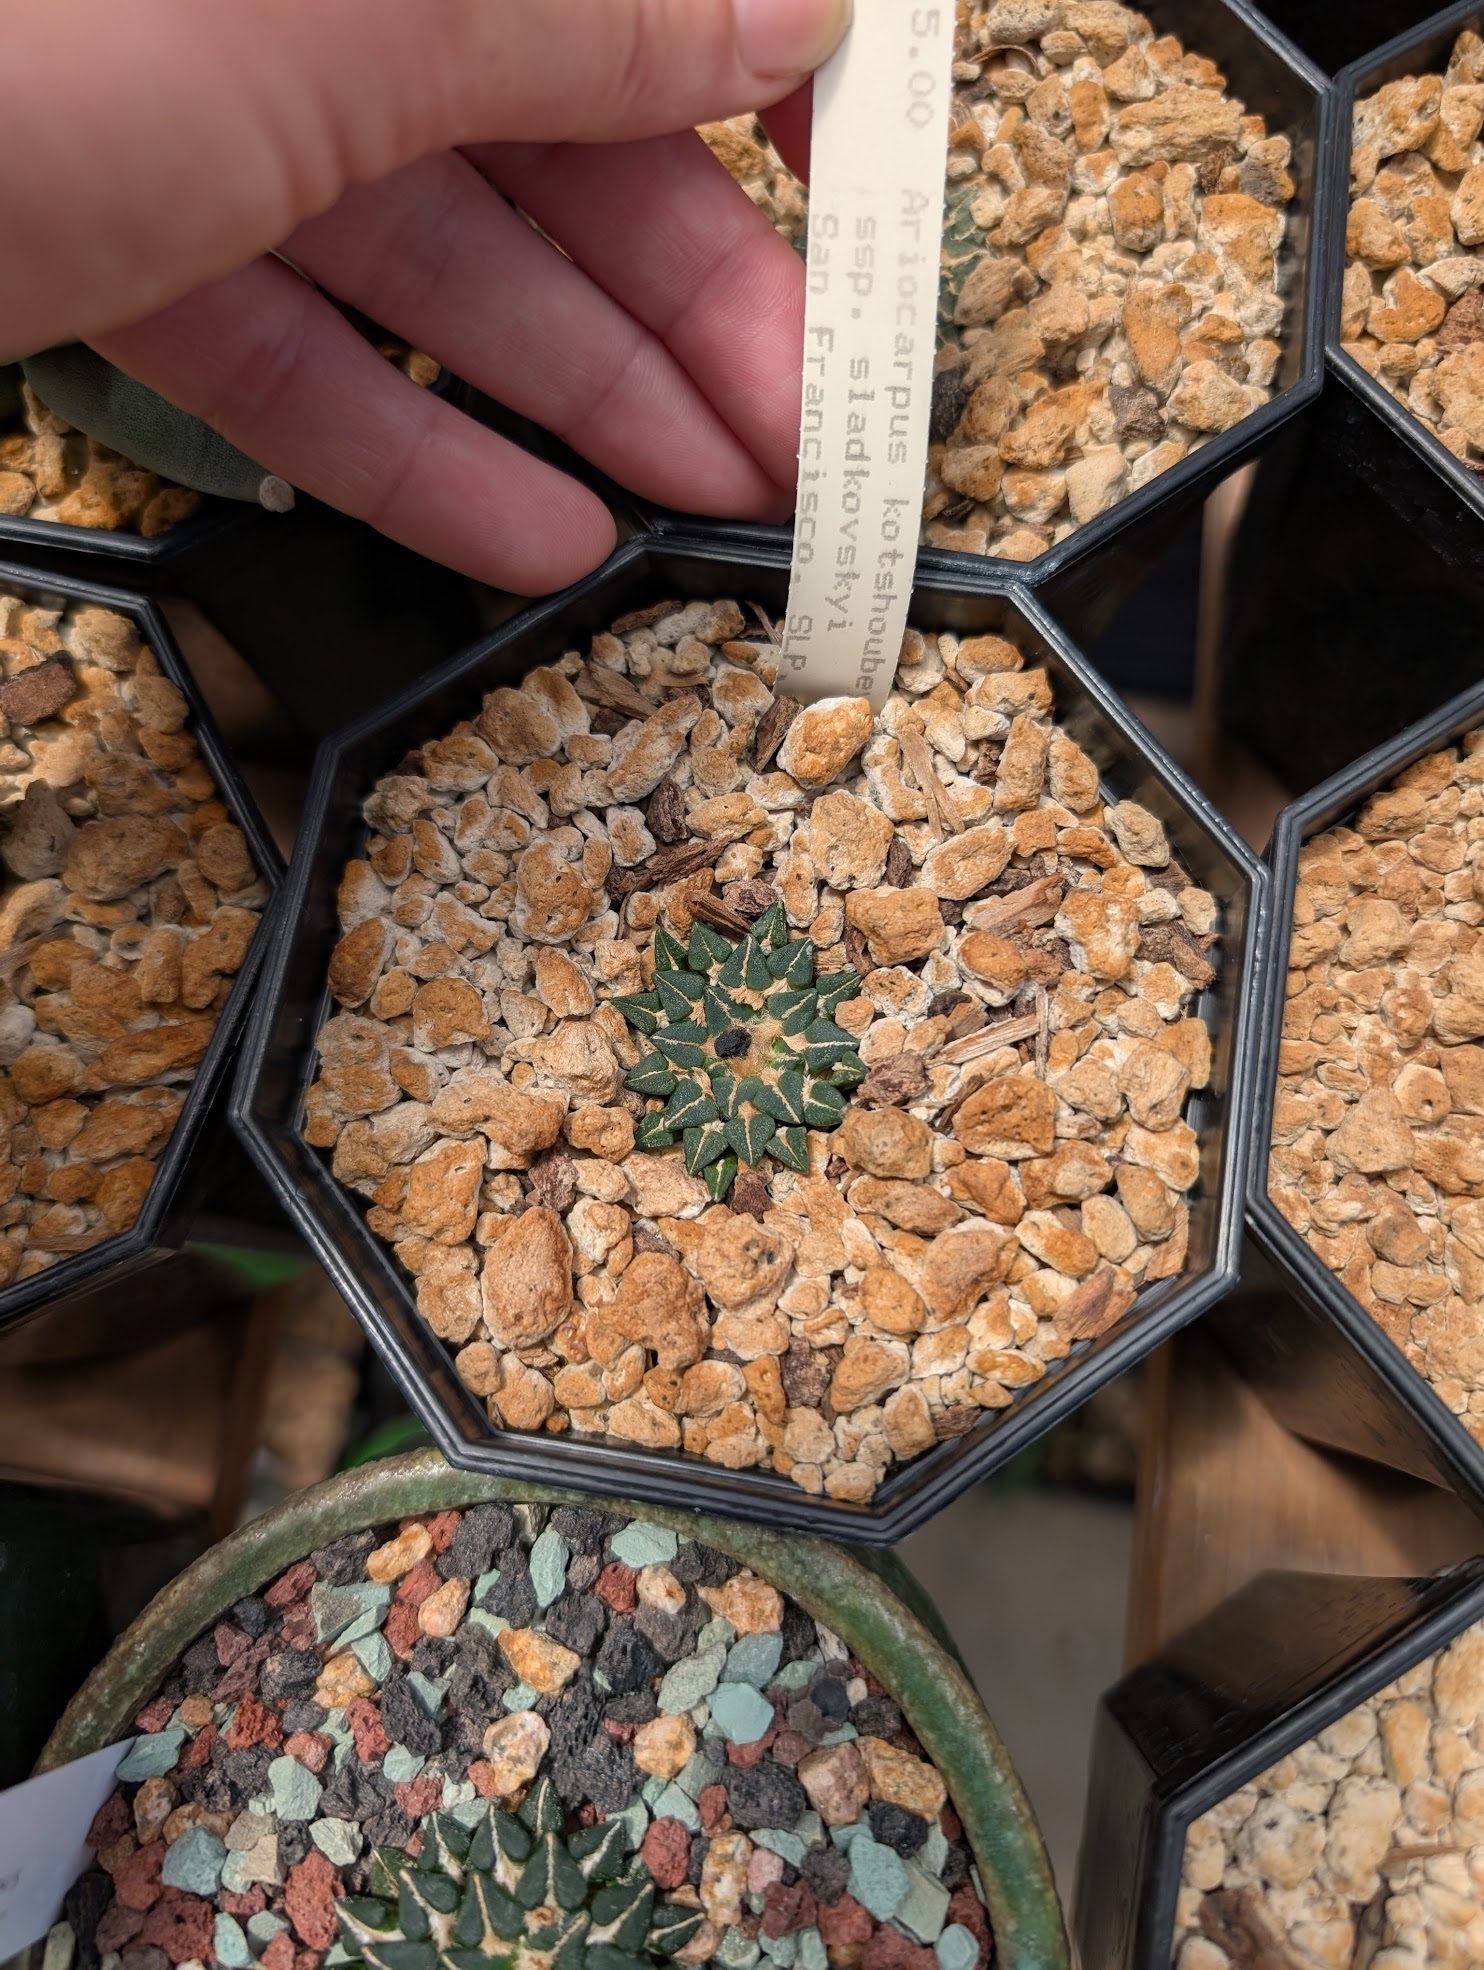
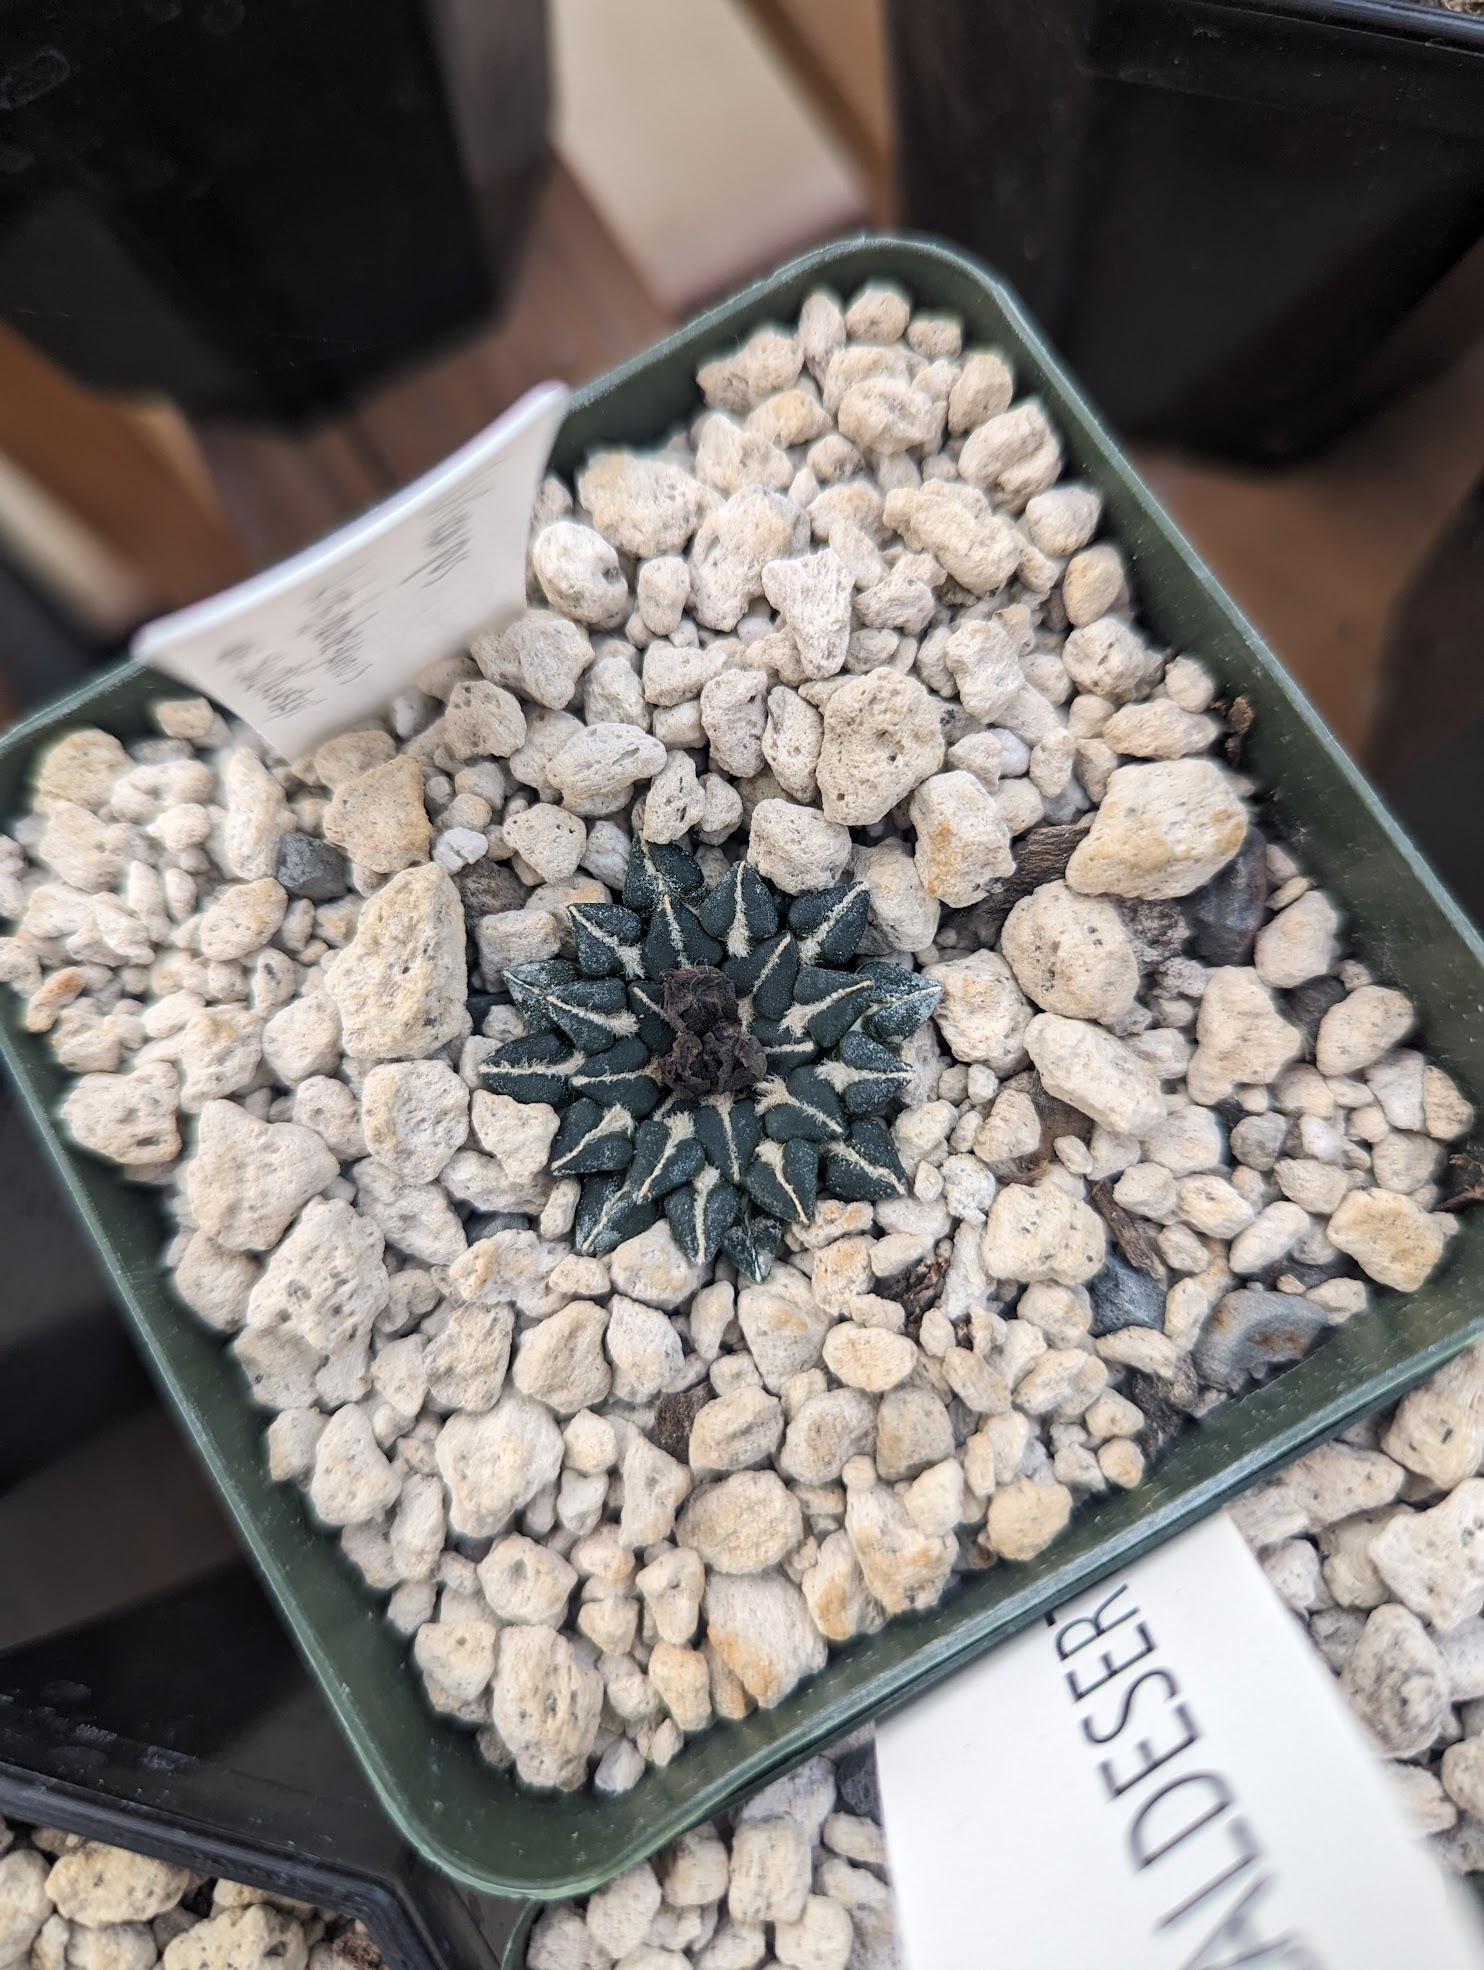
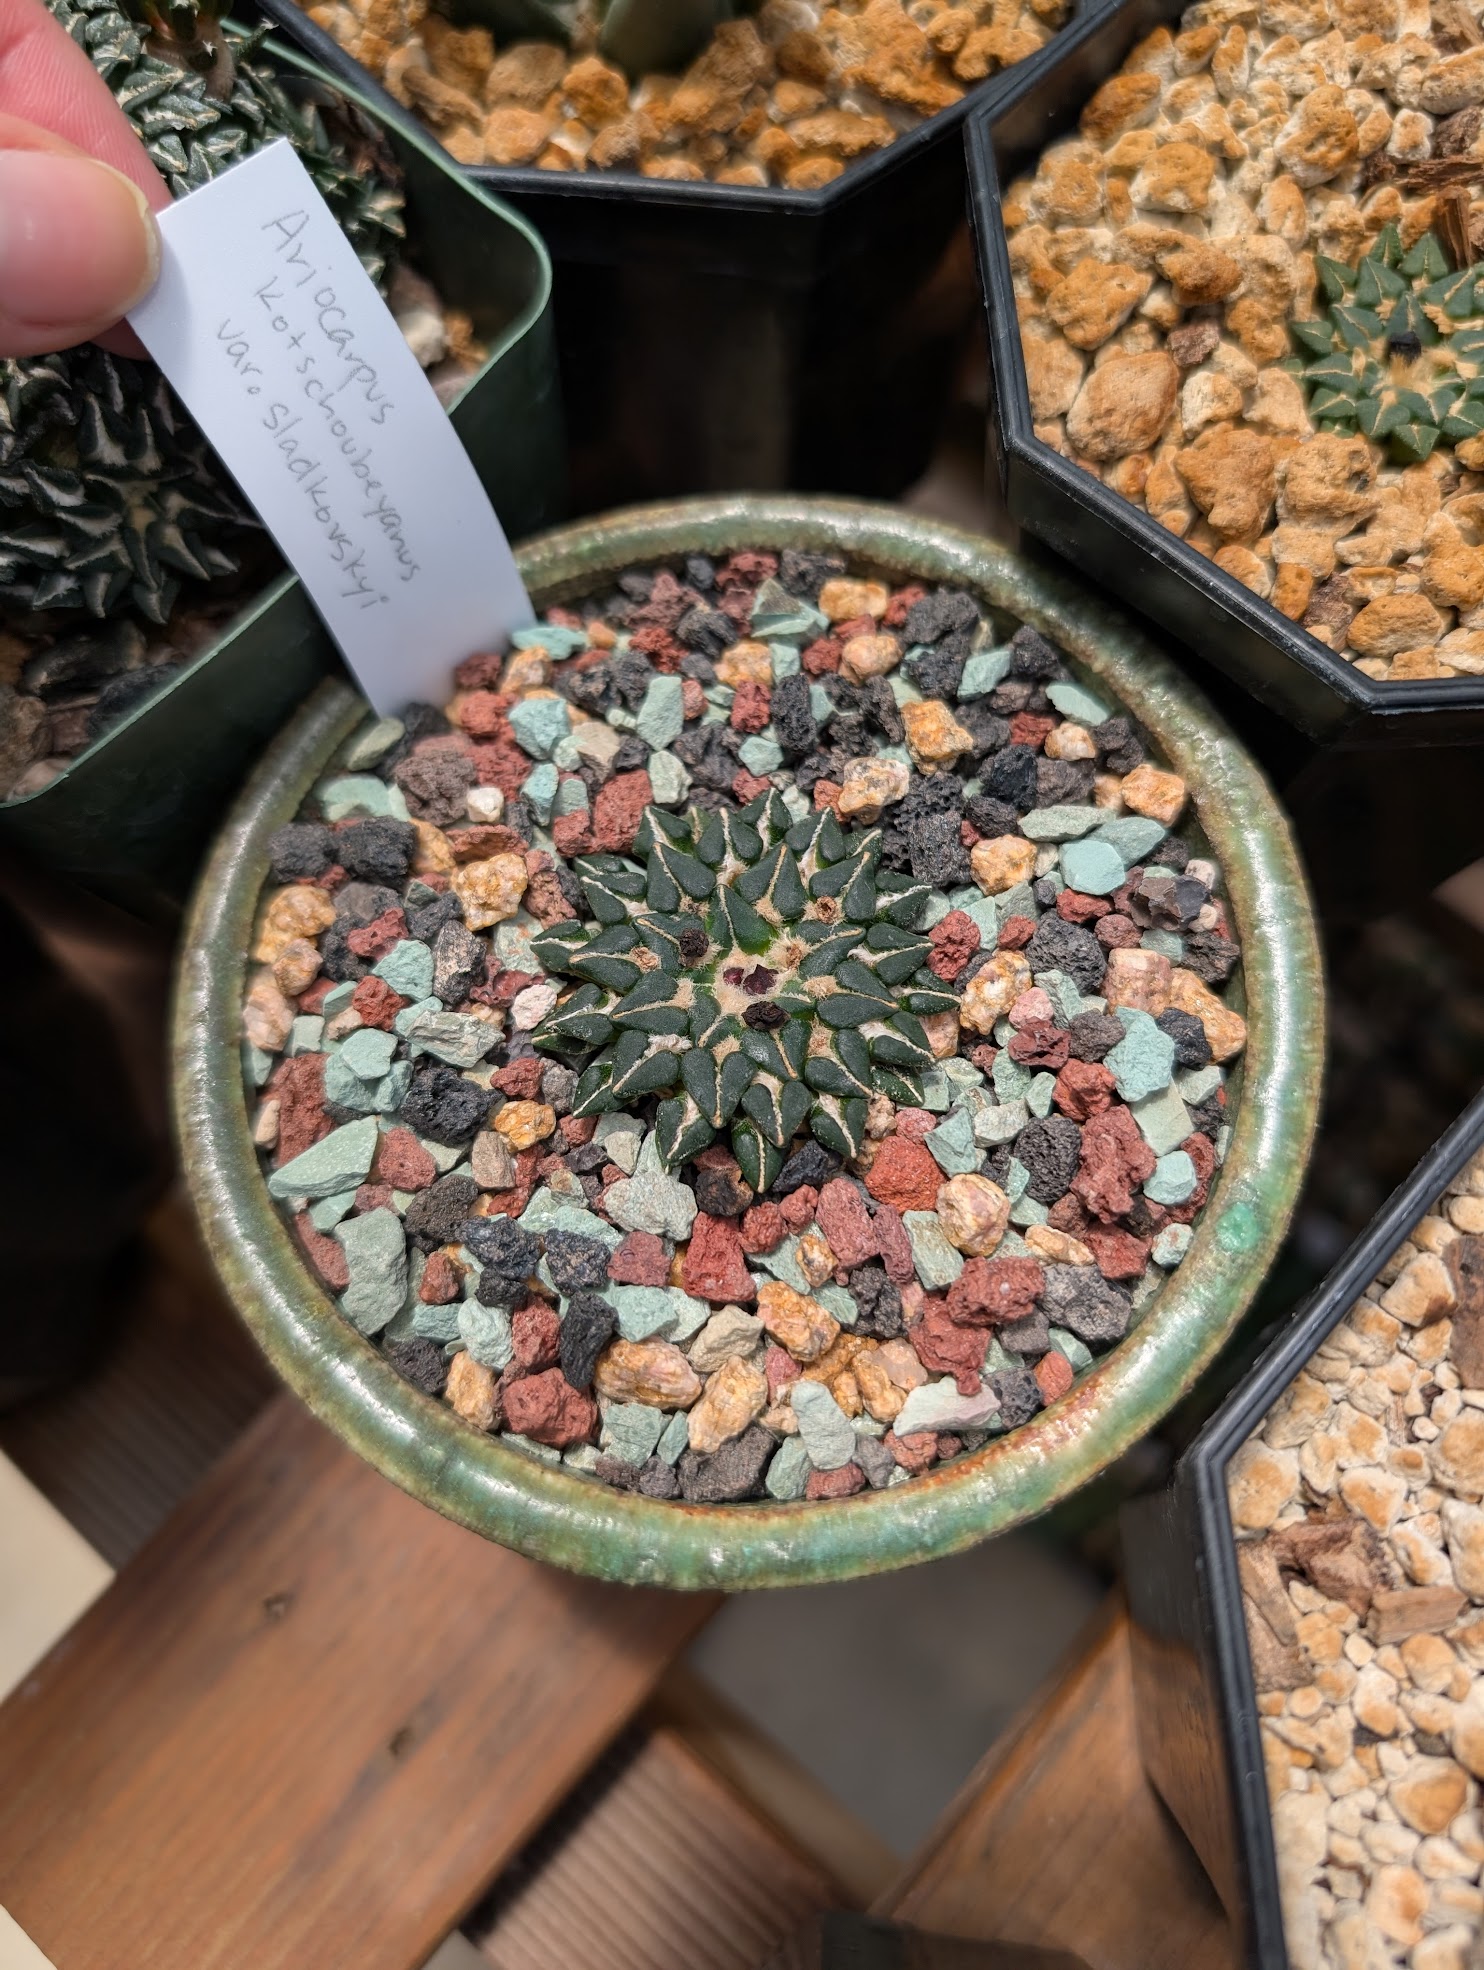
I tried that (see the Ariocarpus at right), and honestly it was just silly. The cactus grew so, so slowly. It always seemed to struggle, which can be part of the point of “hard grown”…but if you’re new to growing them, there’s no reason to make it hard on yourself, or more expensive.
I’ve seen the most success with my various Ariocarpus, this species included, with my favorite soil and pumice mix.
That’s it! If you’re somewhere more humid, you might want to consider more of a 3 to 1 ratio of pumice to soil, but I find they are happier with the 50/50 mix in my greenhouse.

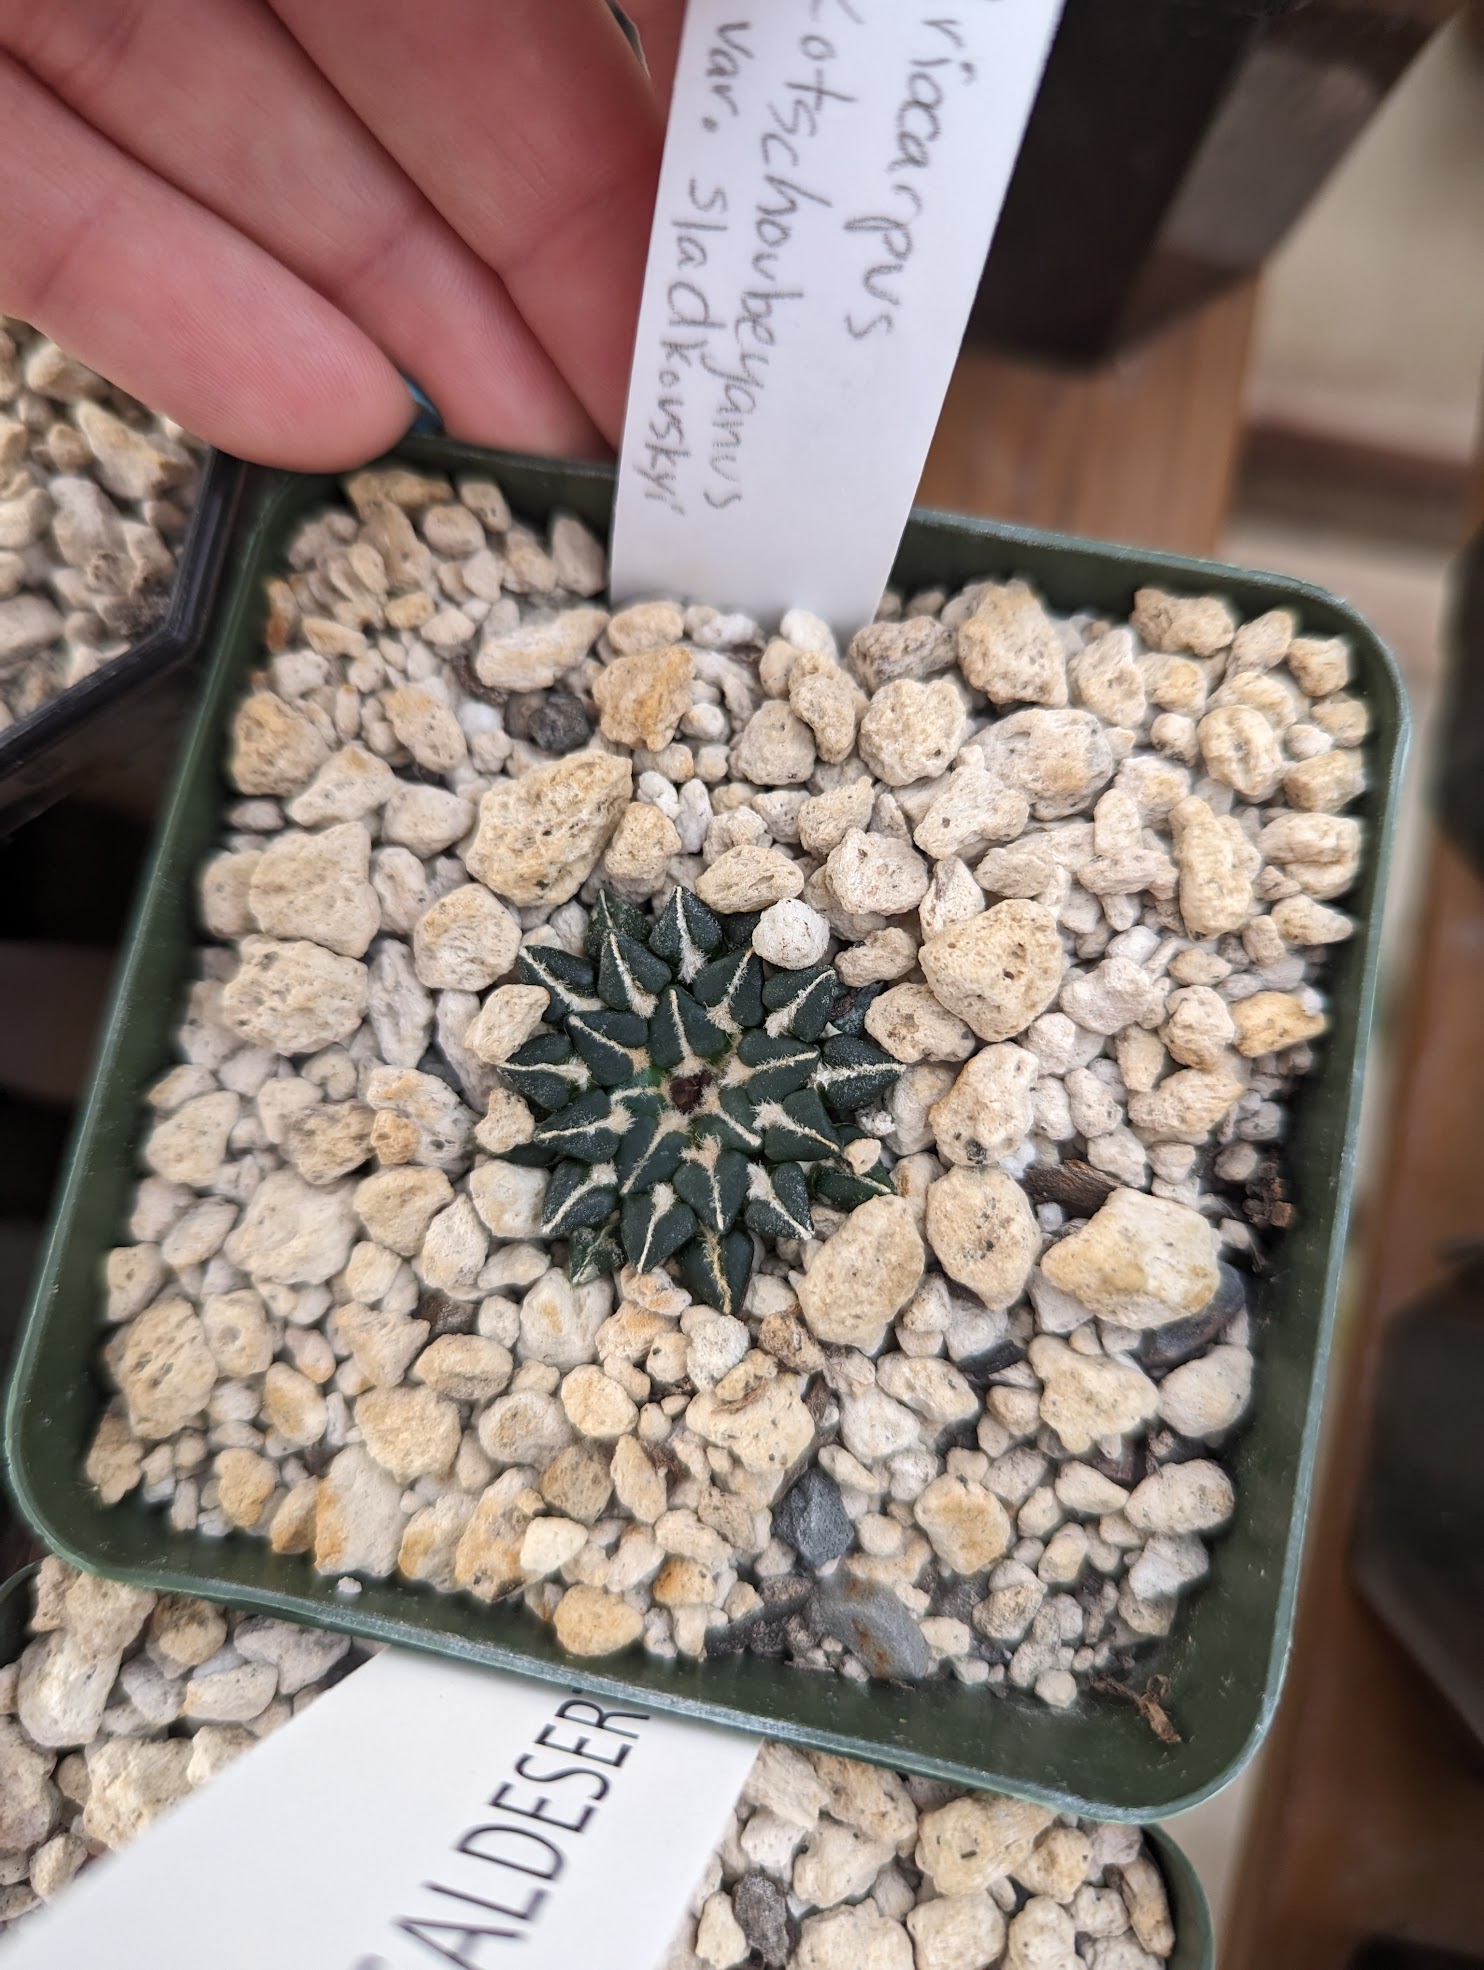
This is the same Ariocarpus kotschoubeyanus ssp. sladkovskyi as above, but in the summer of 2022 – finally back to the size it was when I’d first received it!
Top Dressing?
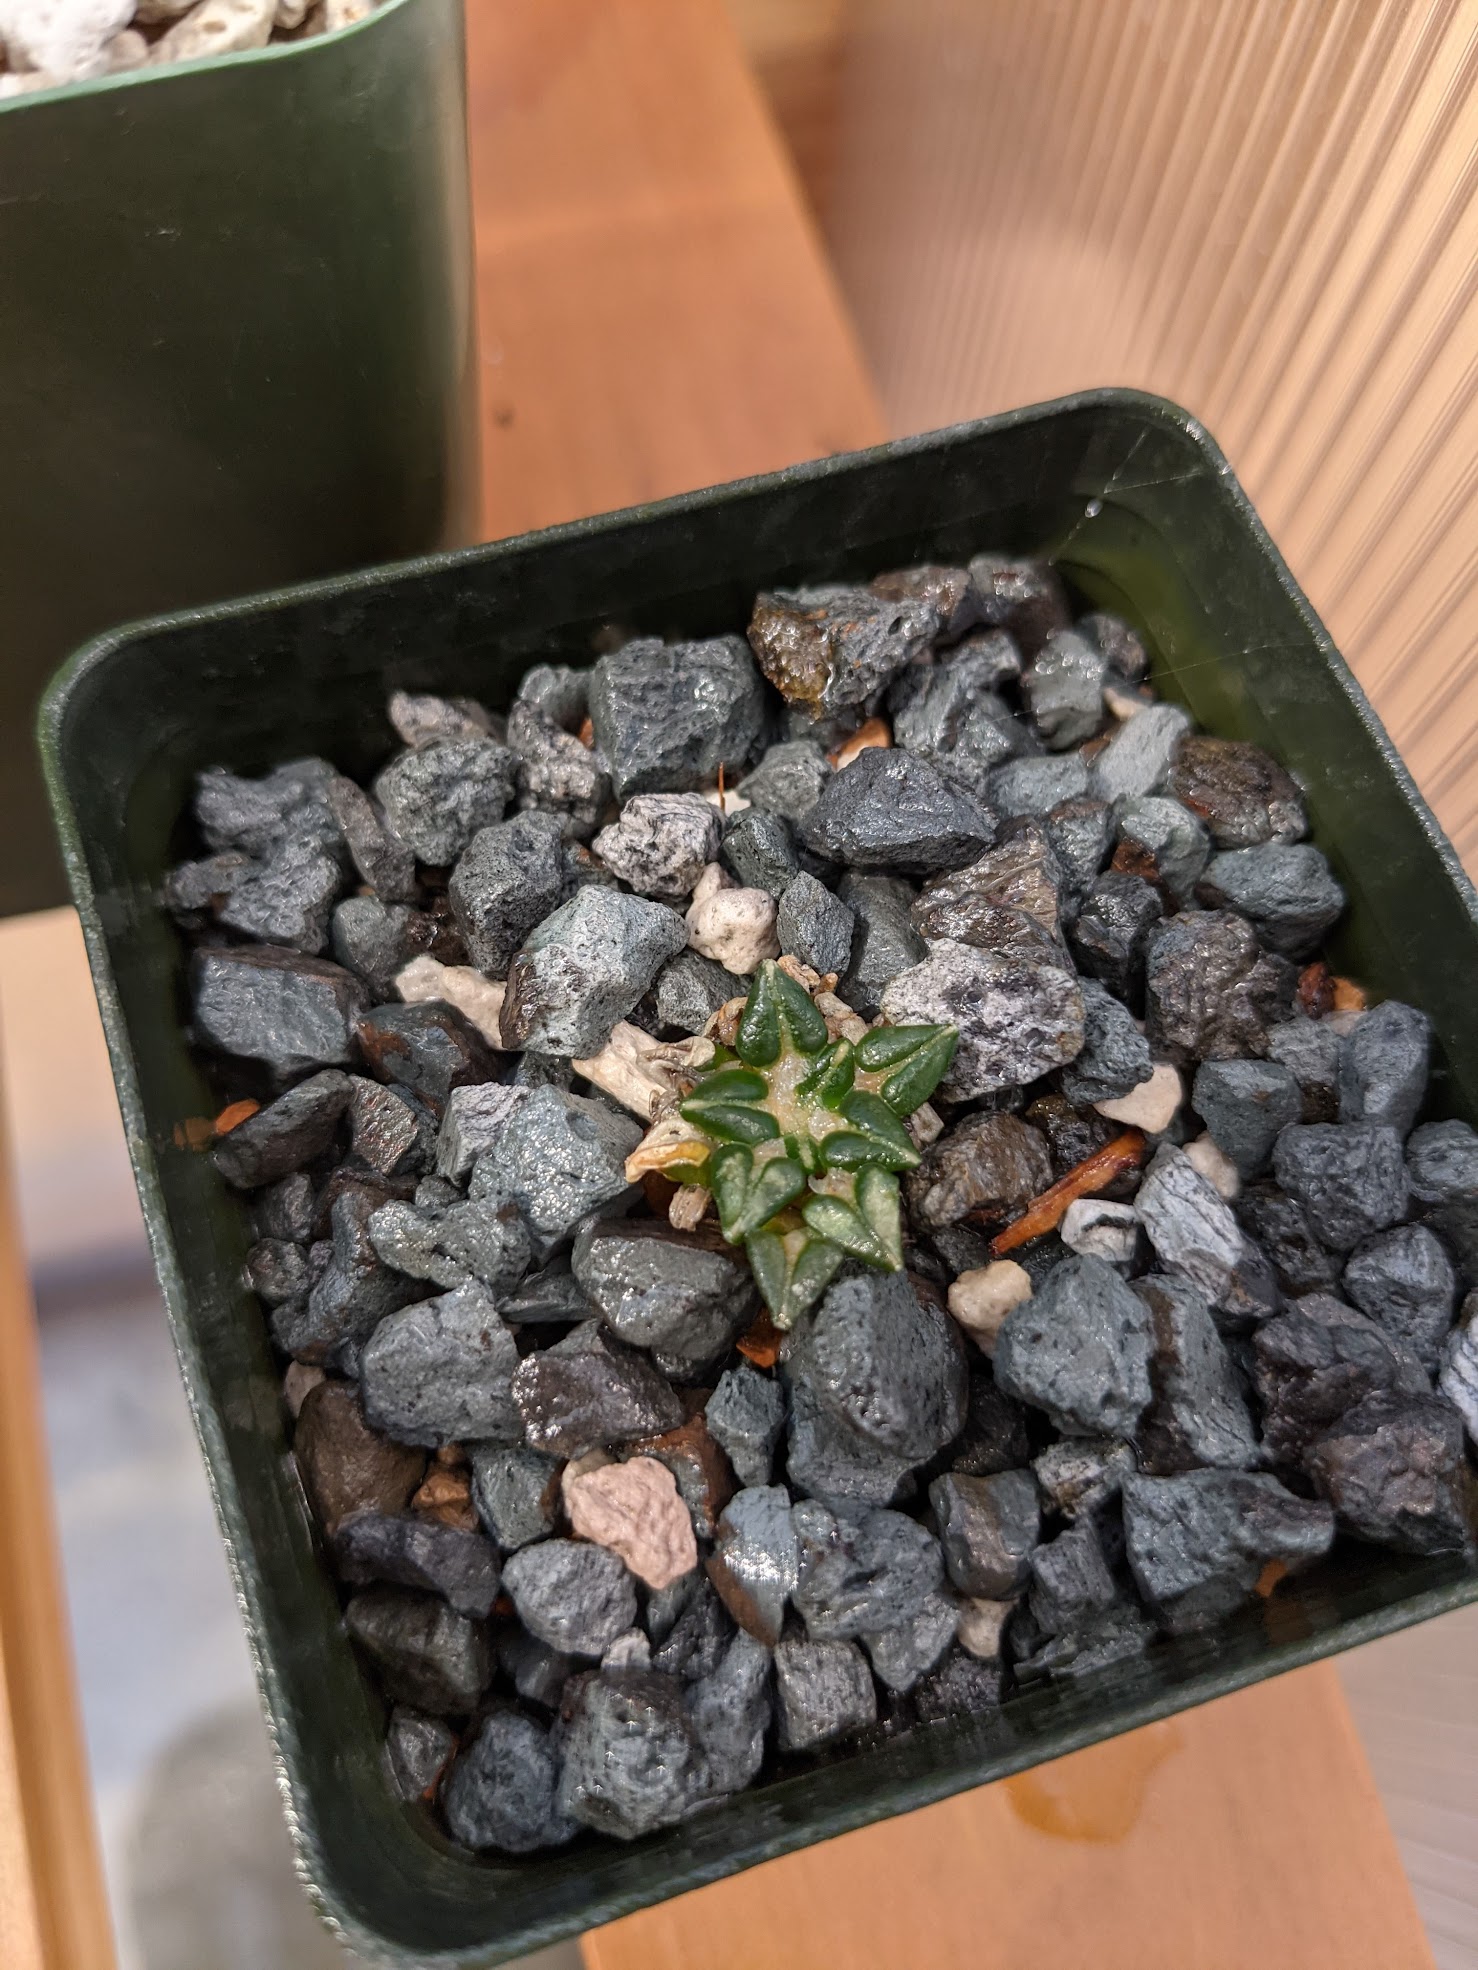
Having learned from my own mistake, I no longer use a black top dressing – although the gray stones seem fine. Instead, I generally use pumice as top dressing for my Ariocarpus that aren’t in show pots, and various (non-black) lava rock as top dressing otherwise. After seeing how others stage their kotschoubeyanus, I’m now considering a decomposed granite top dressing for mine. I’ll have to see what sort of muddy clay I can find that won’t just wash straight through.

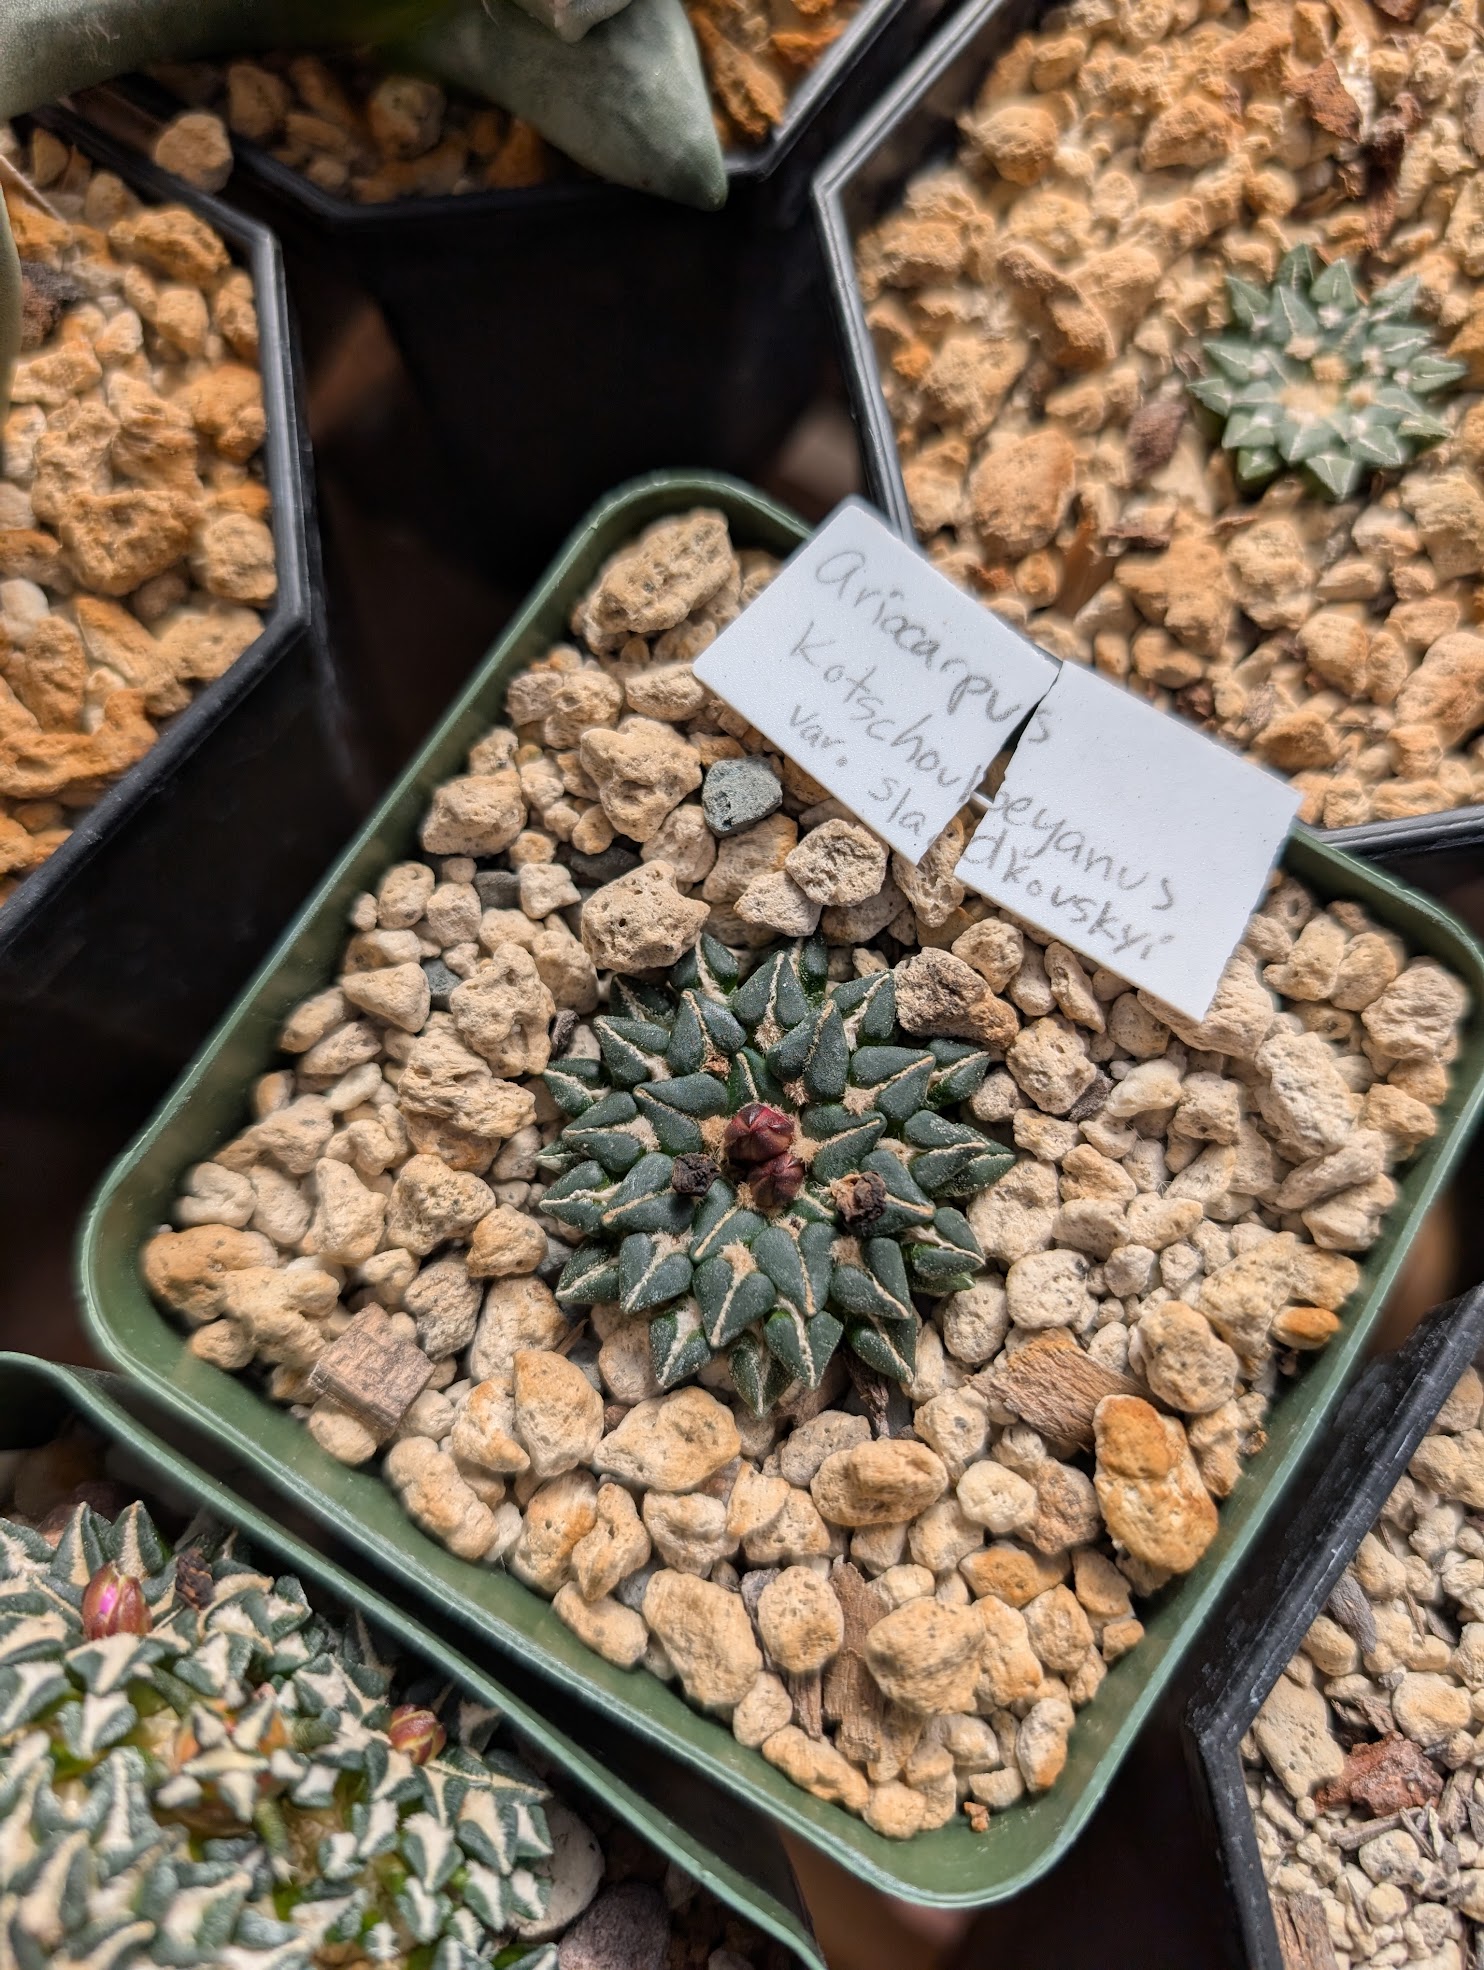
Ariocarpus kotschoubeyanus ssp. sladkovski
End of summer, 2025
Watering the Ariocarpus kotschoubeyanus
These summer growers will accept a surprising amount of water when actively growing, but they need to be kept dry all through the winter.
I water mine based on a combination of temperature, sunlight, and time of year.
I start watering in mid to late spring, when nighttime temperatures are consistently above 50F, and there’s sunshine in the forecast. Since I keep these in a greenhouse, a sunny day typically means the high temperature will be at least 80 to 85F. This year (2025), that happened in April.
The first couple times I water them, I just give them a splash – while the kotsch don’t seem to split or have the same drawbacks from lots of water right away, it’s easier for me to treat all my Ariocarpus the same.
I water only every couple weeks to start – the cacti need to be completely dry before I water them again, which prevents rot.
As it gets hotter and hotter during the summer months, I can water more often. I have been trying not to, though, to encourage my desert plants to have a harder grown appearance. After seeing lots of large, de-grafted Ariocarpus imported from overseas, I’ve realized I’m not a huge fan of the fast-grown look and how enormous those plants are.
In past years, I’ve watered my Ariocarpus as often as once a week during the hottest months of summer, but this year I’ve been stretching it further. It’s nearly the end of June, and I’ve only watered the Ariocarpus twice!
Summer is as summer does, and by the end of the season, I’m usually pretty lazy about watering. That means I water when I remember or have the energy to get to it before 10 am and it’s hot outside. Sometimes that’s weekly, often it’s every 2 weeks, and once I skipped a whole month.
Ariocarpus do not mind this one bit.
The months that get haphazard for me are August, September, and October – our warm weather lasts longer these days, so the cacti get a few extra weeks of growing season. The only consistent thing I aim for is to ensure I’ve watered the greenhouse if there’s more than a couple days above 90F in the forecast.
As nights start to cool down, though, I stop watering as much. Ariocarpus kotschoubeyanus should be kept pretty much entirely dry when the lows start consistently being the 40sF.

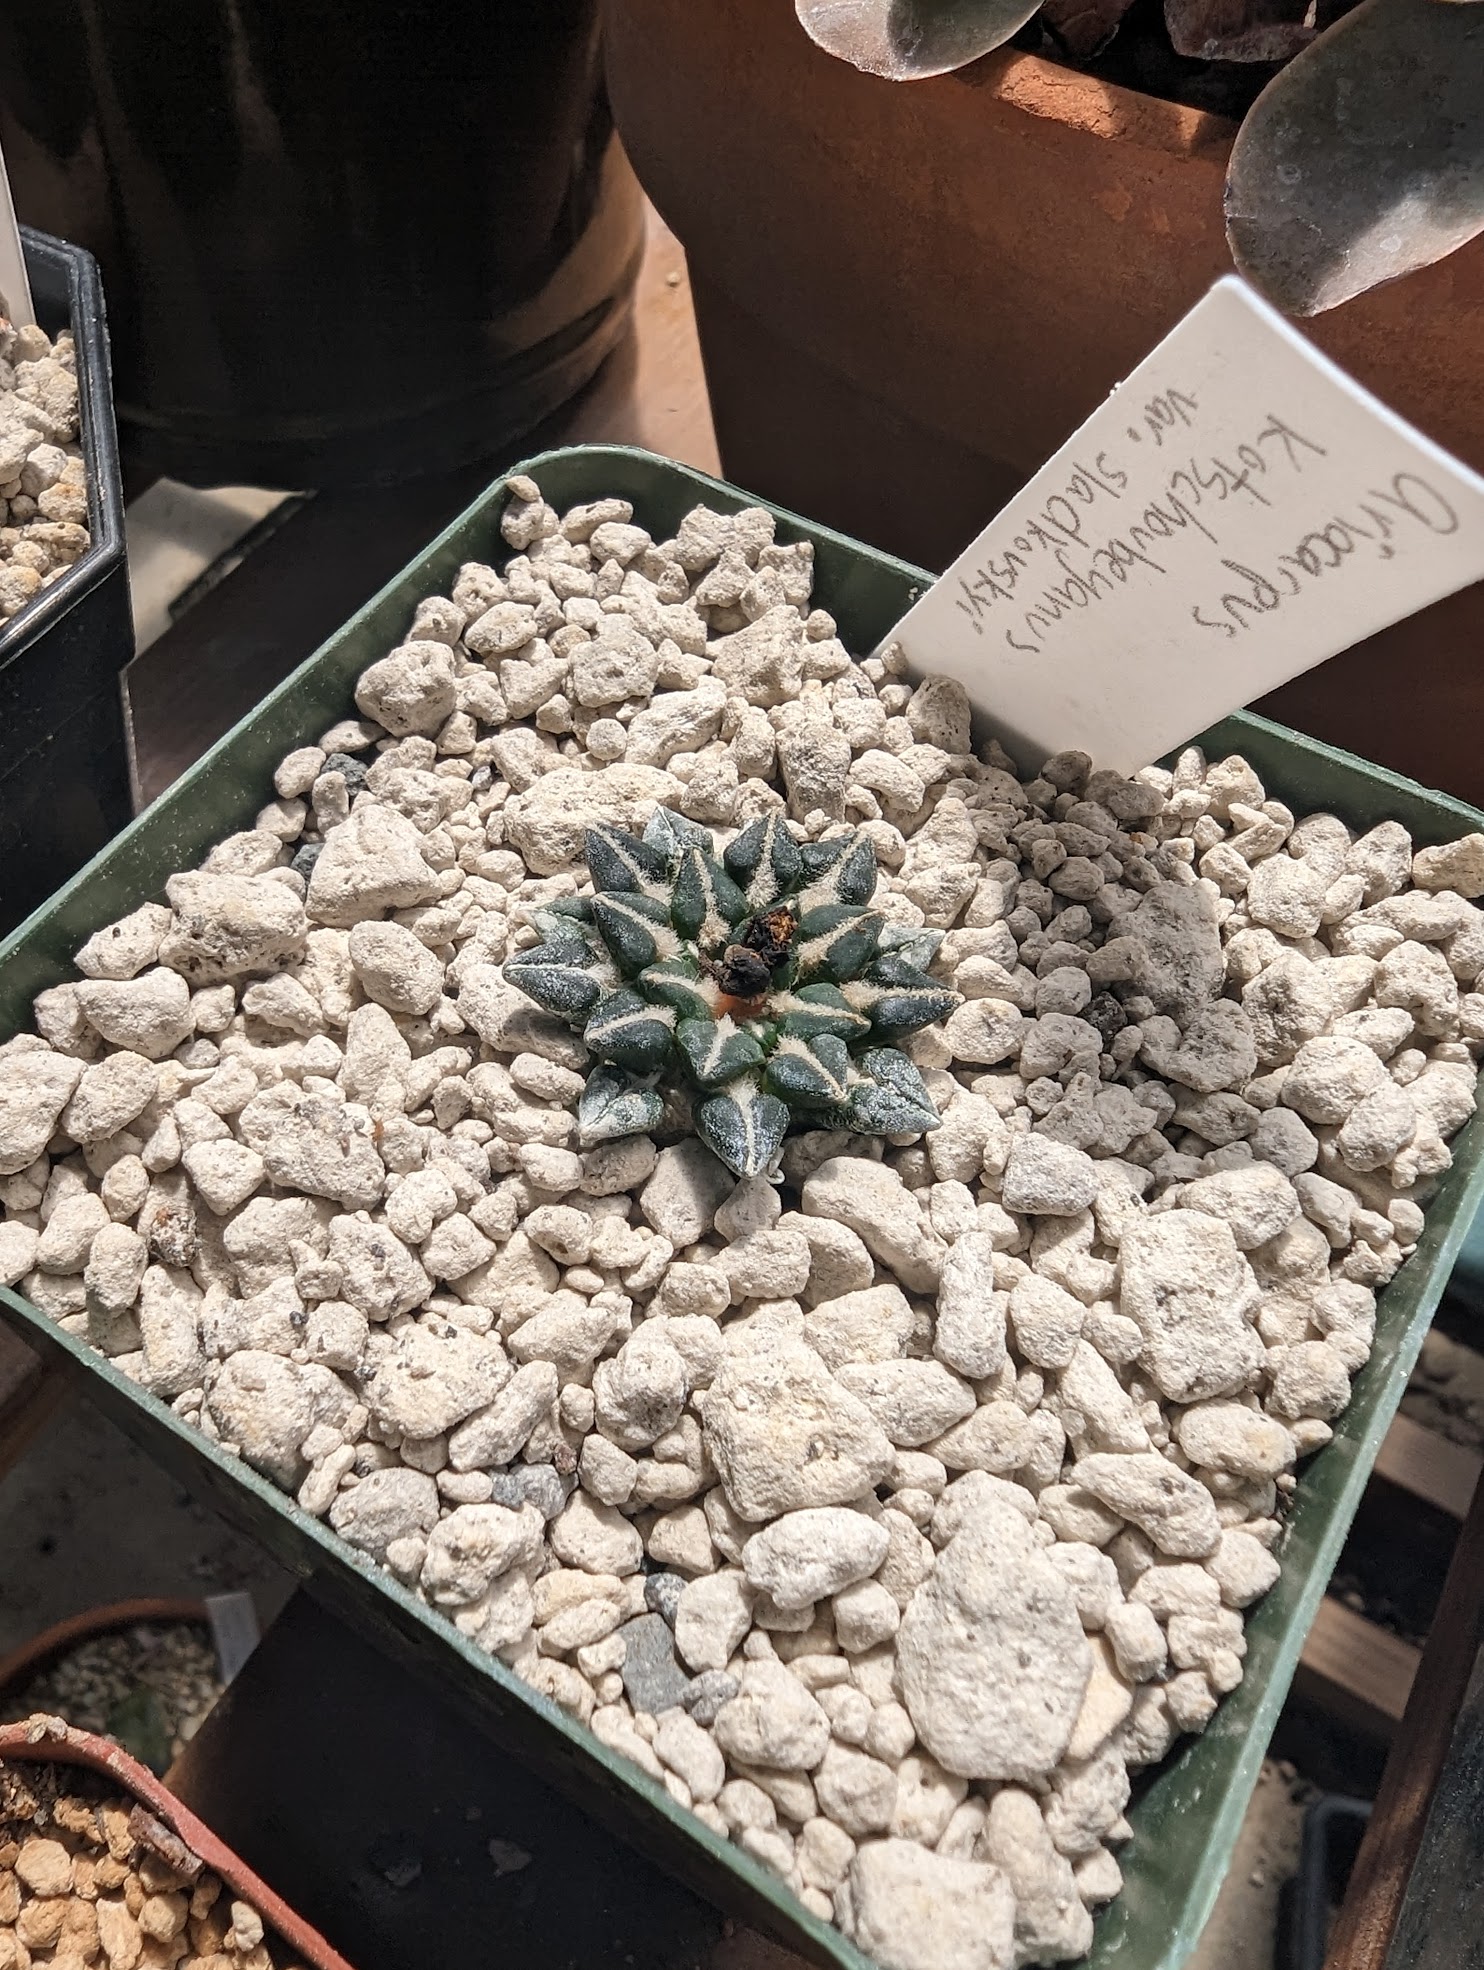
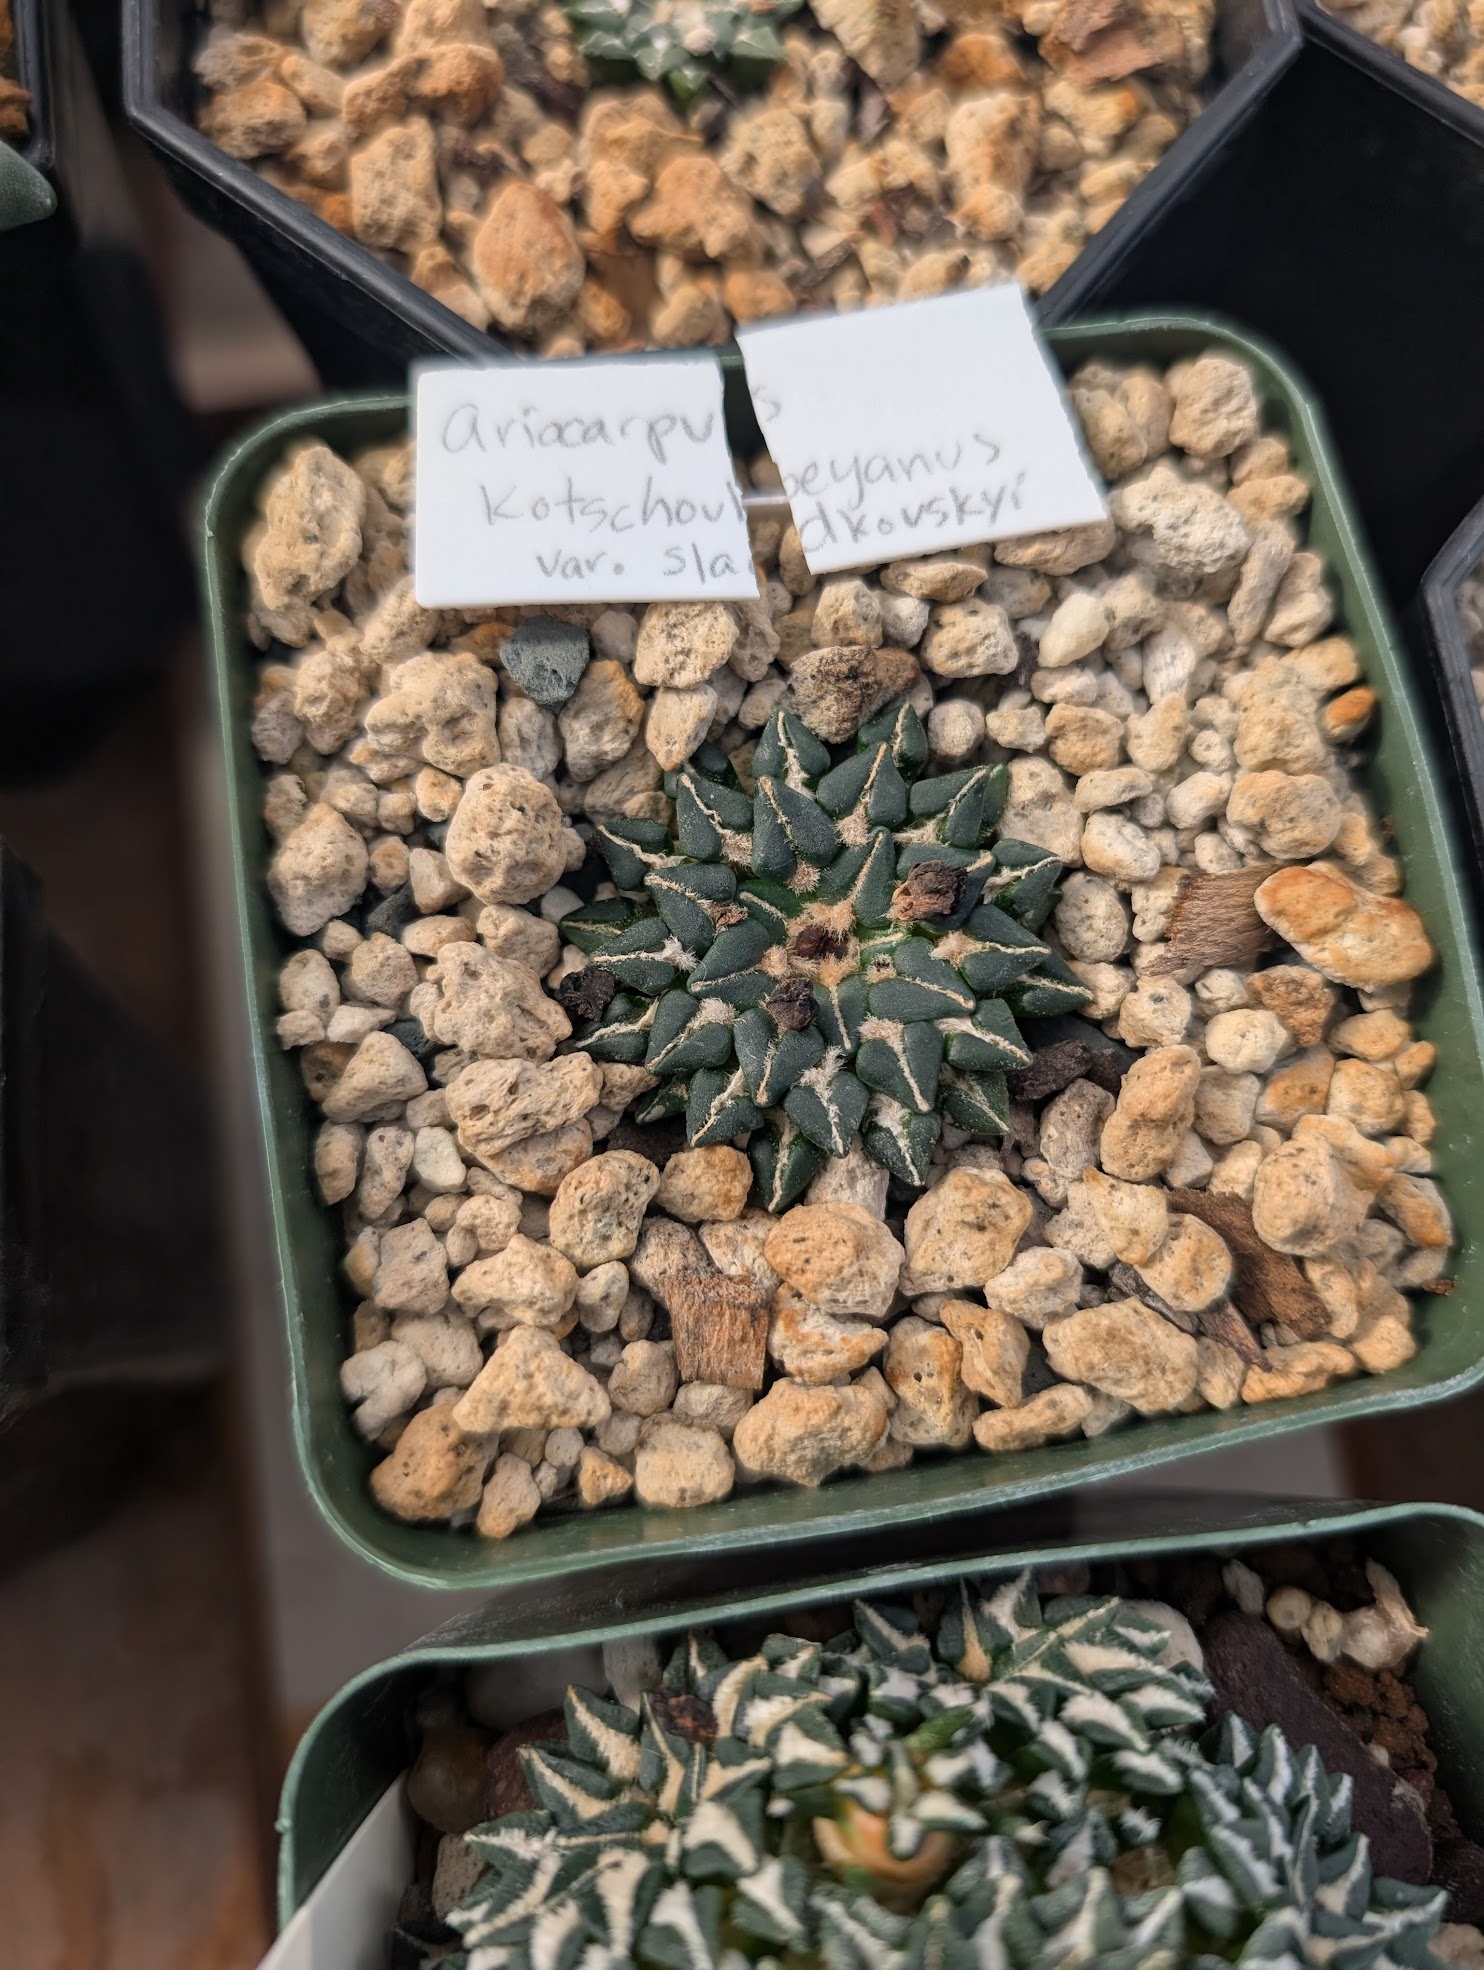
My second Ariocarpus kotschoubeyanus ssp. sladkovskyi – once this starts blooming, the two of the same subspecies will coordinate their flowers and I can produce pure seed.
Around November is when I stop watering the Ariocarpus almost entirely. If you’re not growing yours in a greenhouse, with San Diego warm winters, you can probably hold back water entirely.
We have the occasional warm day, and I’ll splash the Ariocarpus as I go by to water my winter growers, but I don’t try and have water completely flush through and drain out of the bottom of their pots. The only reason I do this is to help prevent the roots from crisping away too much – my greenhouse will still reach 80F during the day in winter, and that warmth can be a bit much for a winter-dormant cactus.

Do you need to fertilize your Ariocarpus kotschoubeyanus?
Nope. I know I’ve mentioned a blue fertilizer in the past, which you can offer – especially if you’re trying to encourage plentiful blooms to create seeds – but they generally don’t need the food.
These days, I typically will just sprinkle some Osmocote on the cacti at the start of the growing season, and call it good.

Blooming season for Ariocarpus kotschoubeyanus
These lovely plants bloom almost on cue every October and occasionally into November for me.
They bloom, and then take all winter and spring to mature the fruit. The flowers are generally a sign that the cacti are getting ready for winter, and are a very reliable signal that soon, you can and should stop watering.
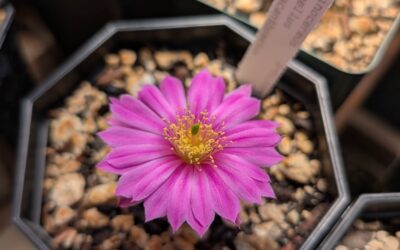
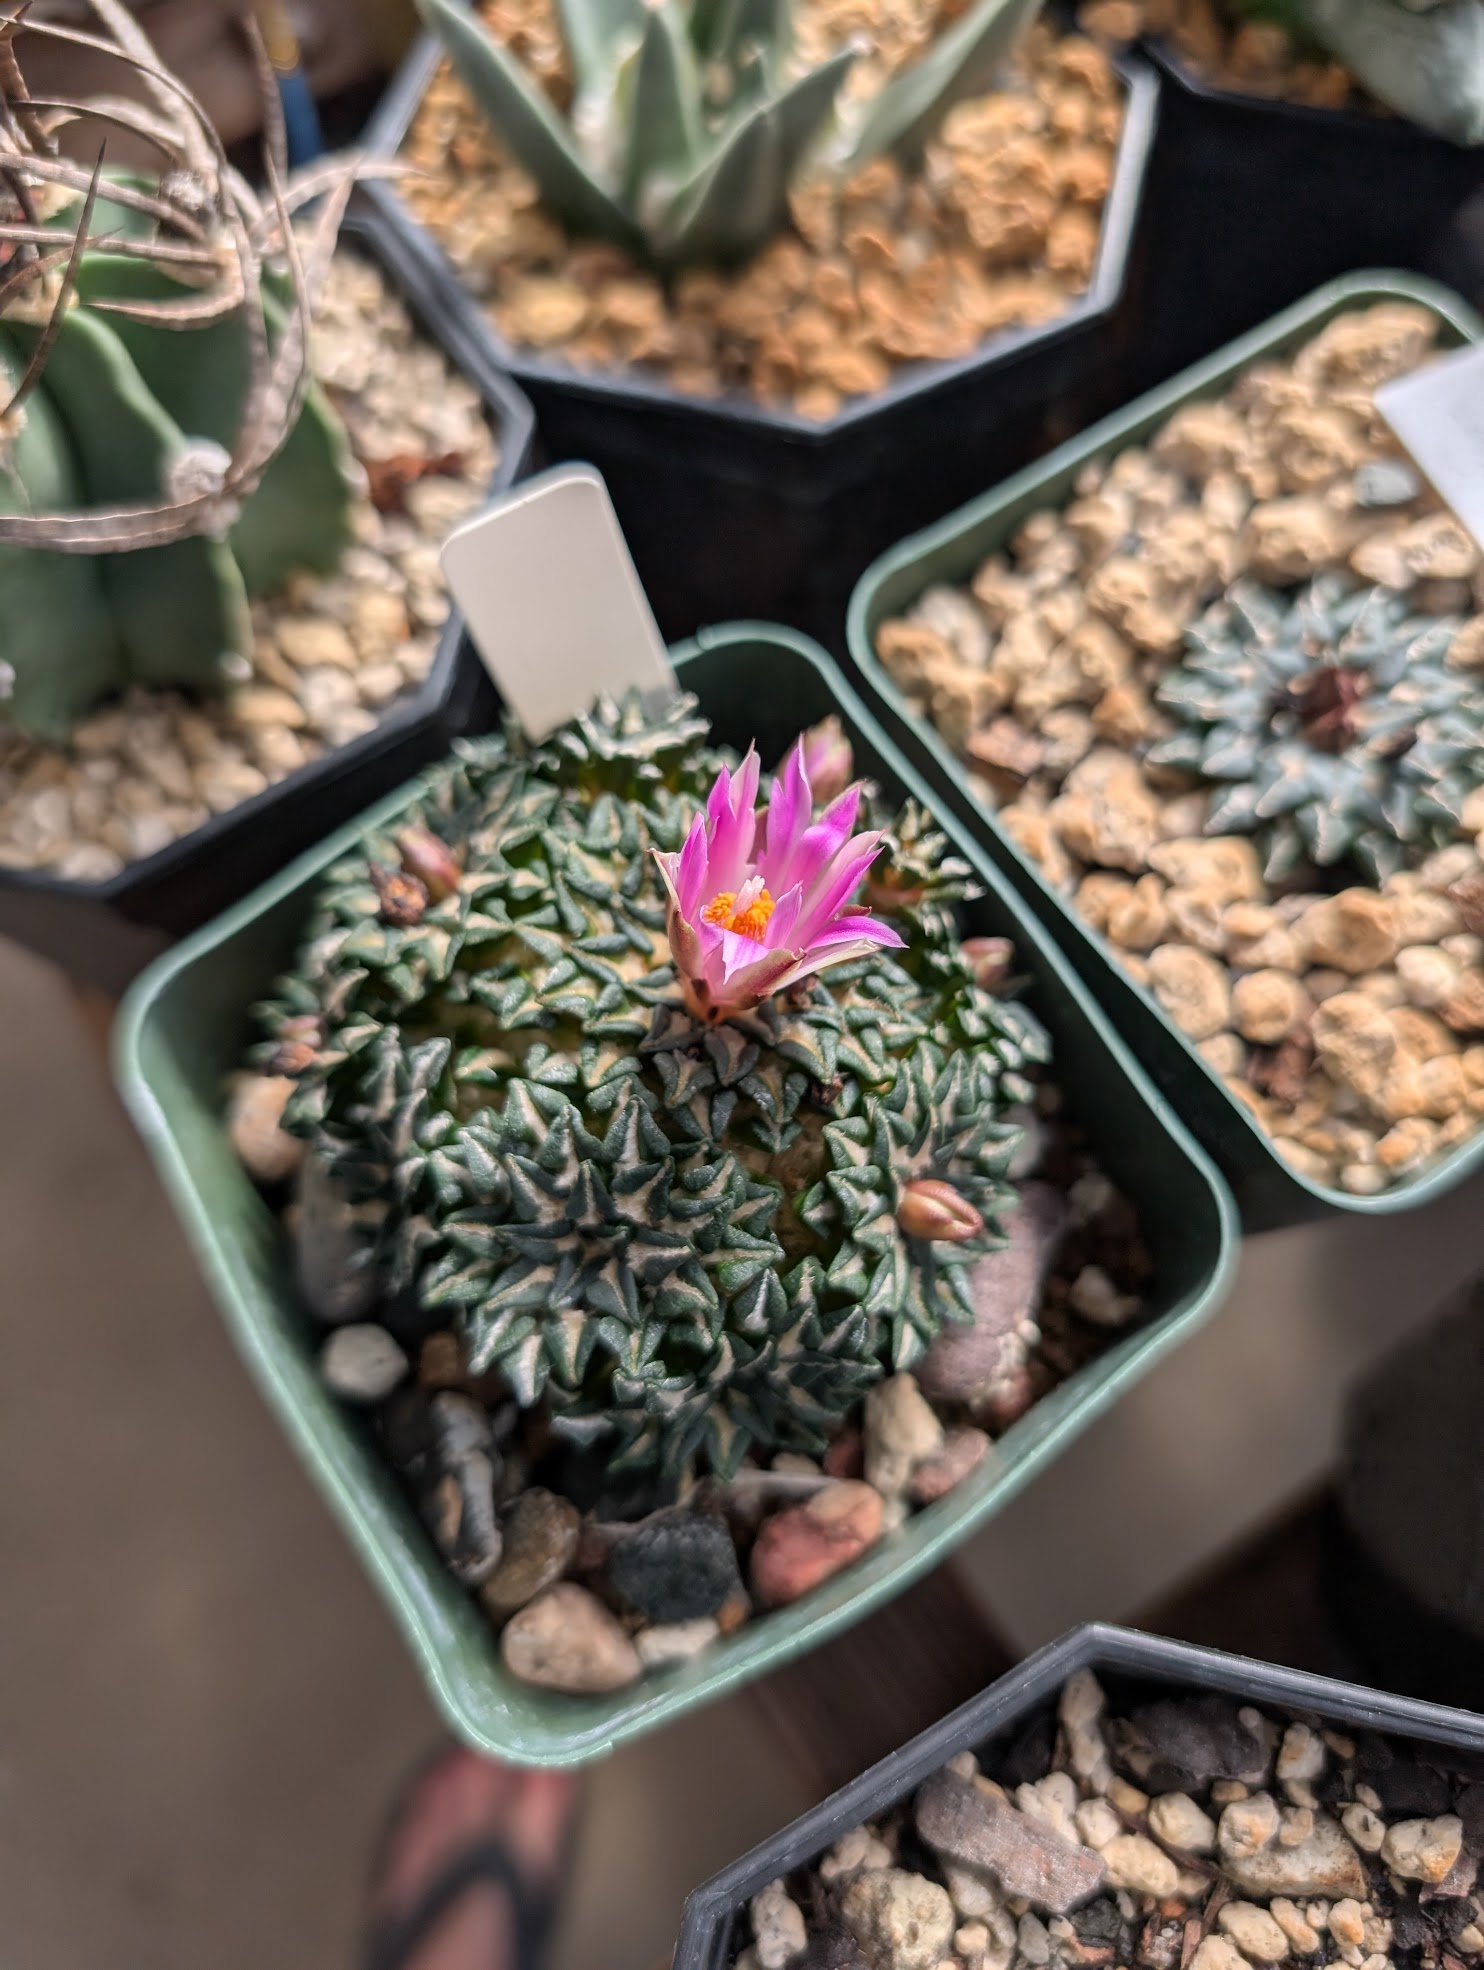
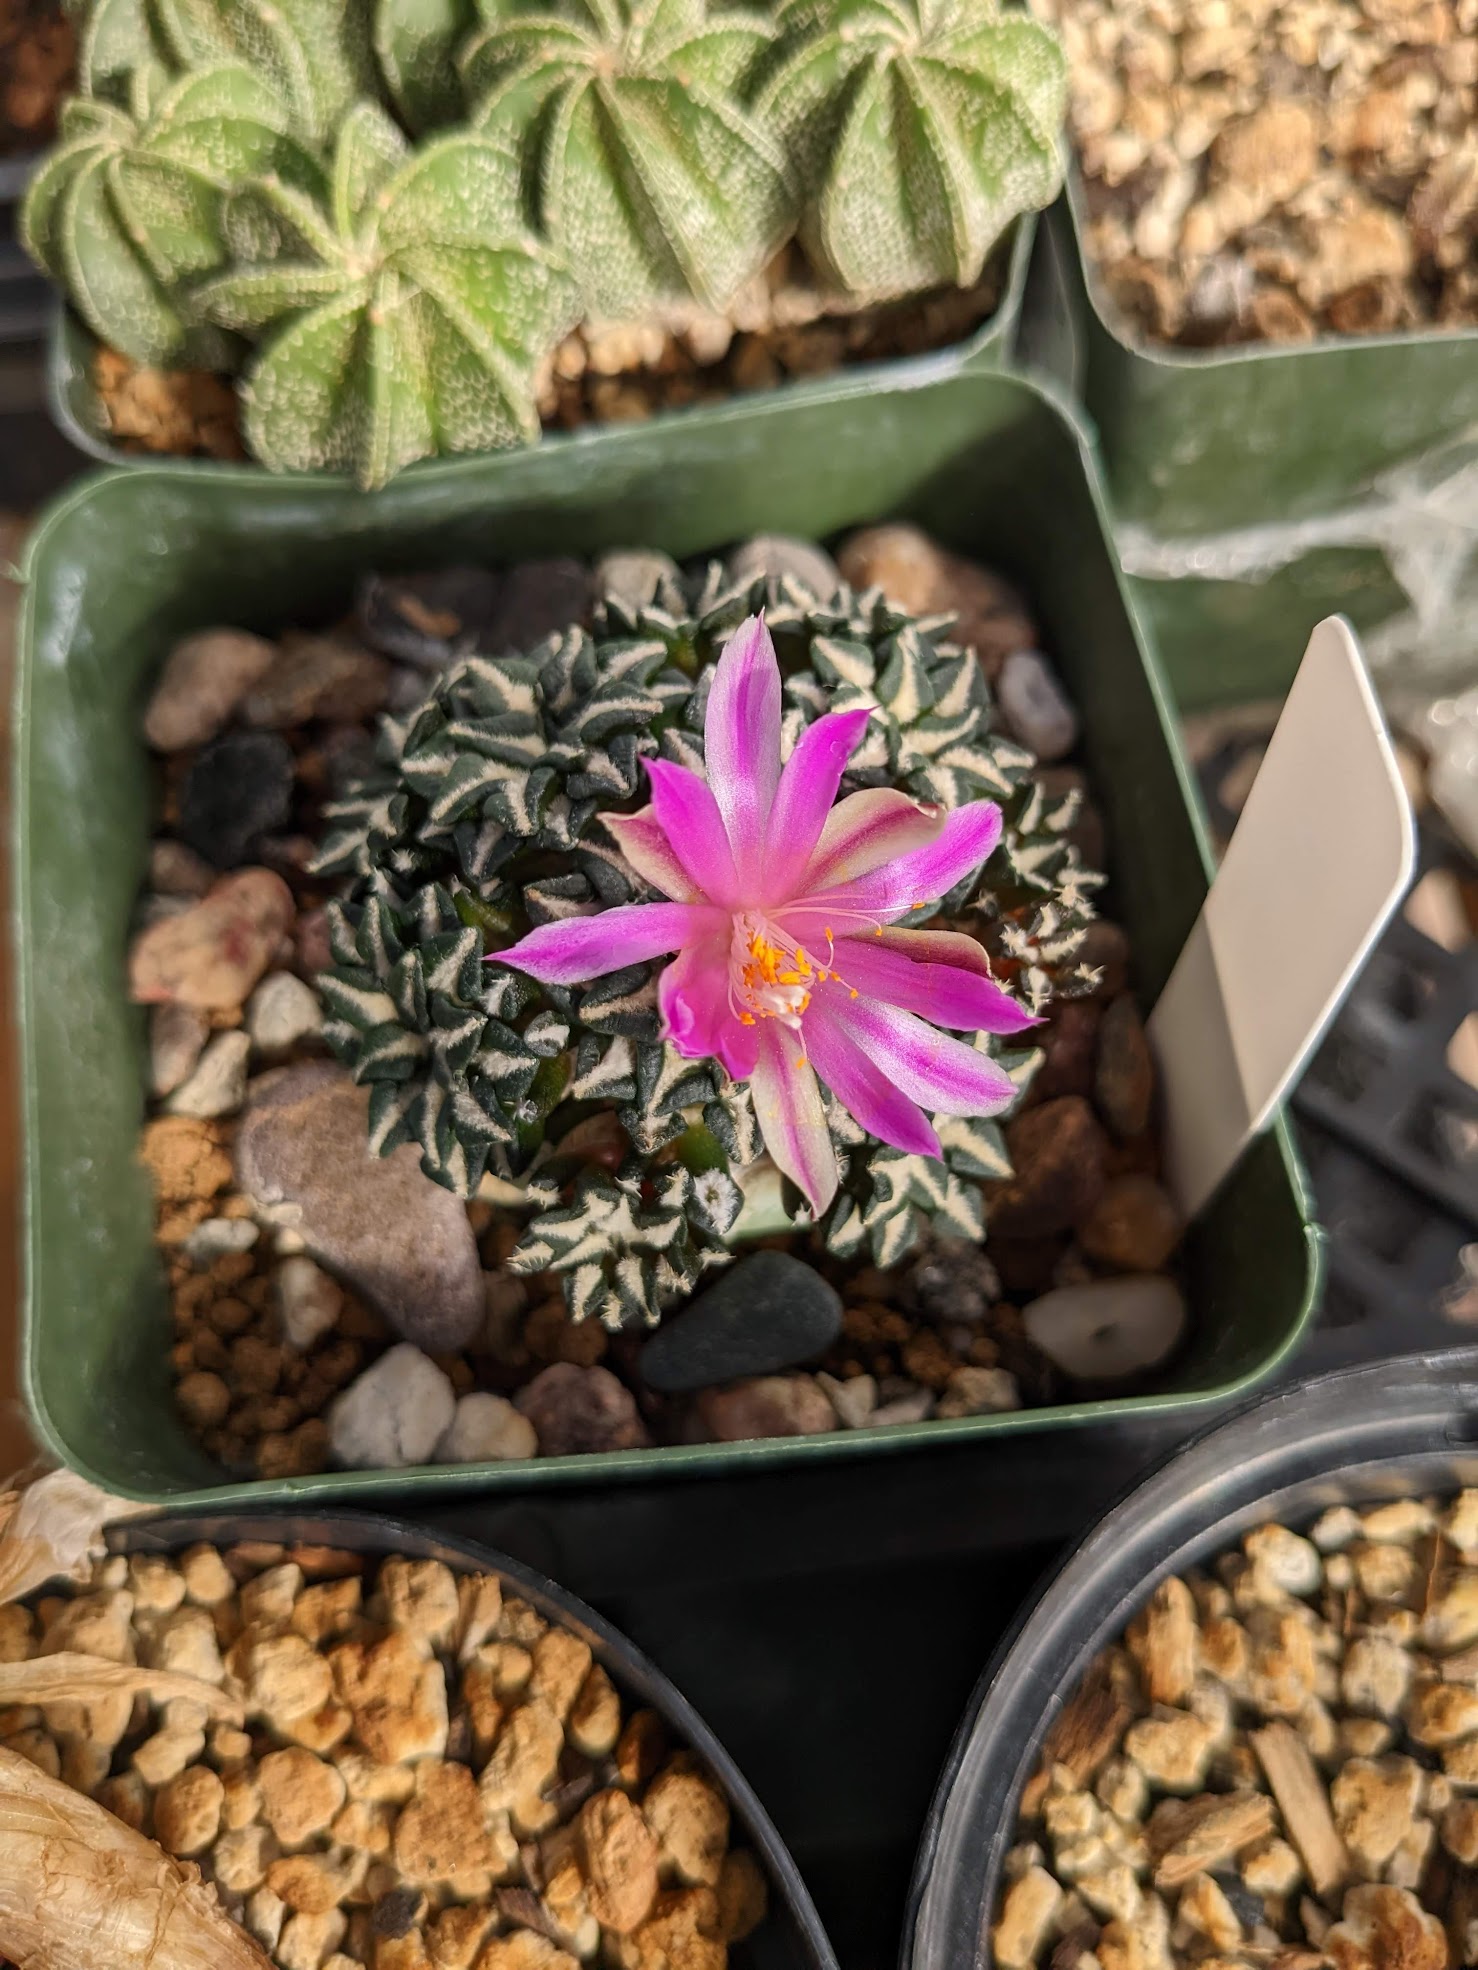
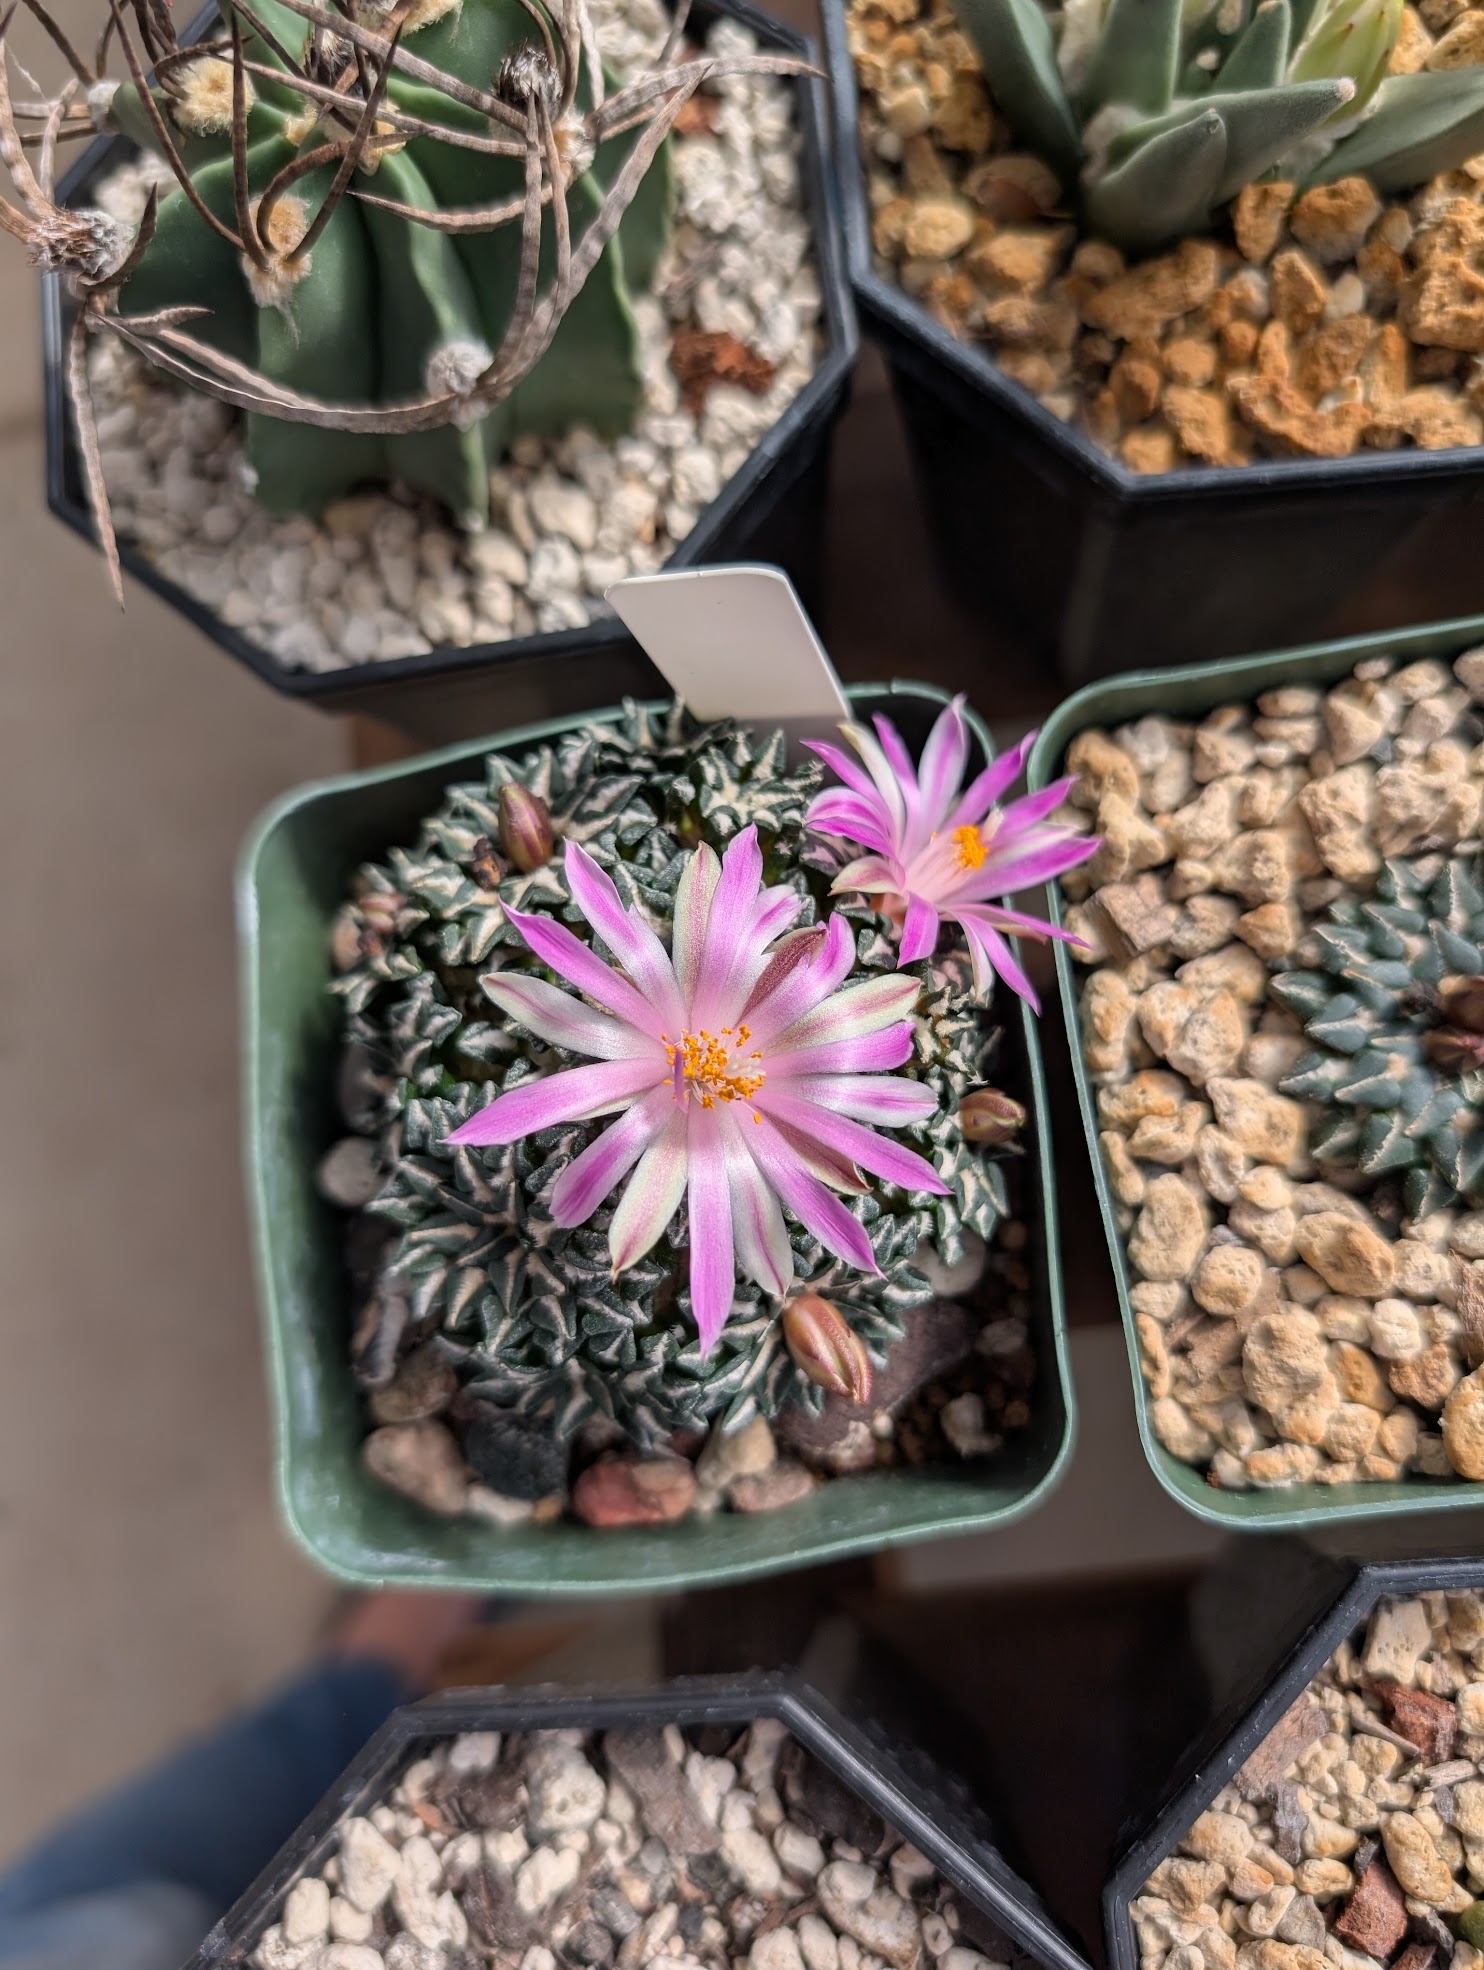
The flowers for this species are generally pink, and range from pale pink, almost white, to a bright, deep pink depending on the locale or subspecies. They’re usually bigger than the body of the cactus itself, and in habitat, seeing a bloom can sometimes be the only way to find them!
You do need at least two plants to successfully generate seed; they can’t self-pollinate.
Providing Light for Ariocarpus kotschoubeyanus
As desert-growing cacti, they really need bright light. That doesn’t mean it needs to be full, blinding sun the entire time. Keep in mind that in habitat, they grow with a layer of mud on them – they’re happy for at least a little shade!
Mine are doing well in my greenhouse with 40% shade cloth over them, although the morning sunlight angle is protected by only 10%.
At your home, you’ll have to experiment with ideal placements, and likely lights as well if you’re growing these plants indoors (even by a window). Do not skimp on your lights! Those dinky little pinky-purple-blue lights are not enough!
You’ll want bright, white lights – some equivalent that’s potentially bright enough to successfully grow vegetables or herbs compactly inside. I’m not a huge fan of clip-on lights, but if you only have a few plants, these Sansi clip-on lights might be enough. If you check out the Sansi “store” page on Amazon, you’ll see that the promoted storefront images with customer photos only have one photos with cacti and succulents – and that person is using a substantially higher power light for those plants.
There’s other options, but you’ll notice many of these LED style, nice and bright and high lumen output (this one is 2800 lumens!) are all on the more expensive side of lighting. For something bright and effective, you’ll need to fork up some change. If you want to hunt around for less expensive options, check the customer photos and reviews – be sure that the people posting “this is great!” have healthy, non-etiolated plants under those lights. You can also check for lights used to grow weed; anything strong enough for those will be an adequate amount of light for your cacti, too.
The different subspecies
I honestly don’t know how many different subspecies or locales there are, but there are quite a few if you count localities. My knowledge of those subspecies is also limited to what I can find with some cautious Googling!
According to Llifle:
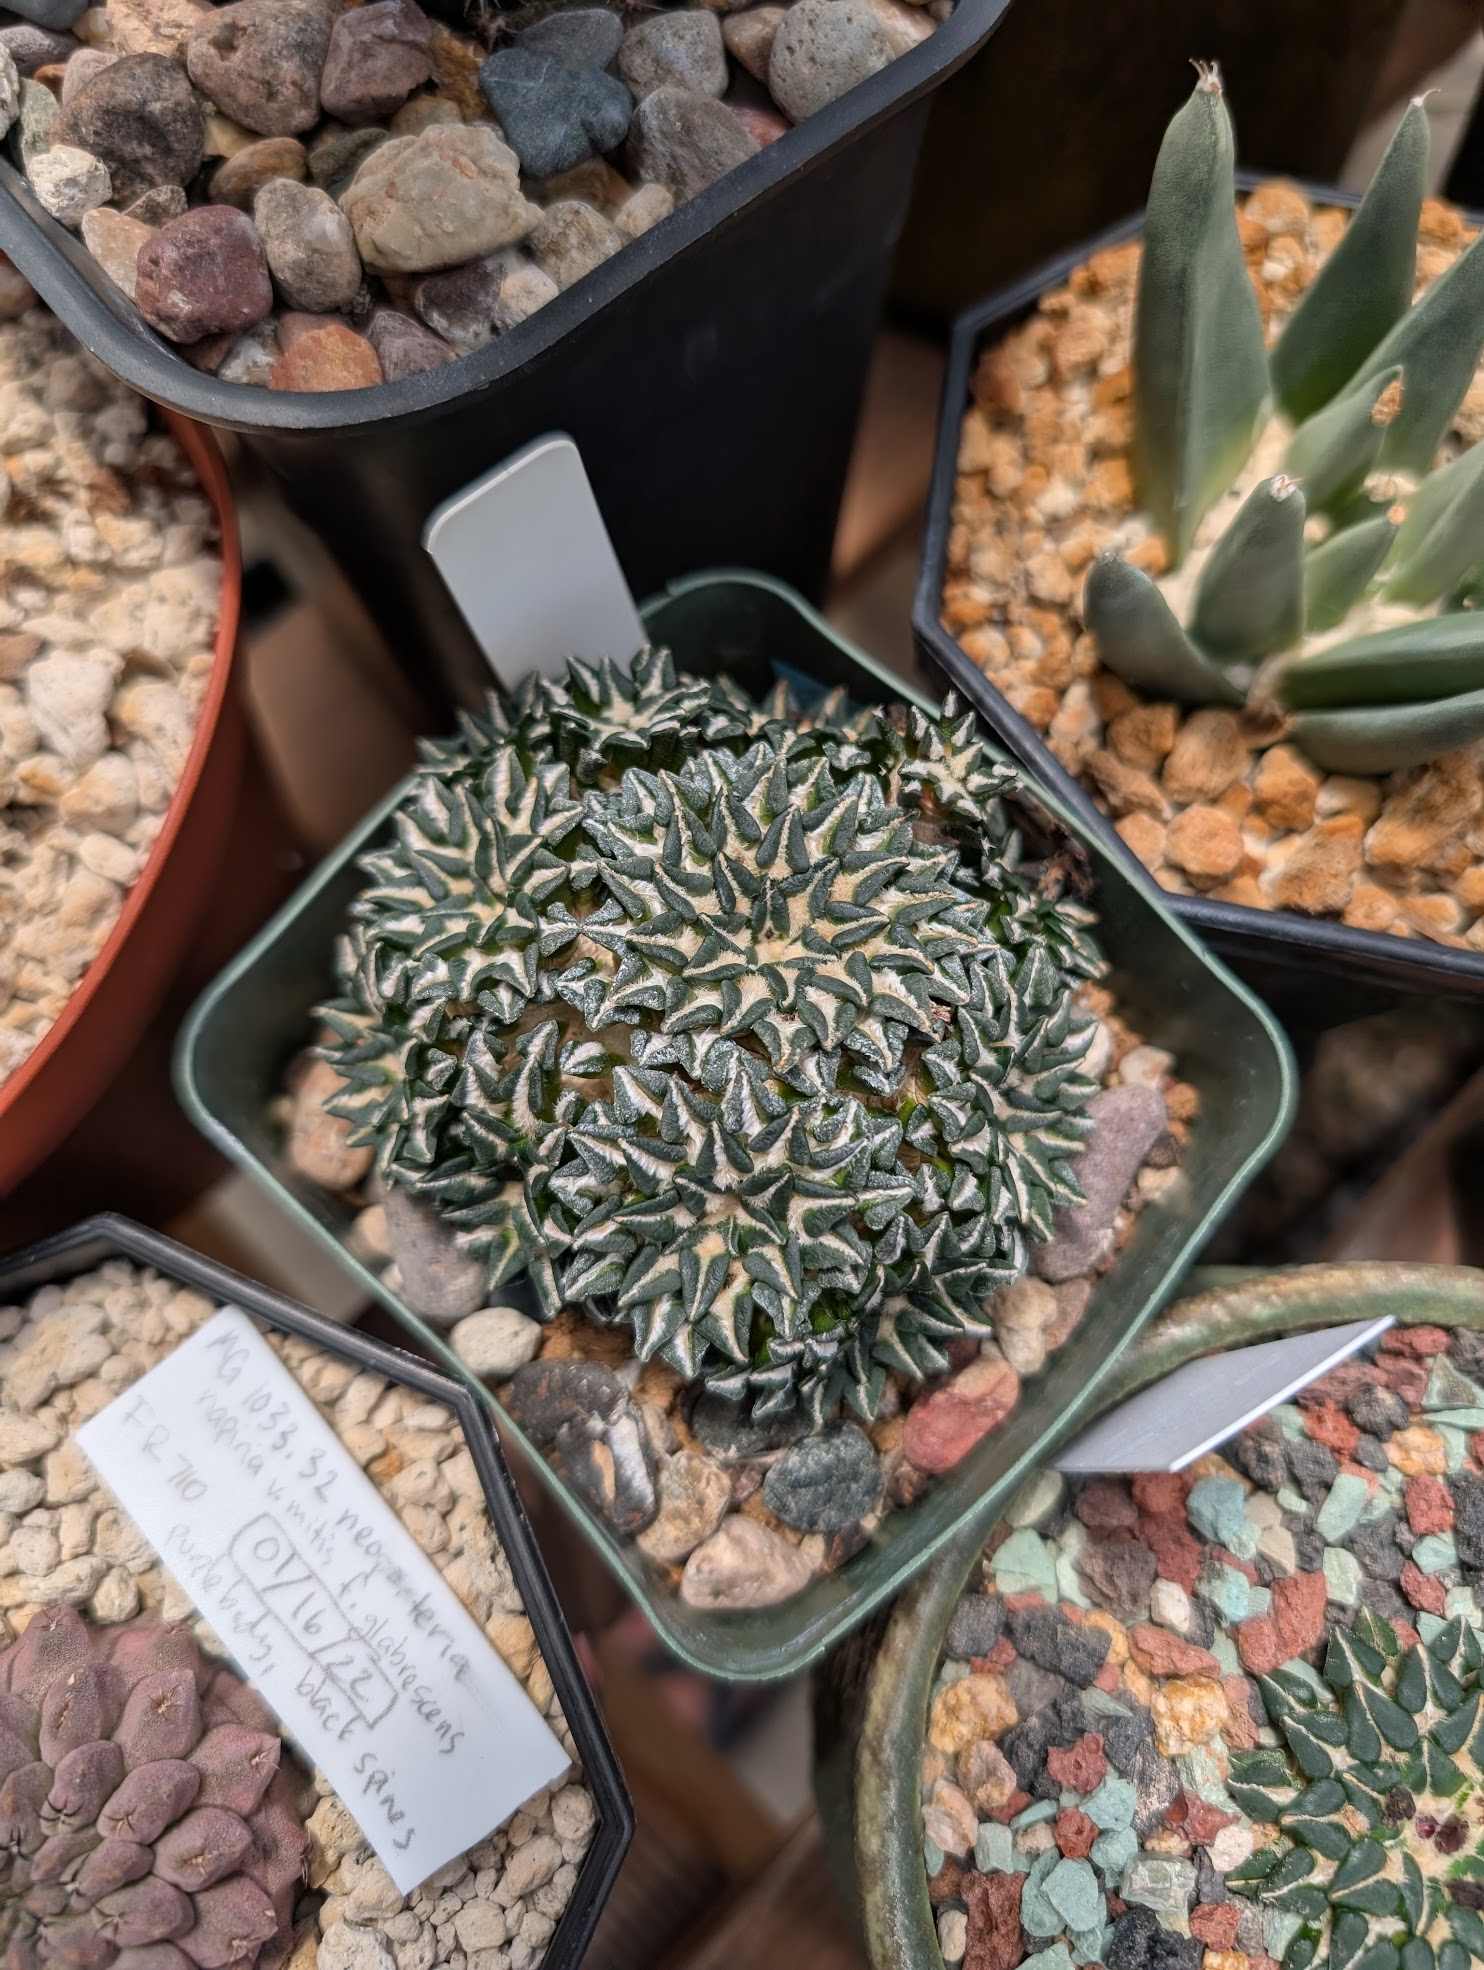
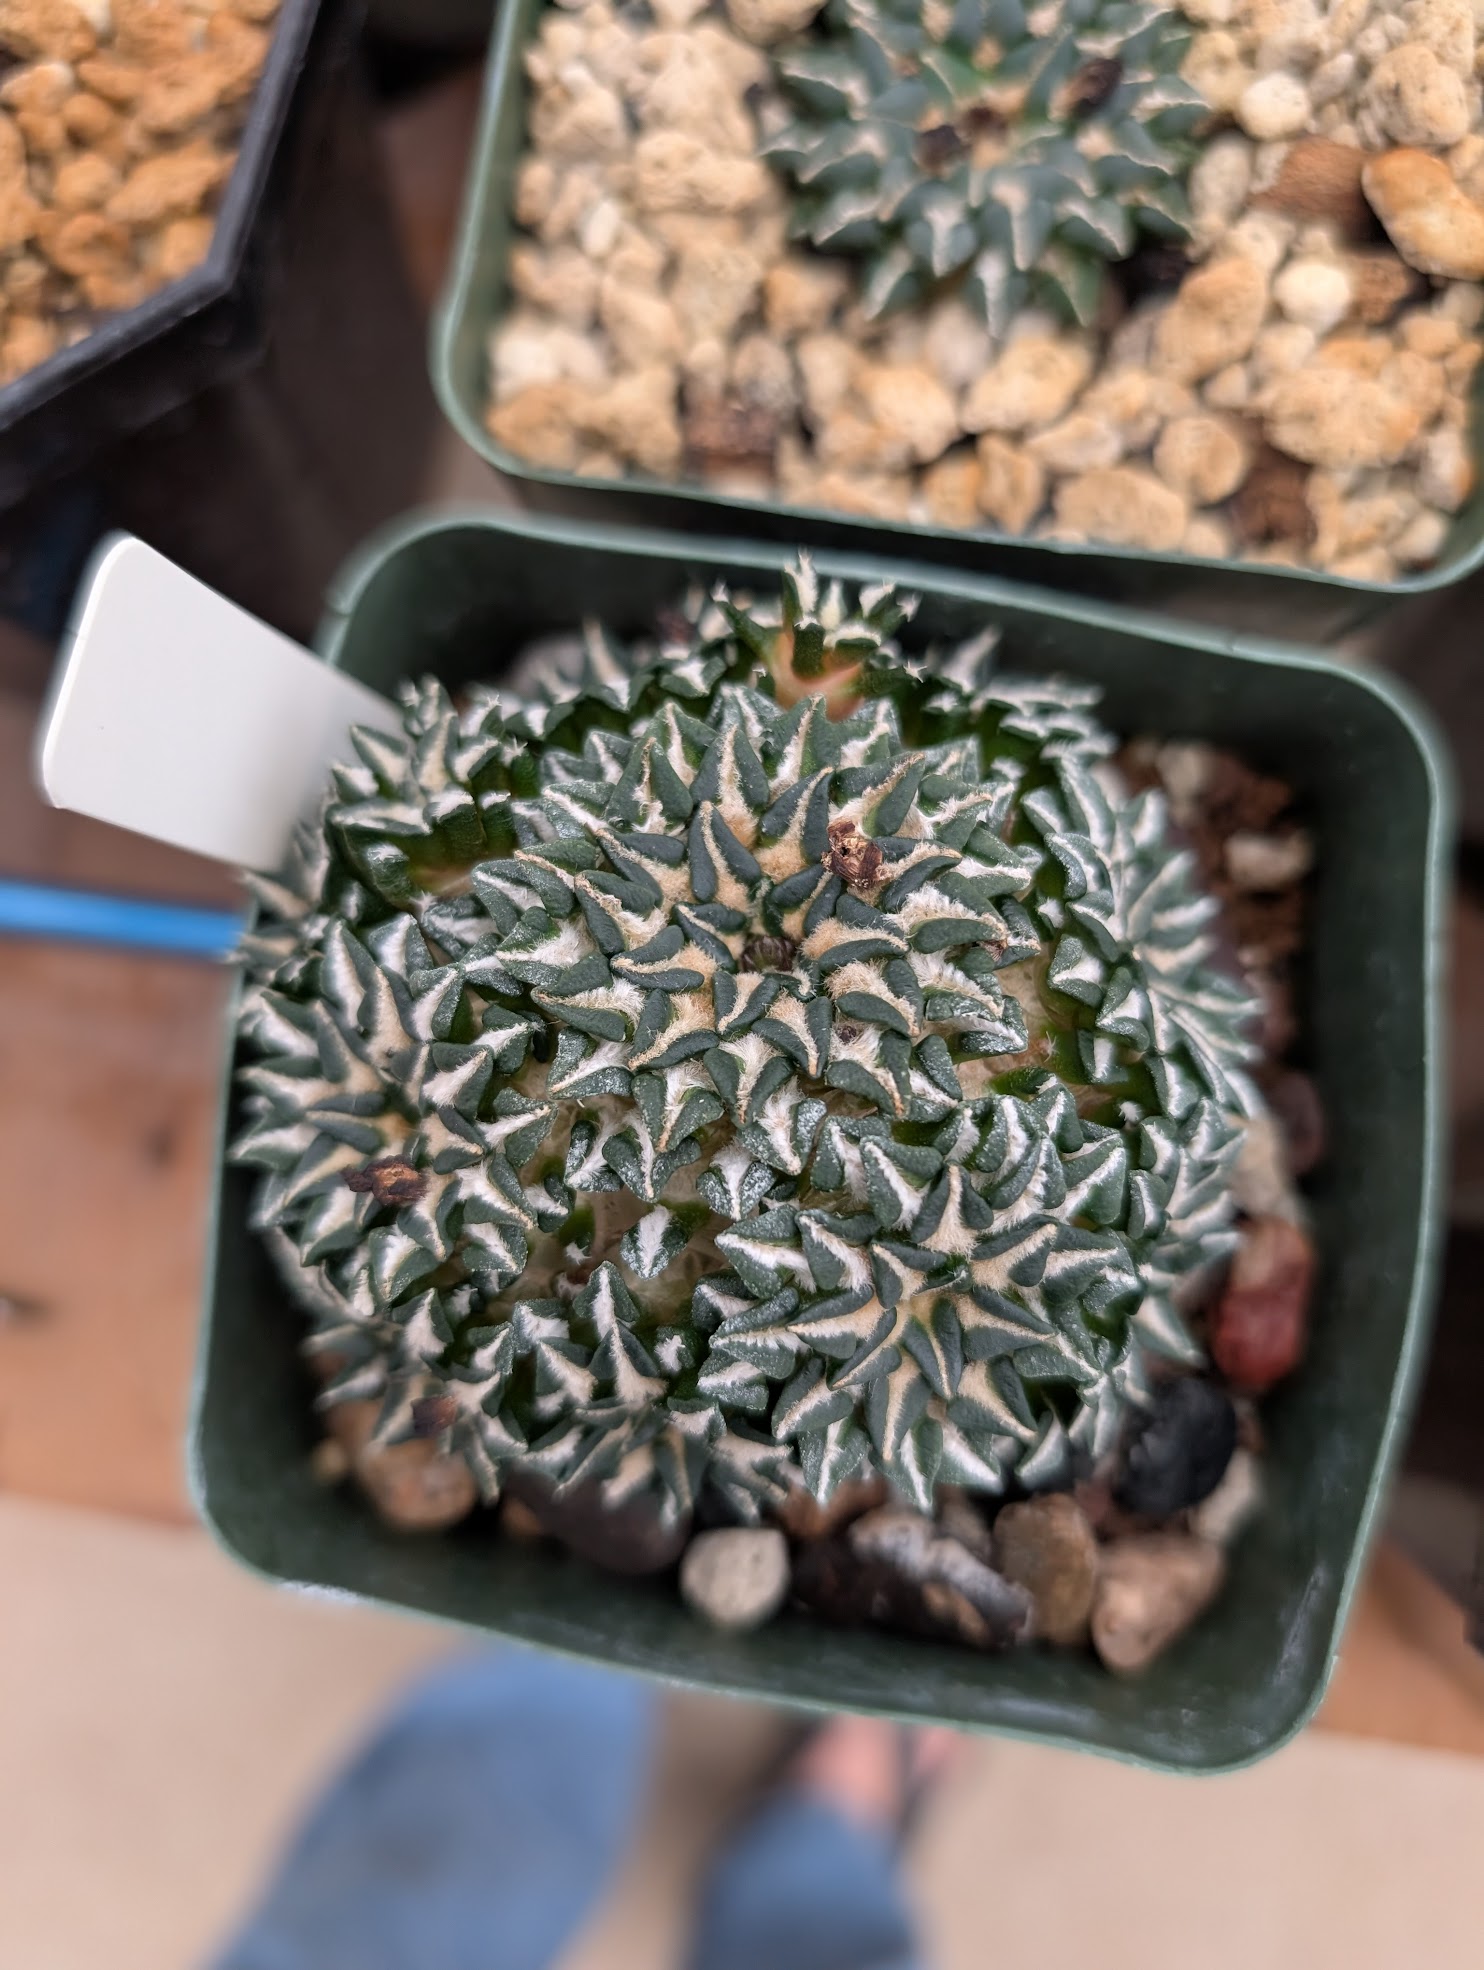
- Ariocarpus kotschoubeyanus – nominate form; star shaped, large tap root, textured, dull green tubercules
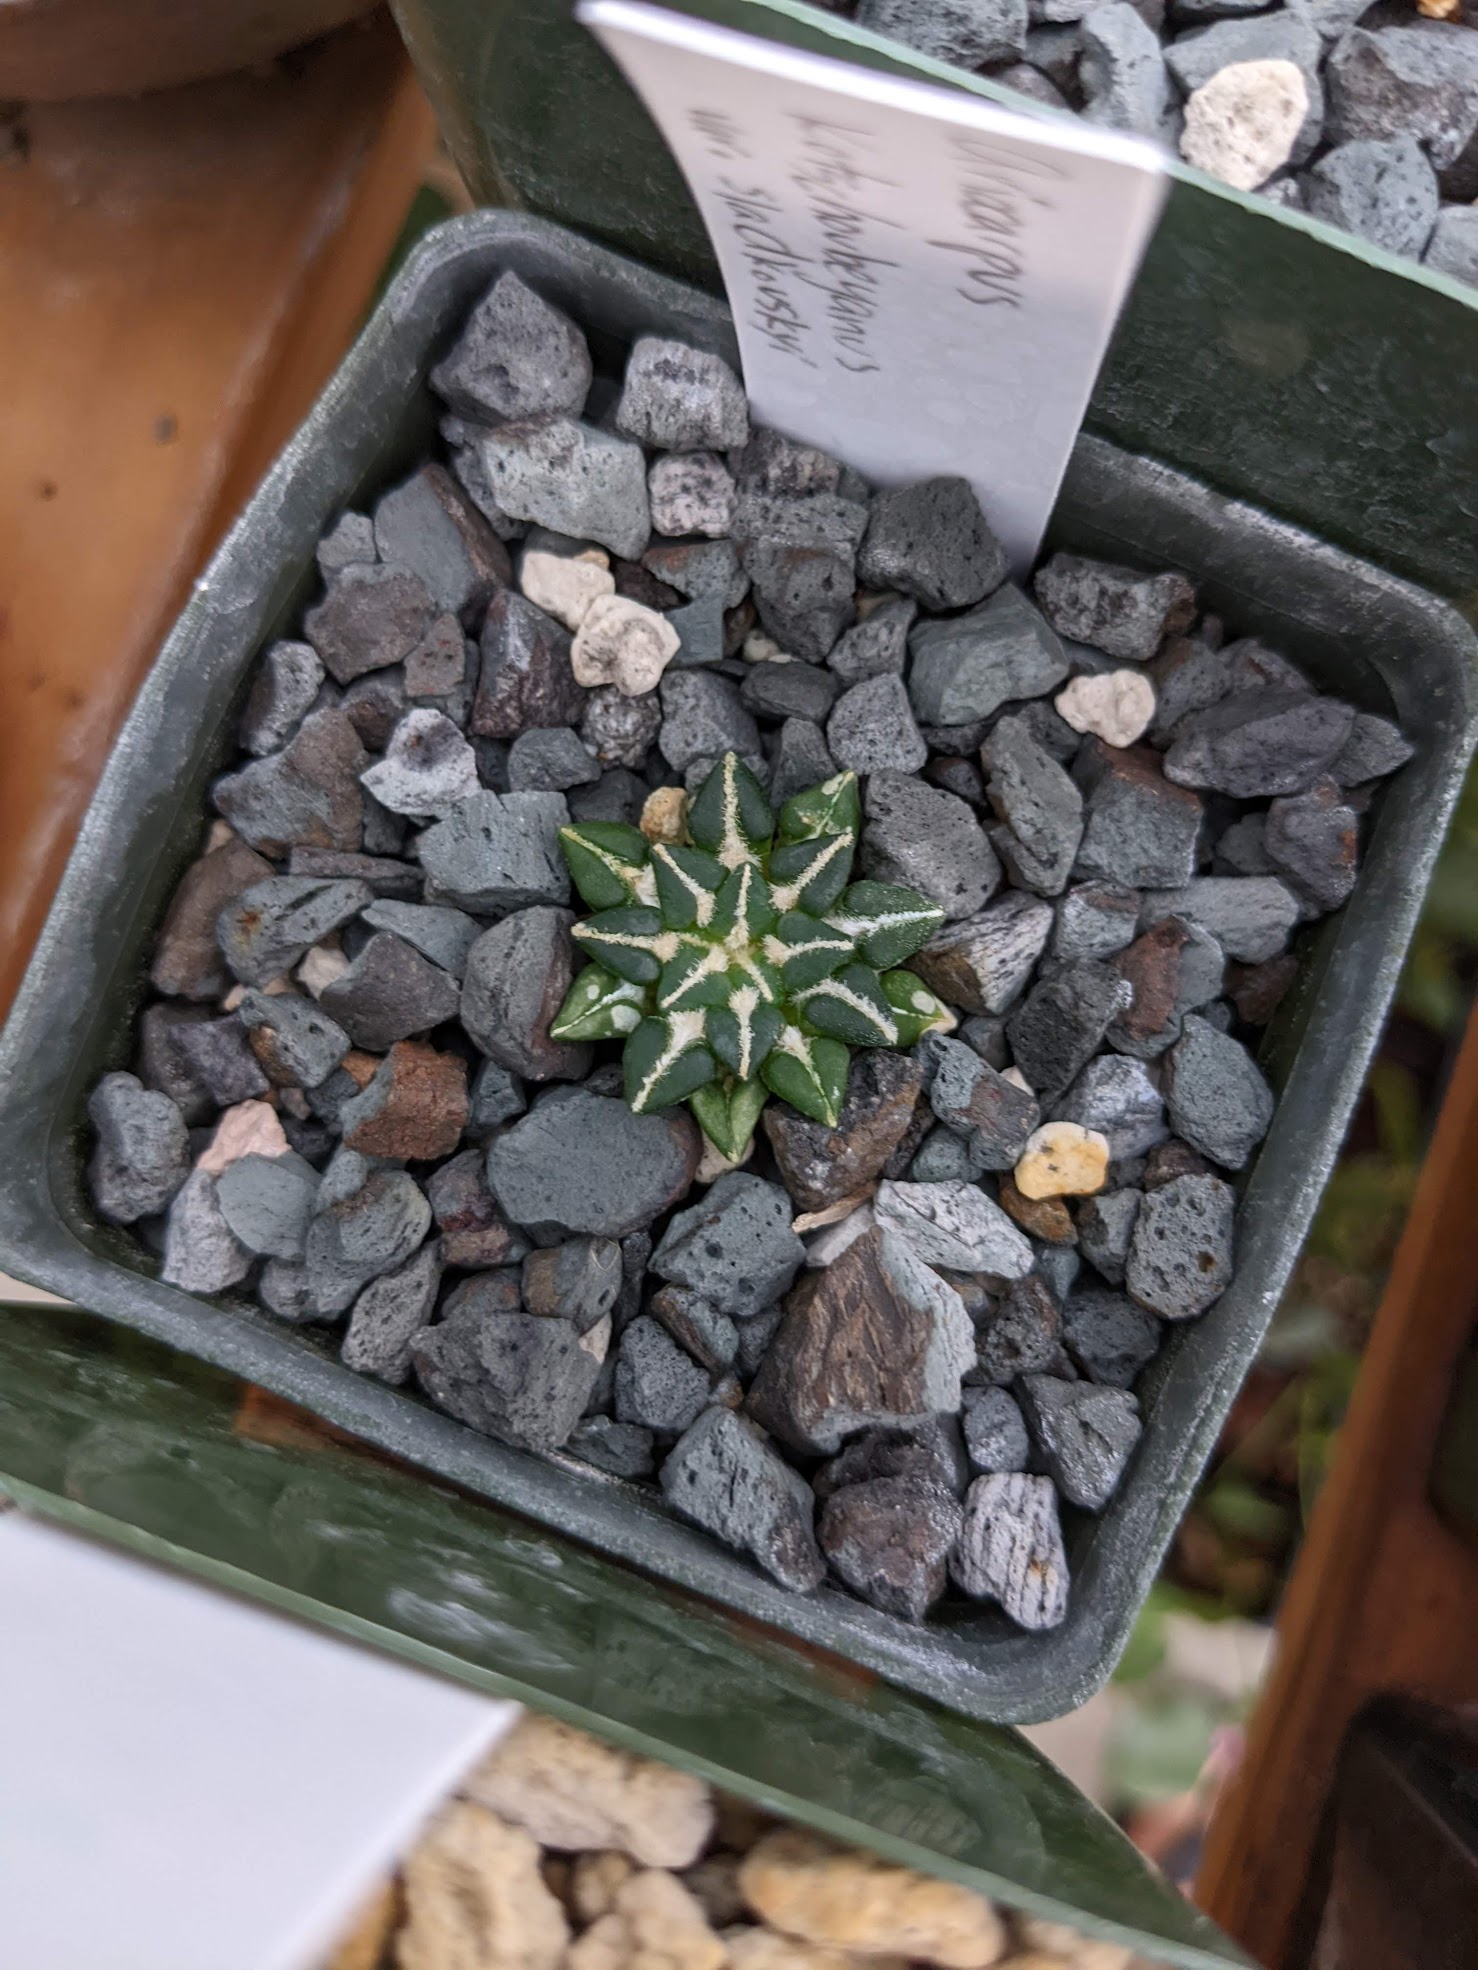
- Ariocarpus kotschoubeyanus ssp. sladkovskyi – similar in shape and size as the nominate form, but the tubercules are smoother and shinier.
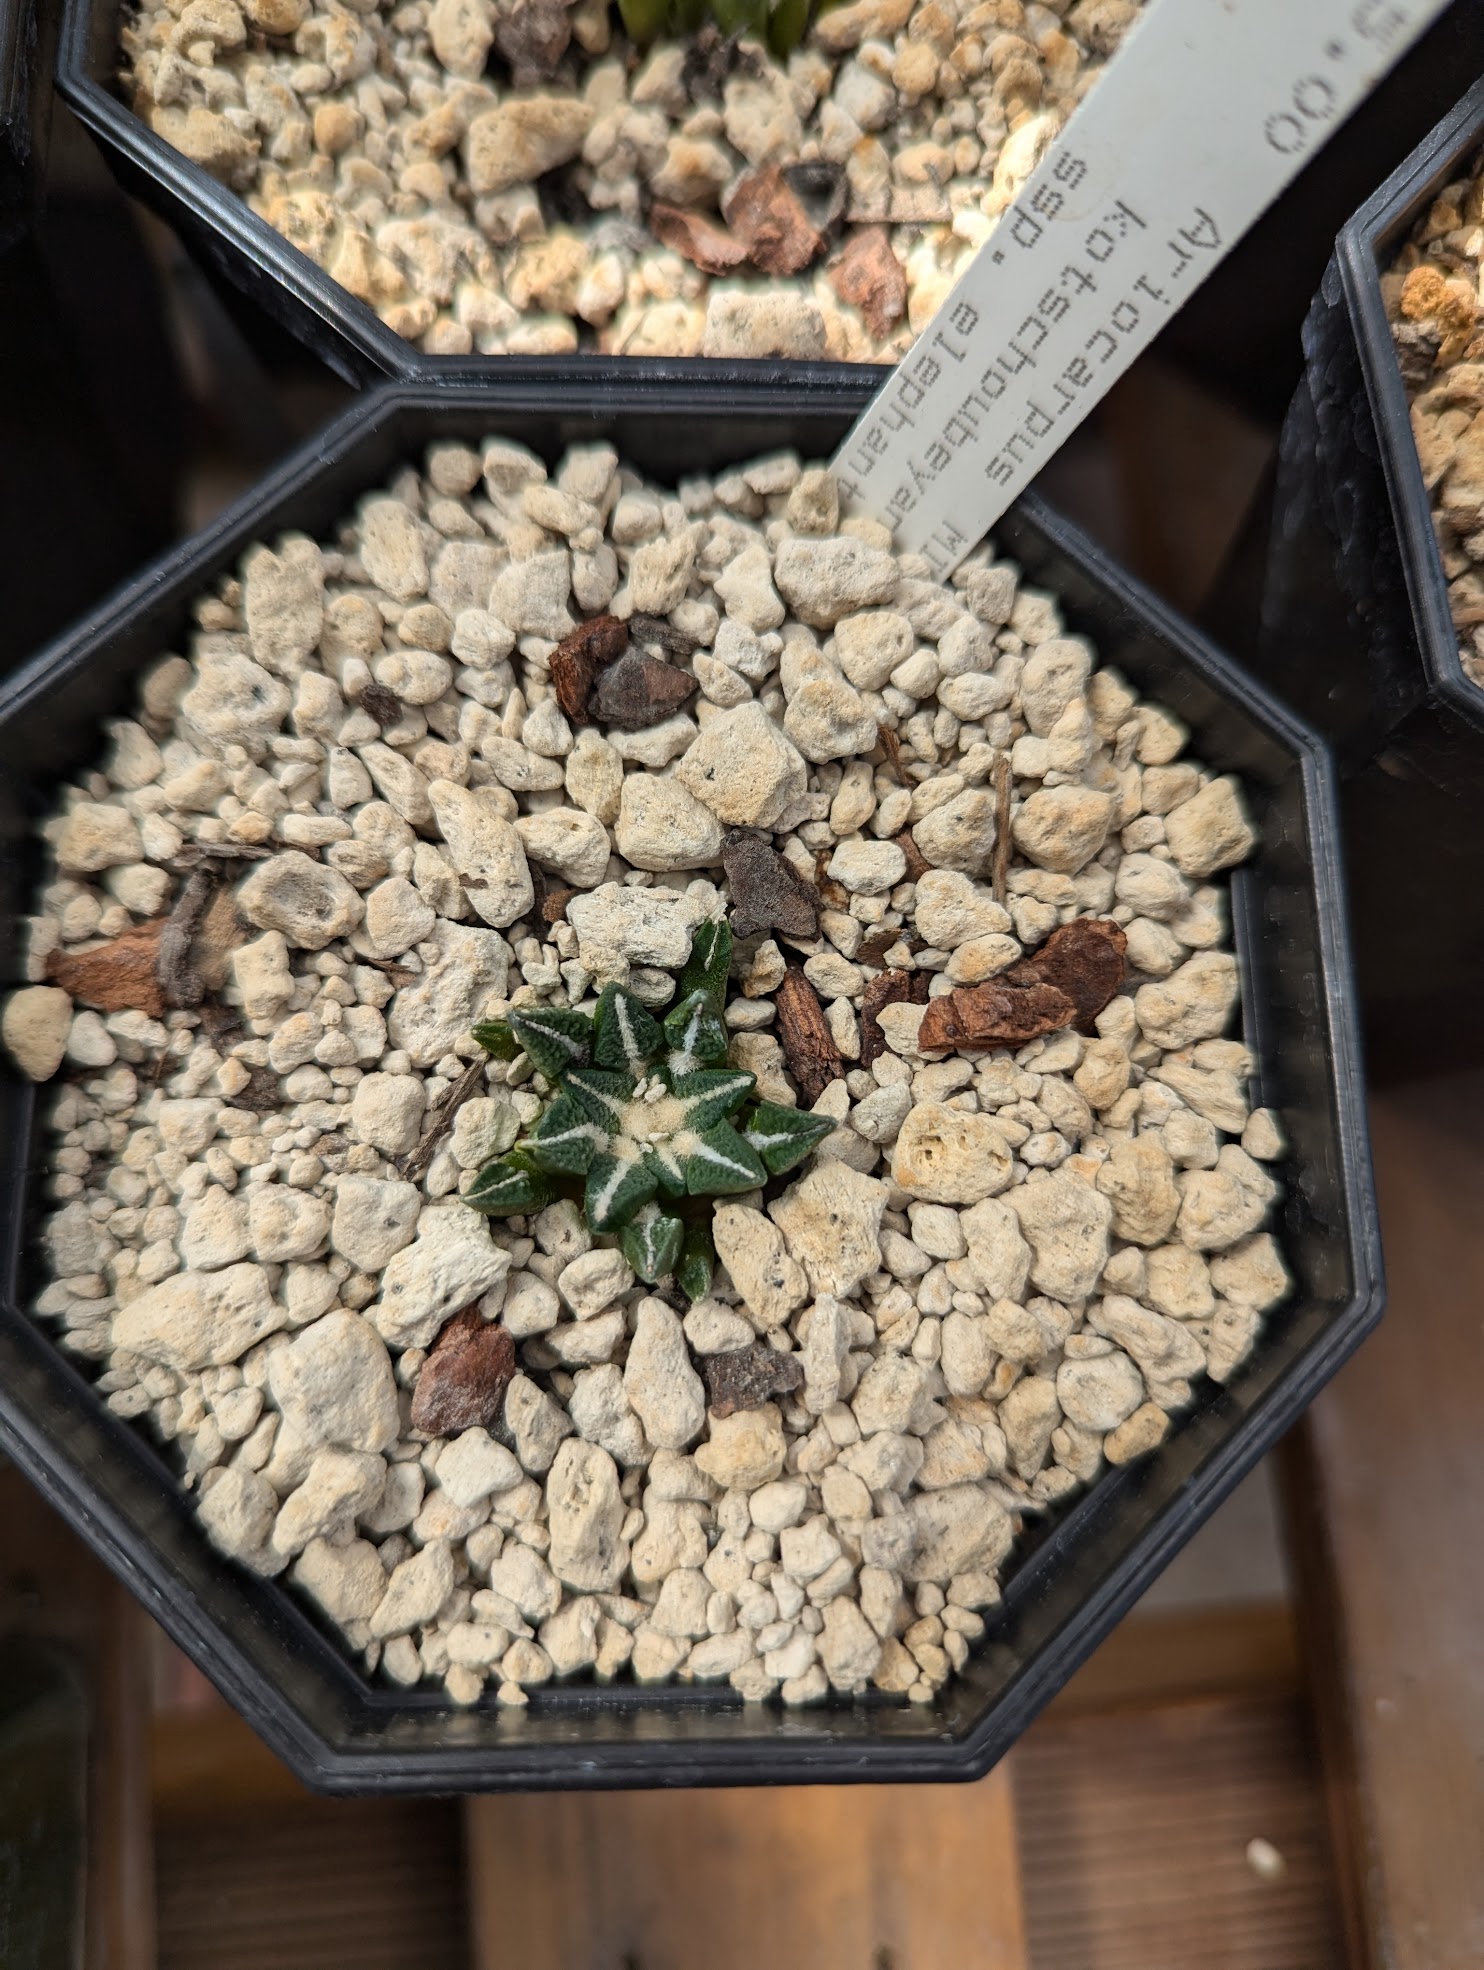
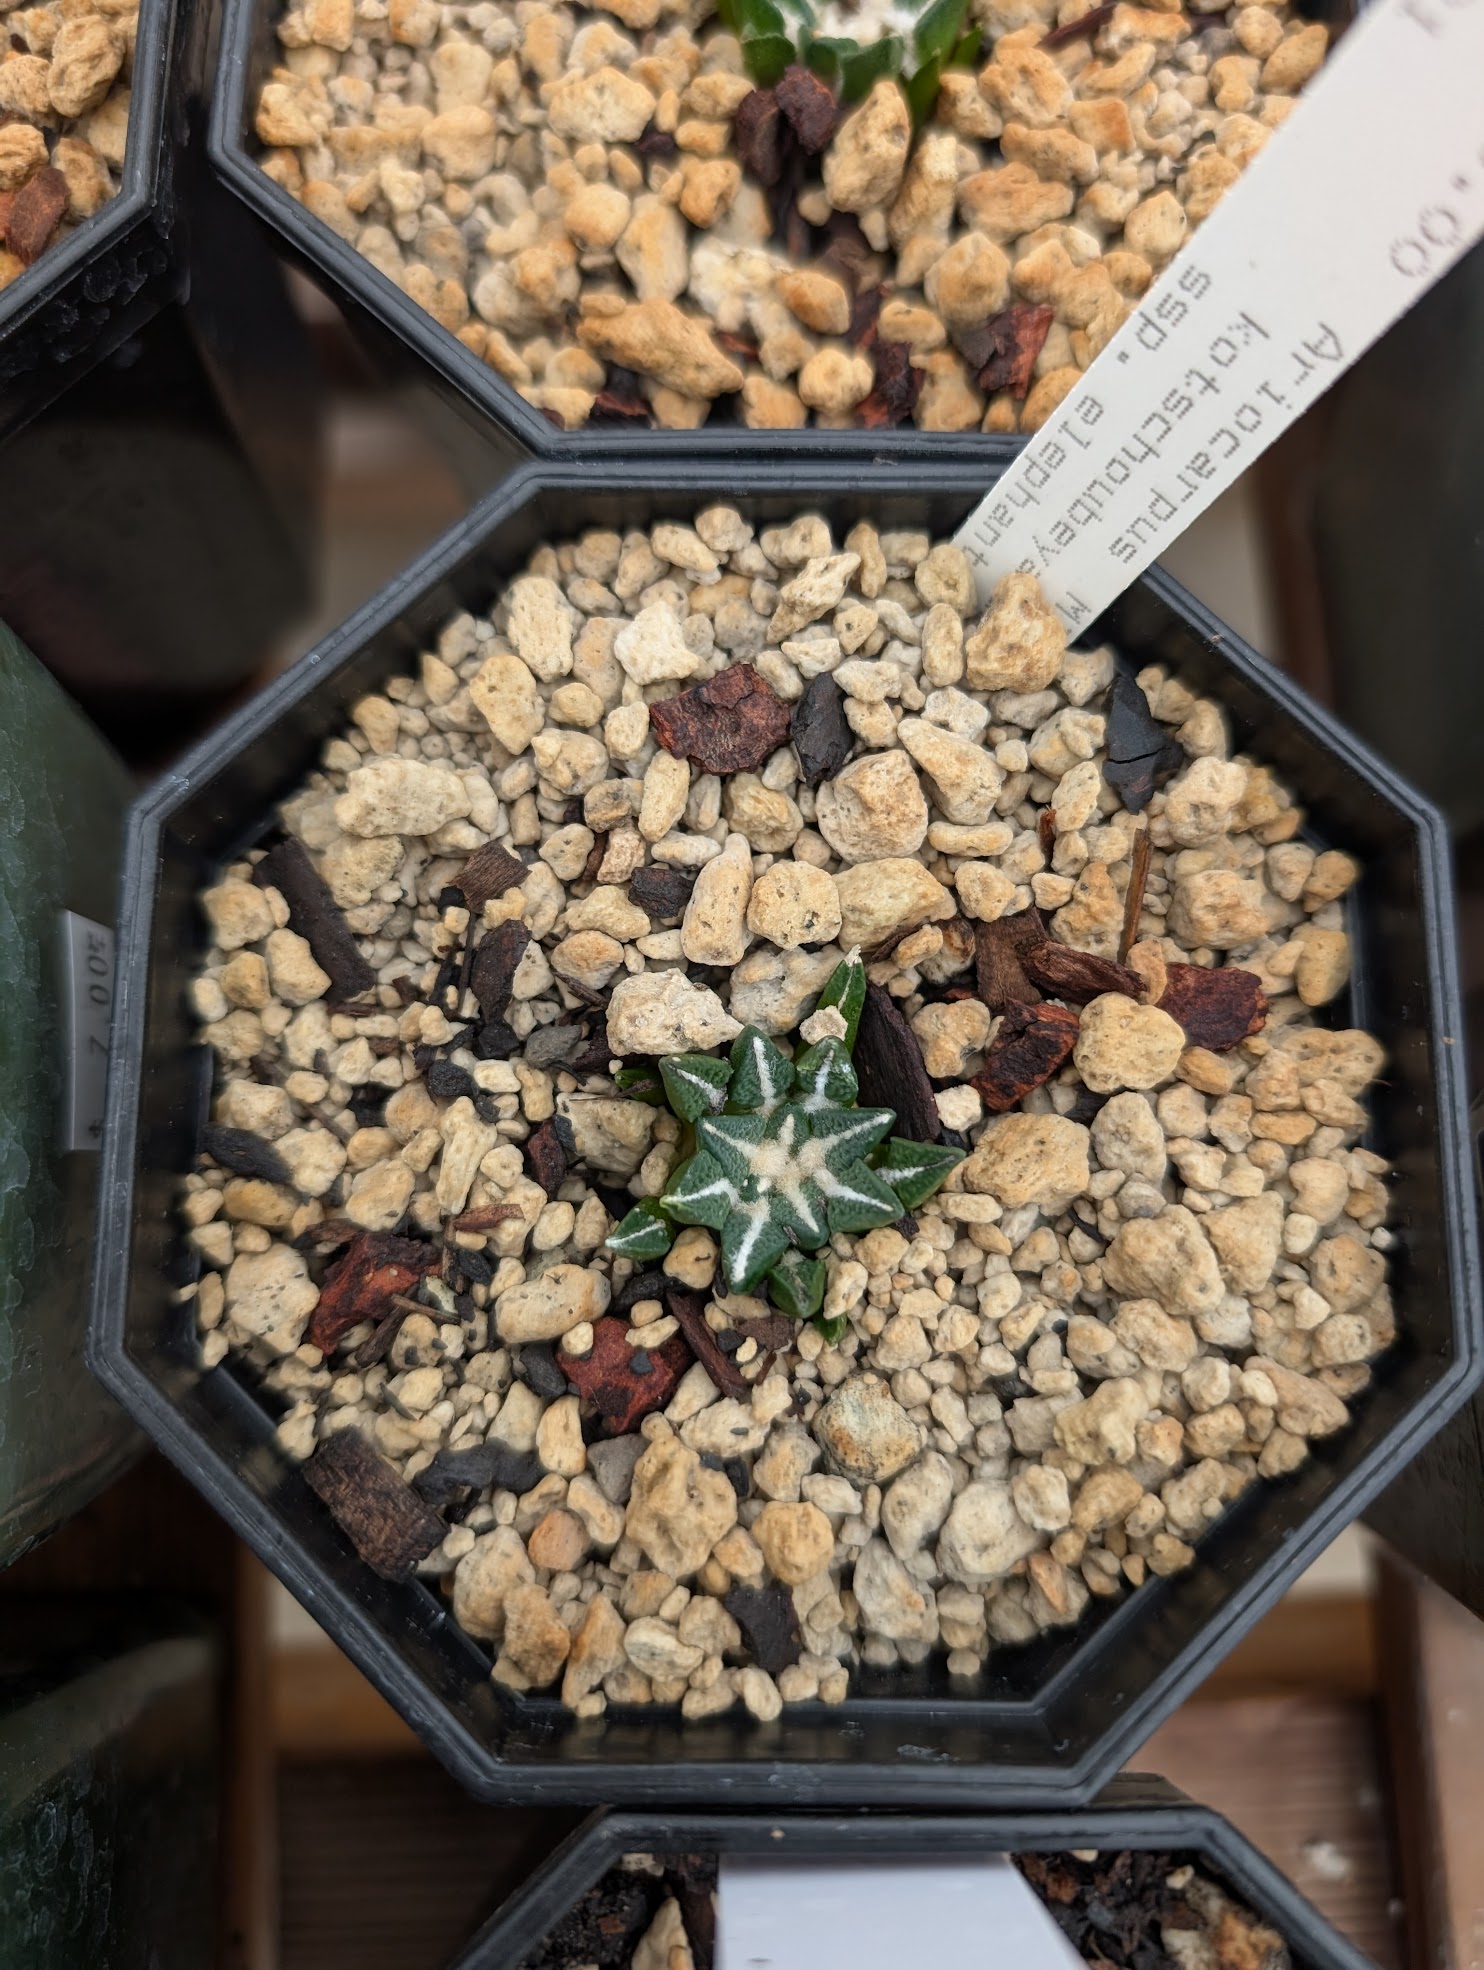
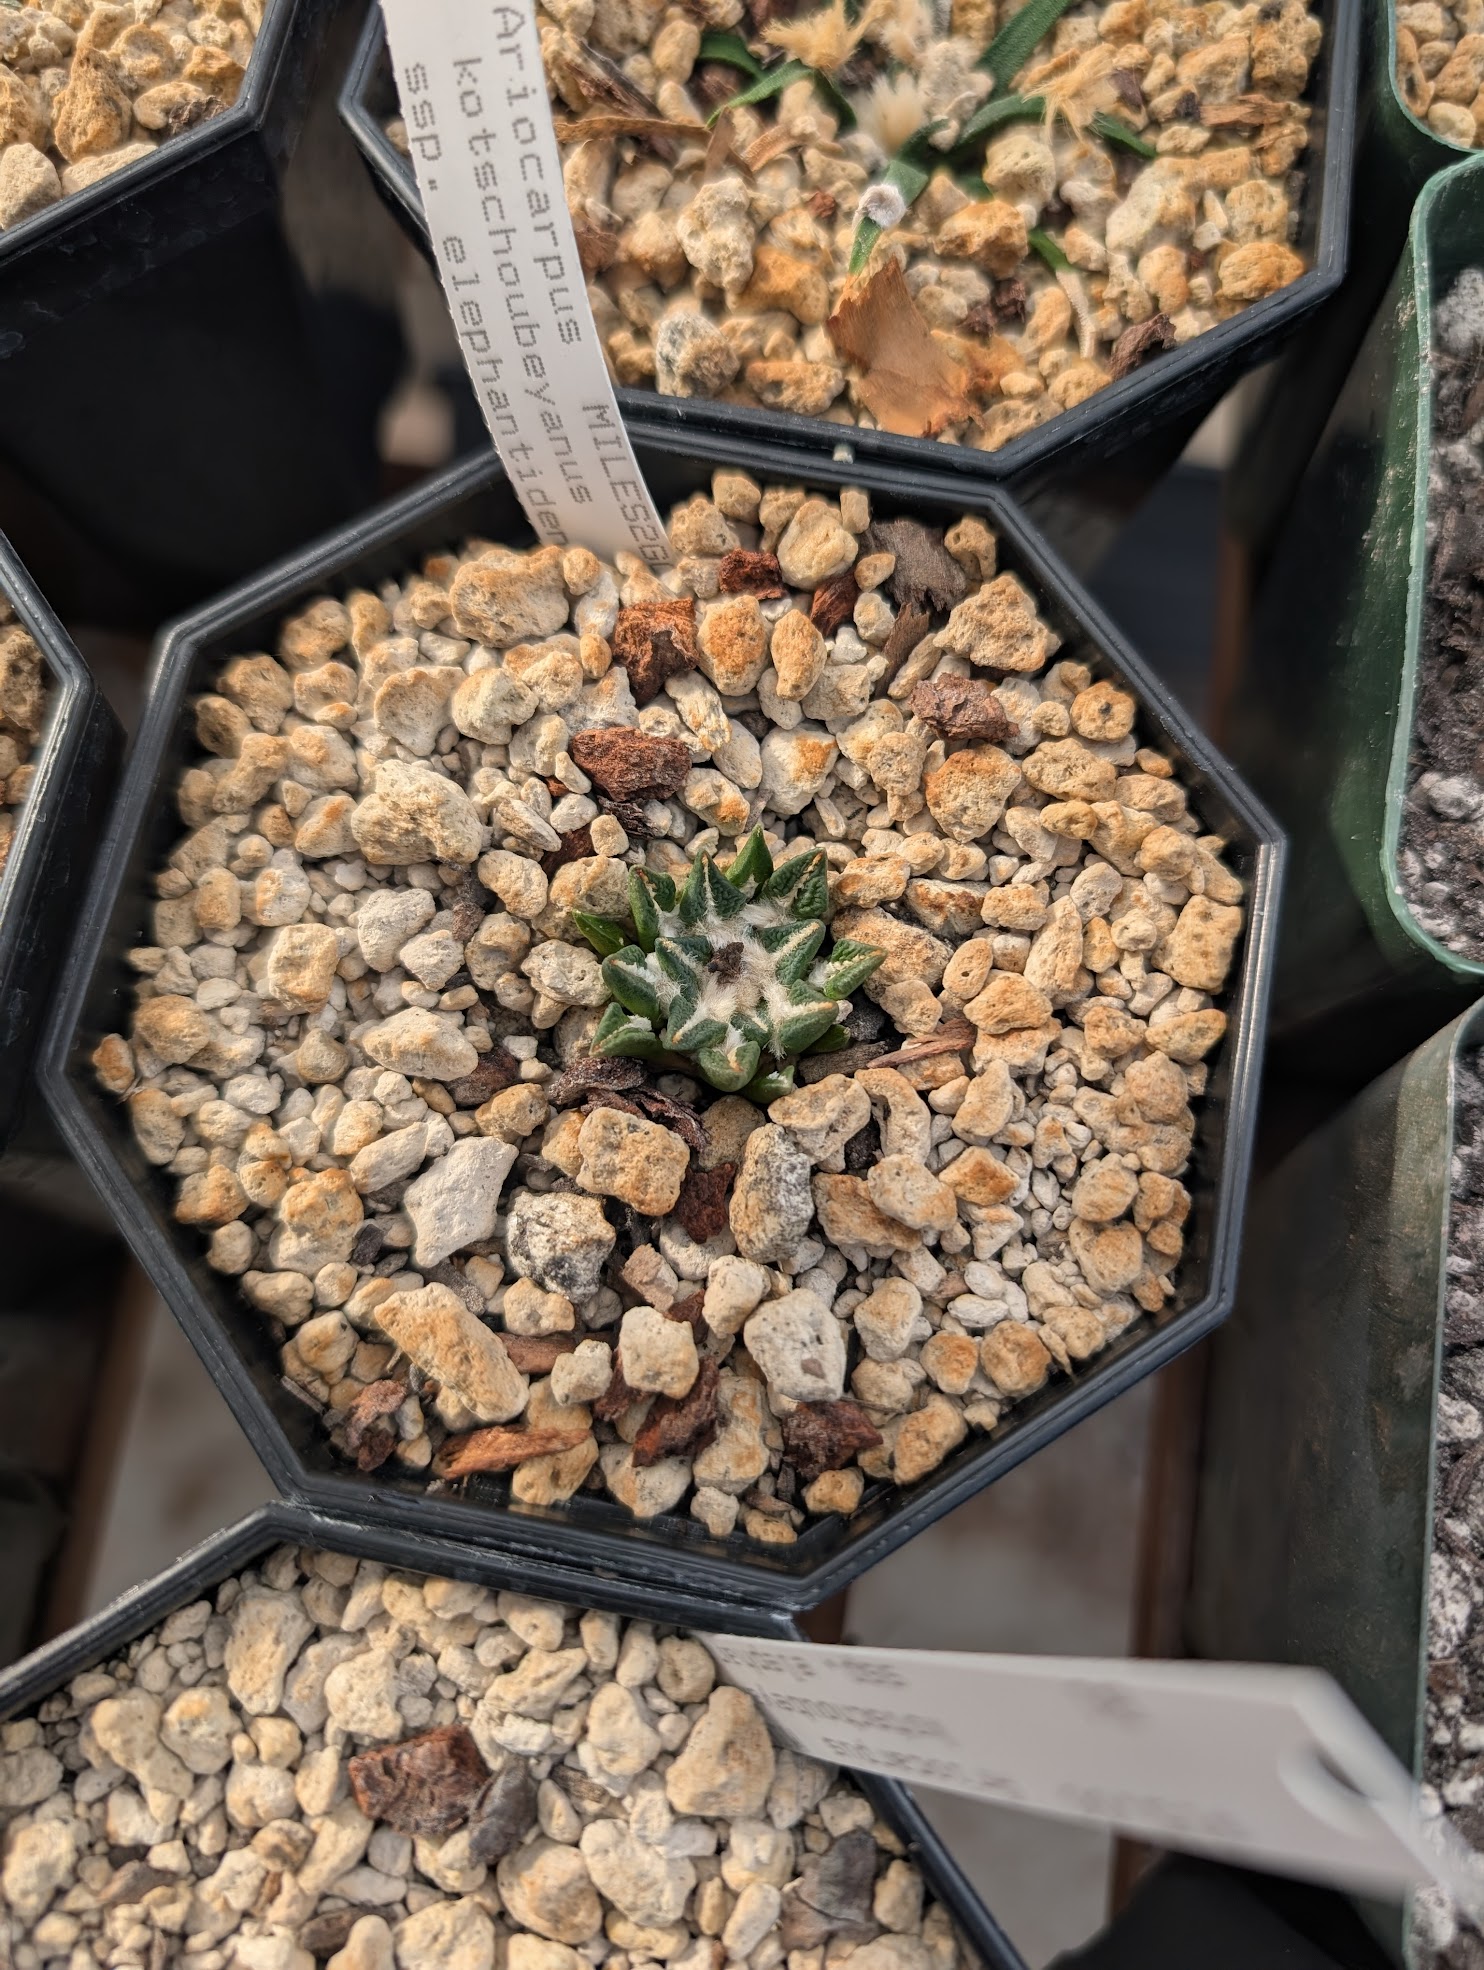
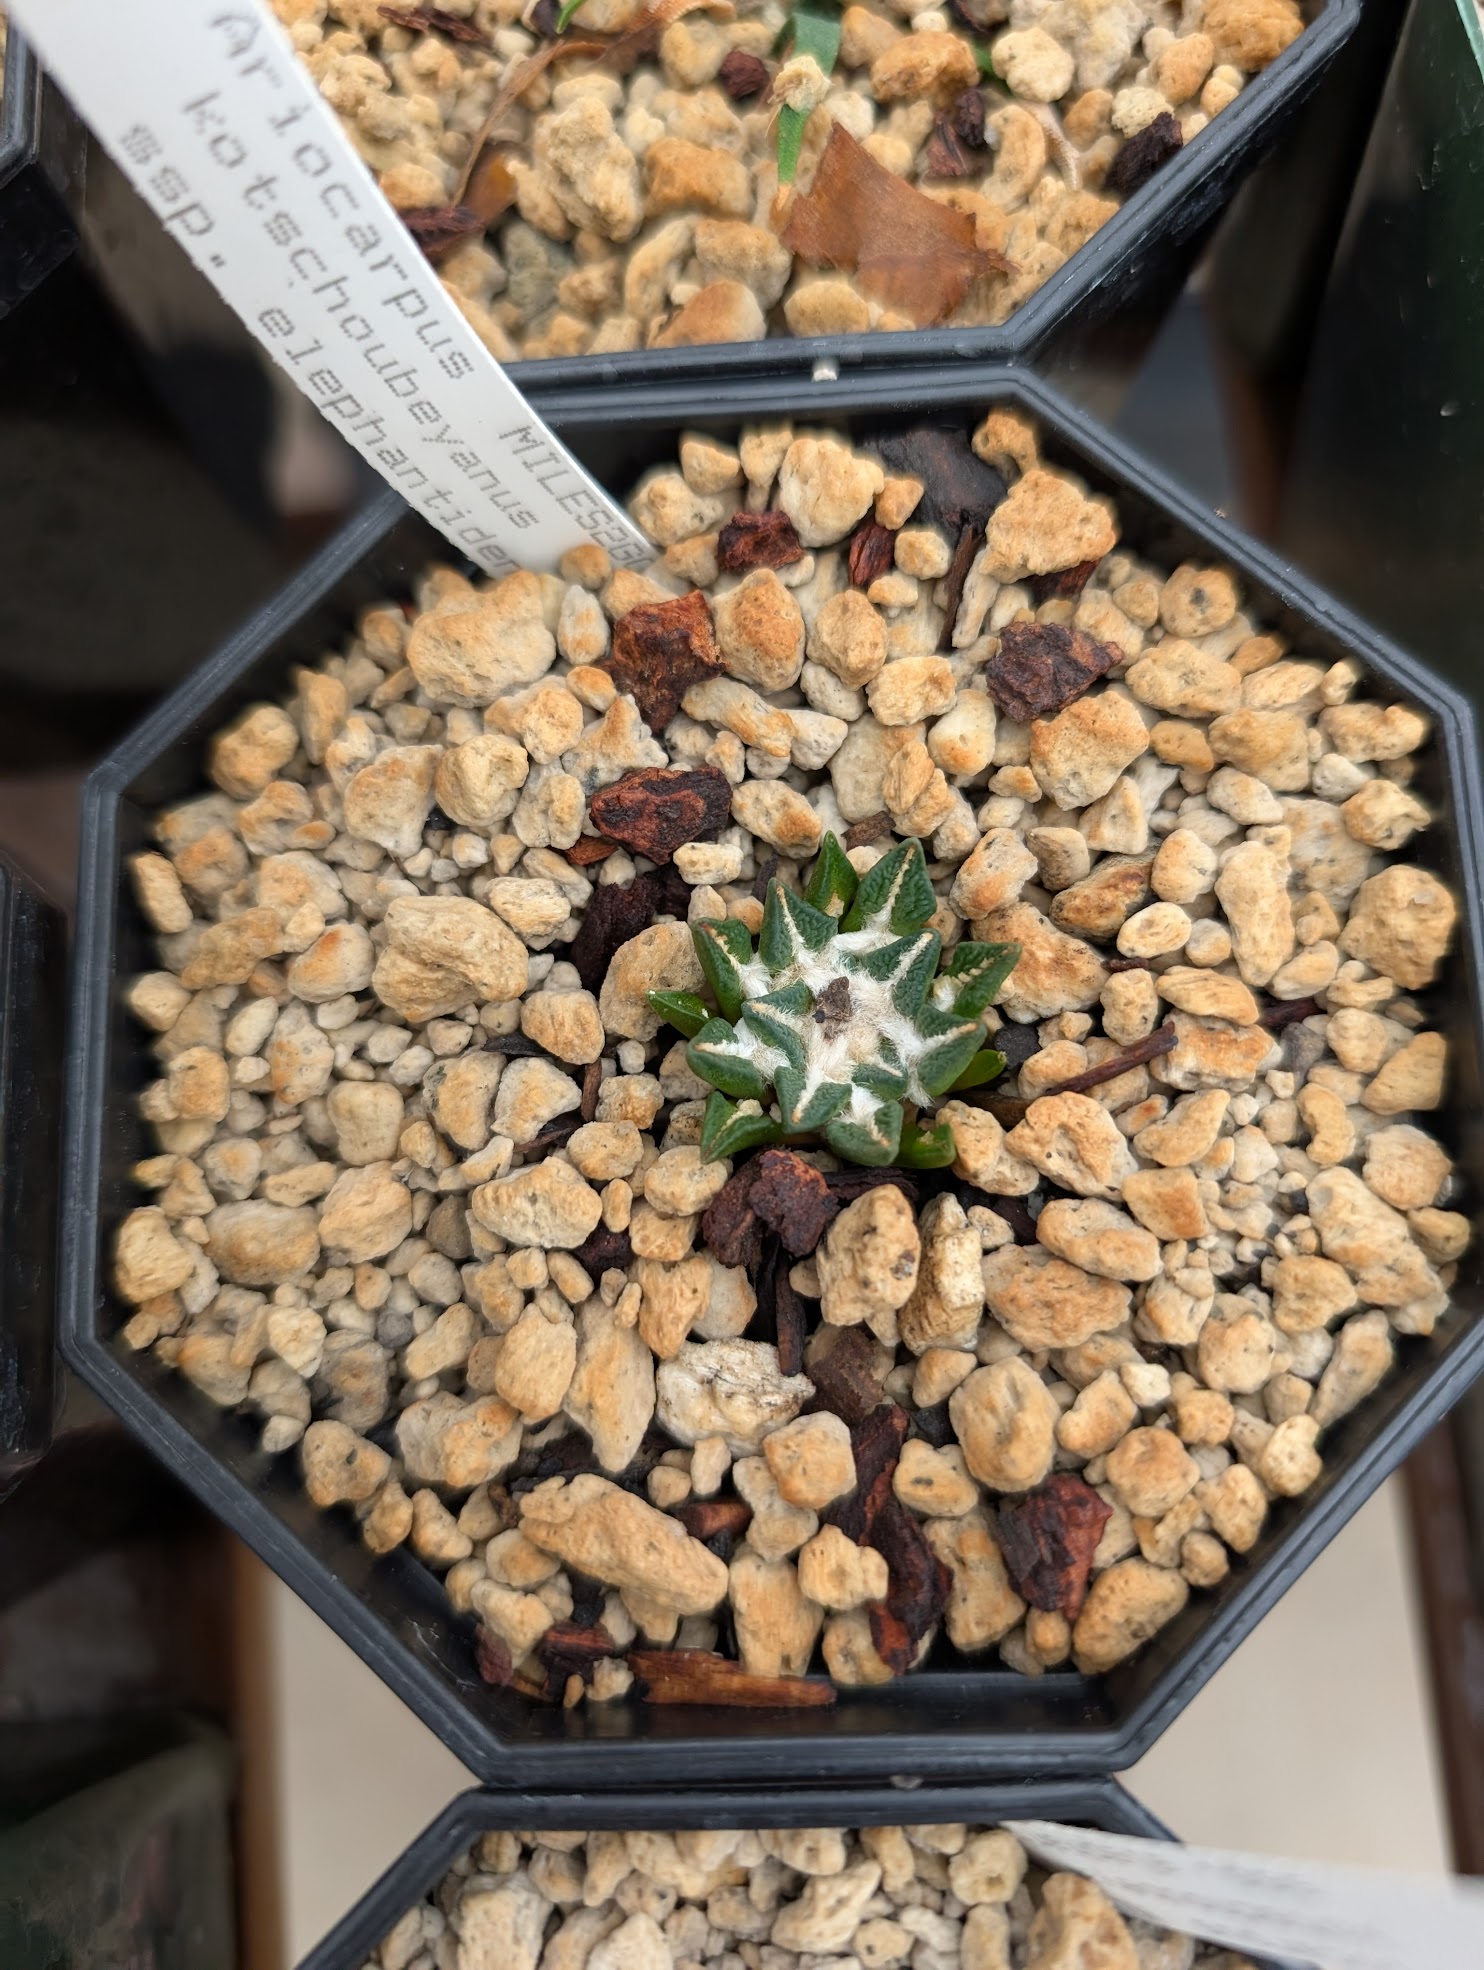
- Ariocarpus kotschoubeyanus ssp. elephantidens – the southern form of the species, these tend to be larger than their northern cousins and flower younger (something I’ve seen in my own plants).
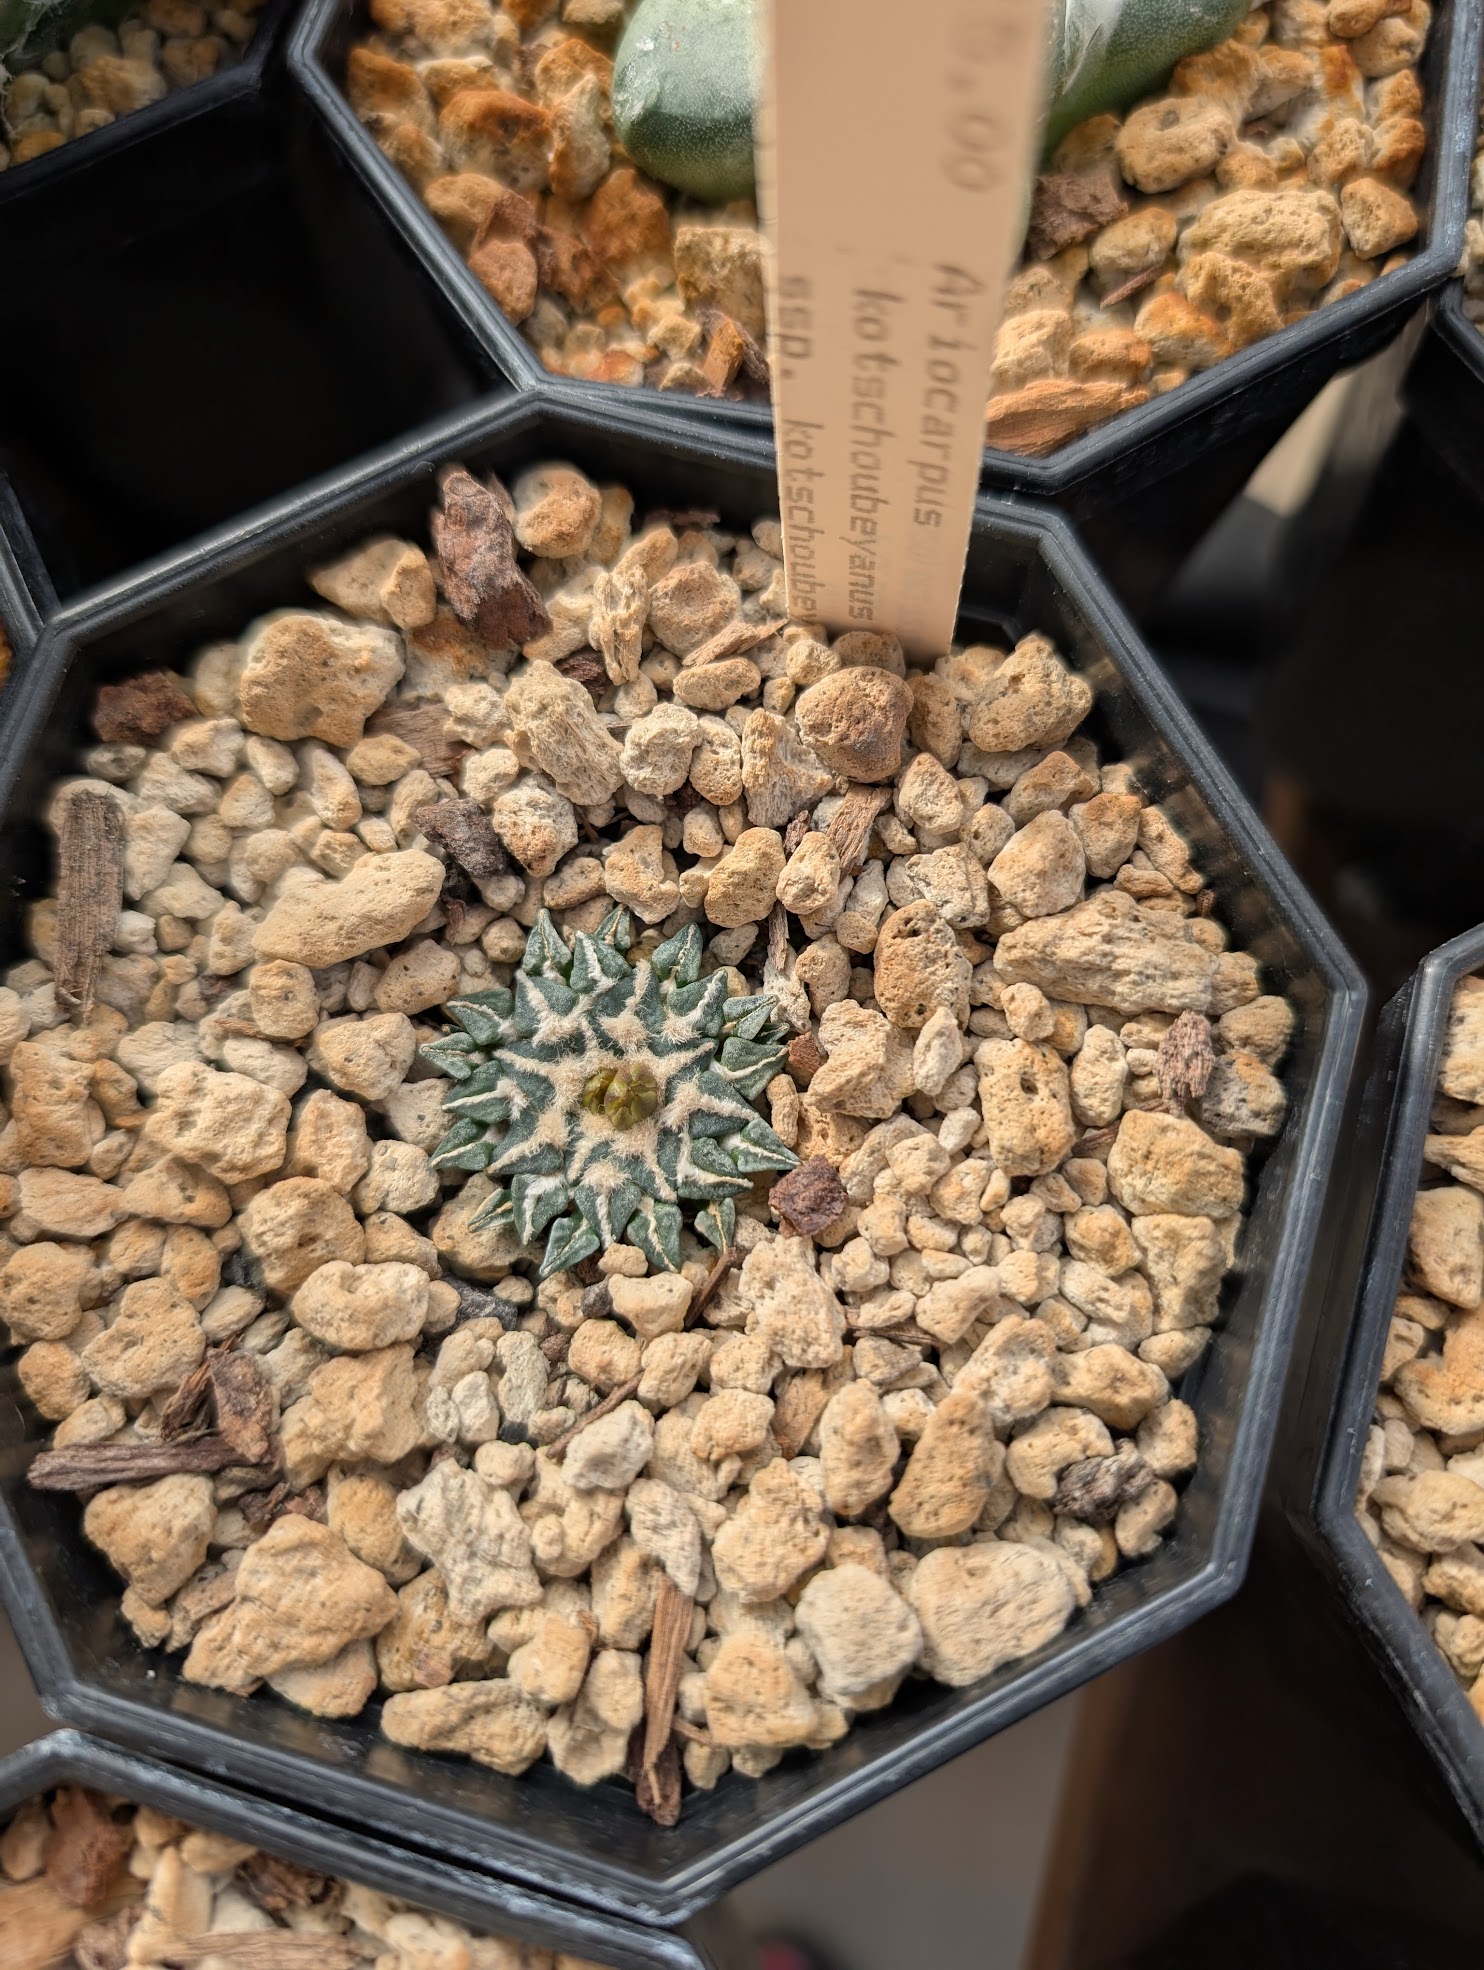
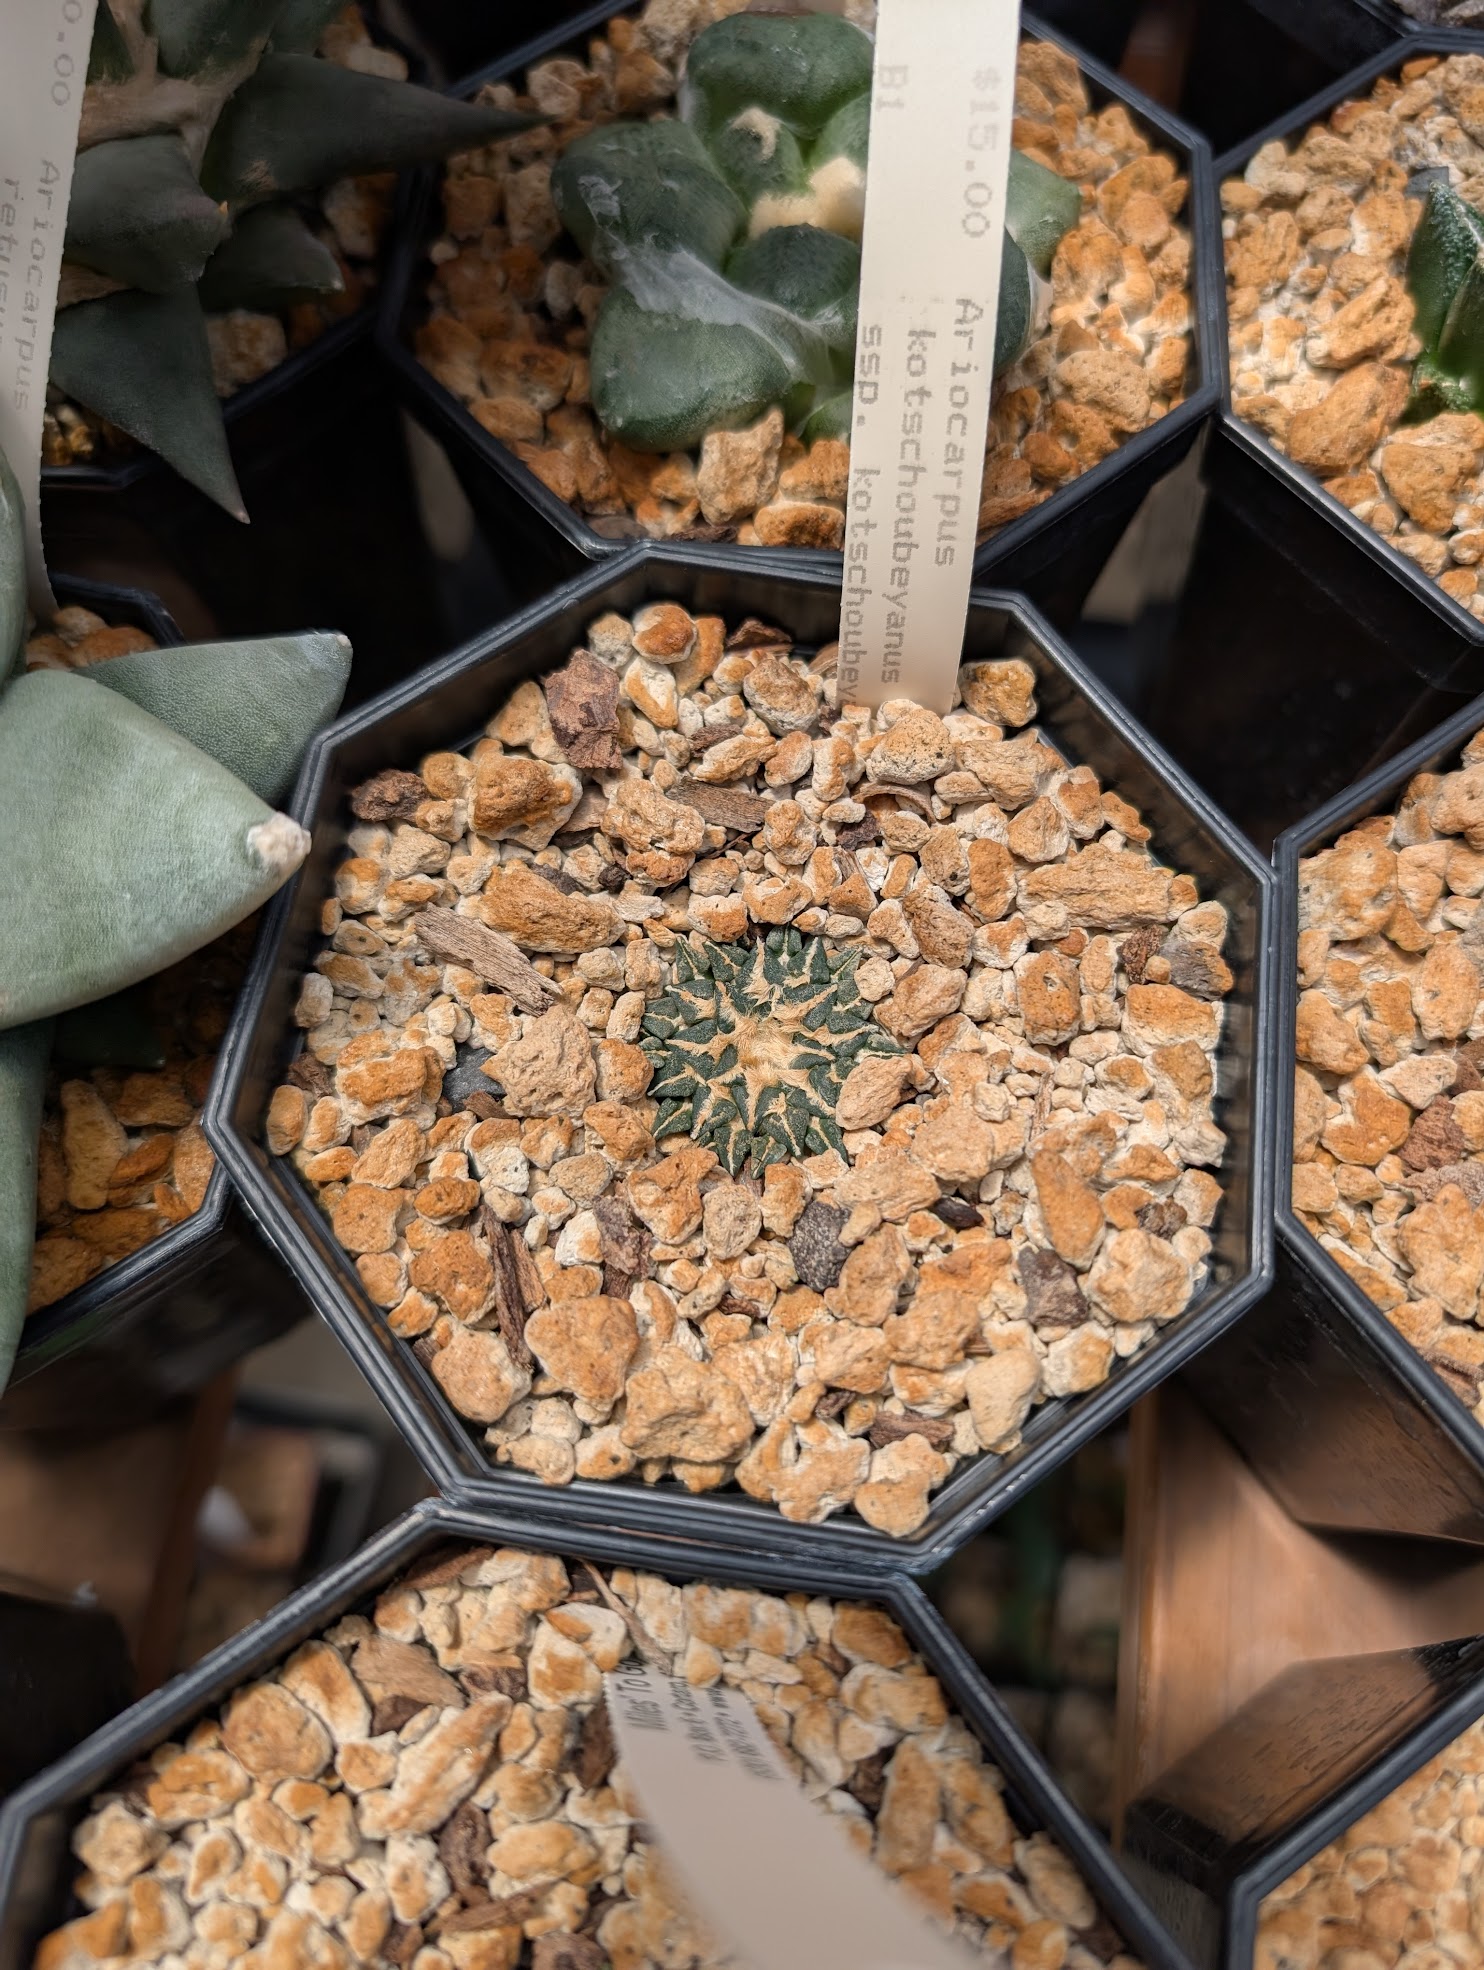
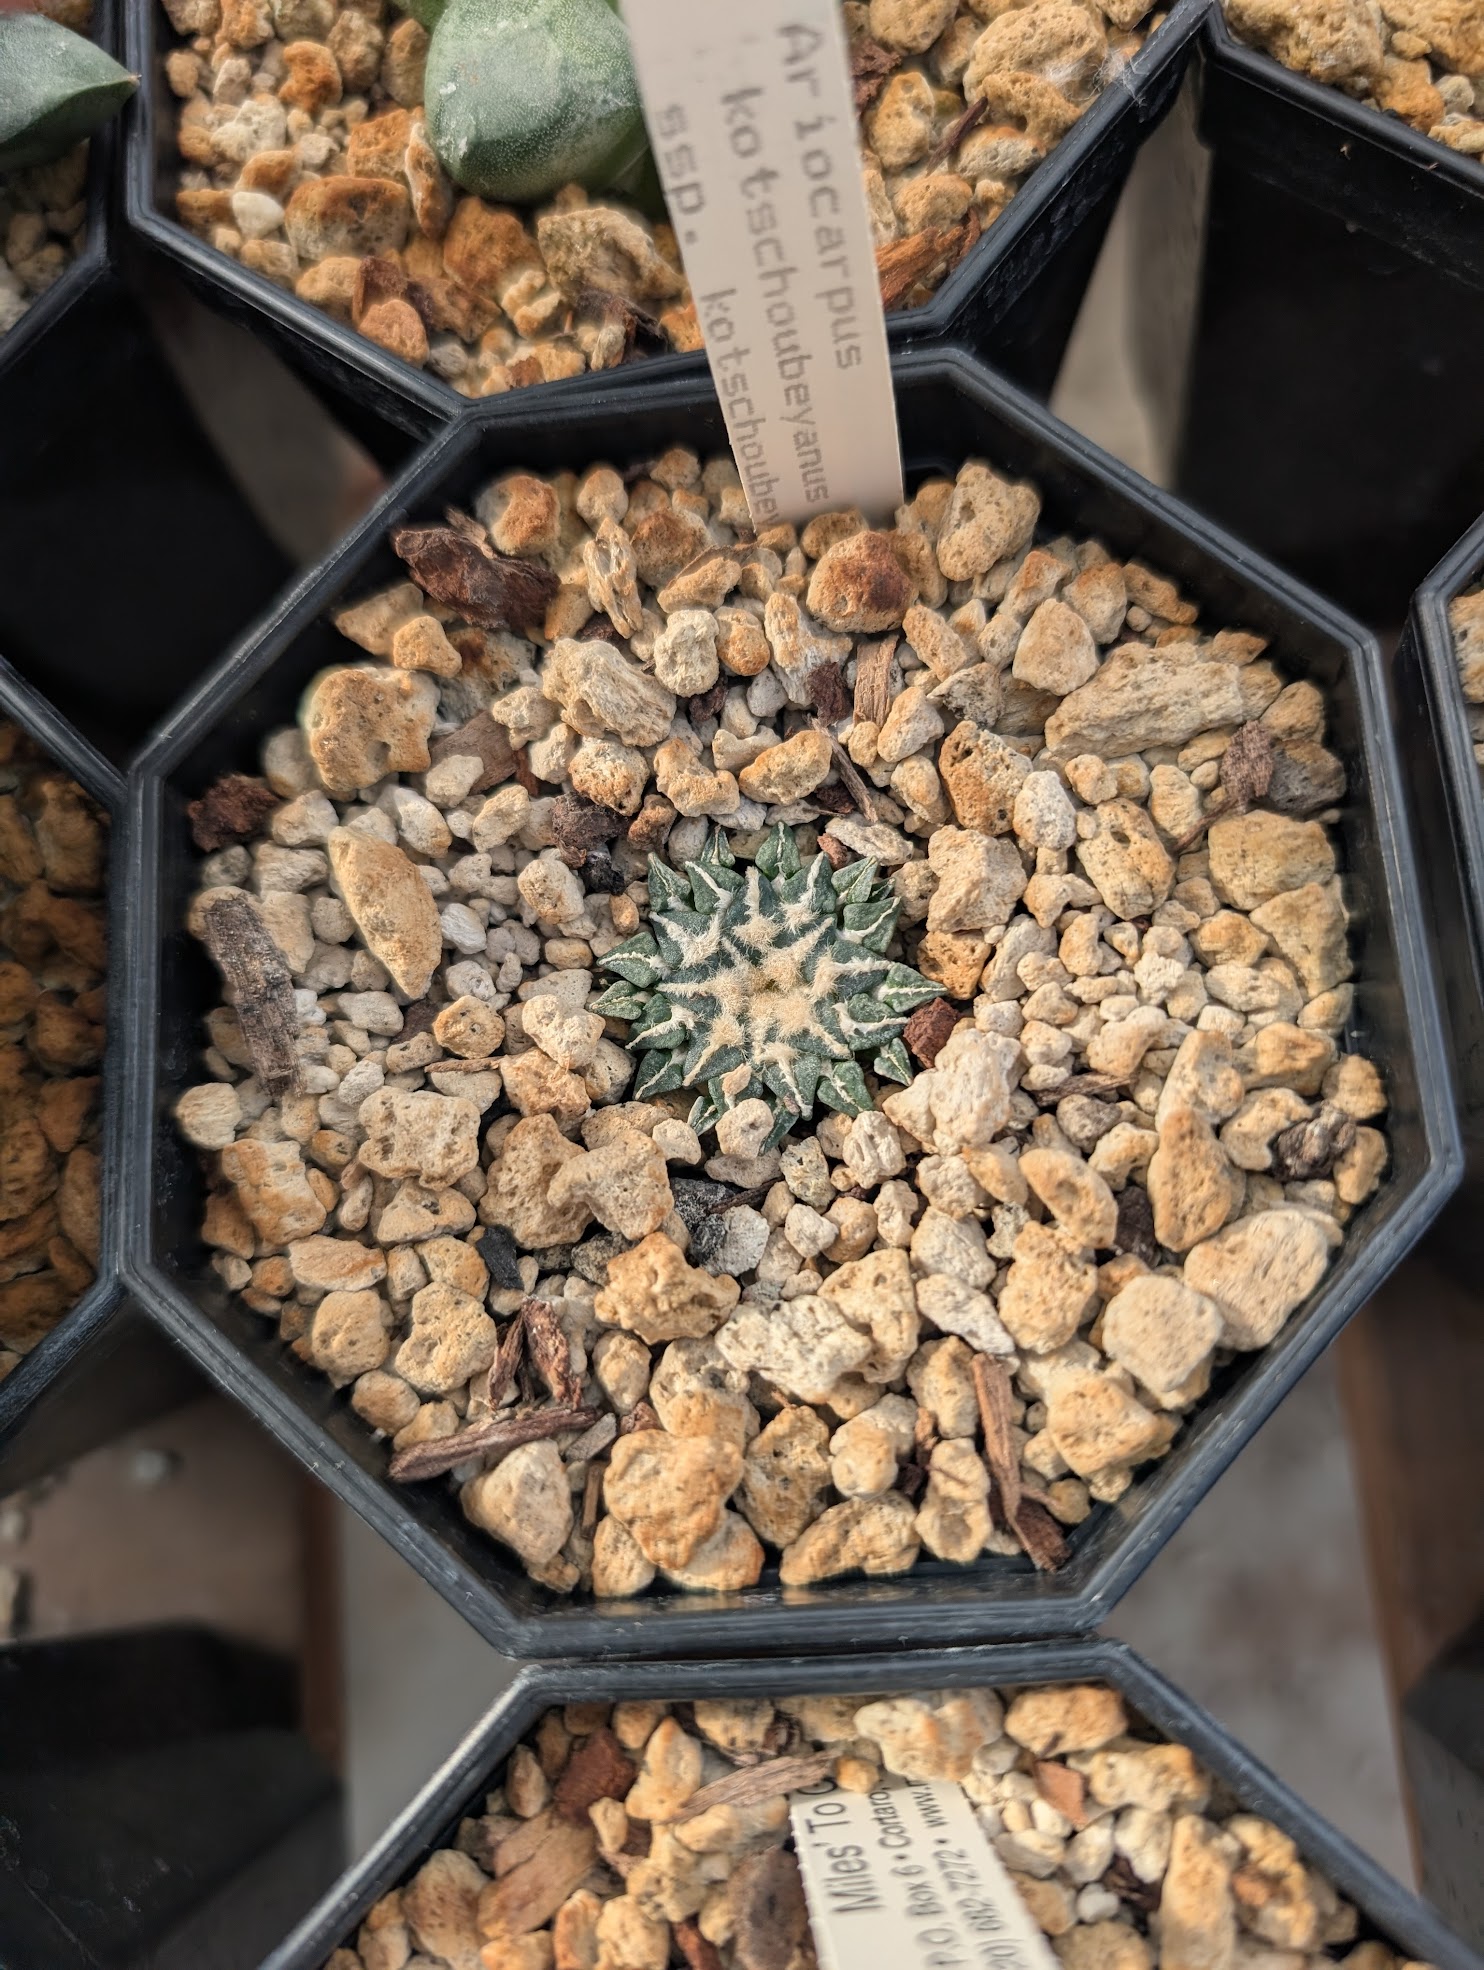
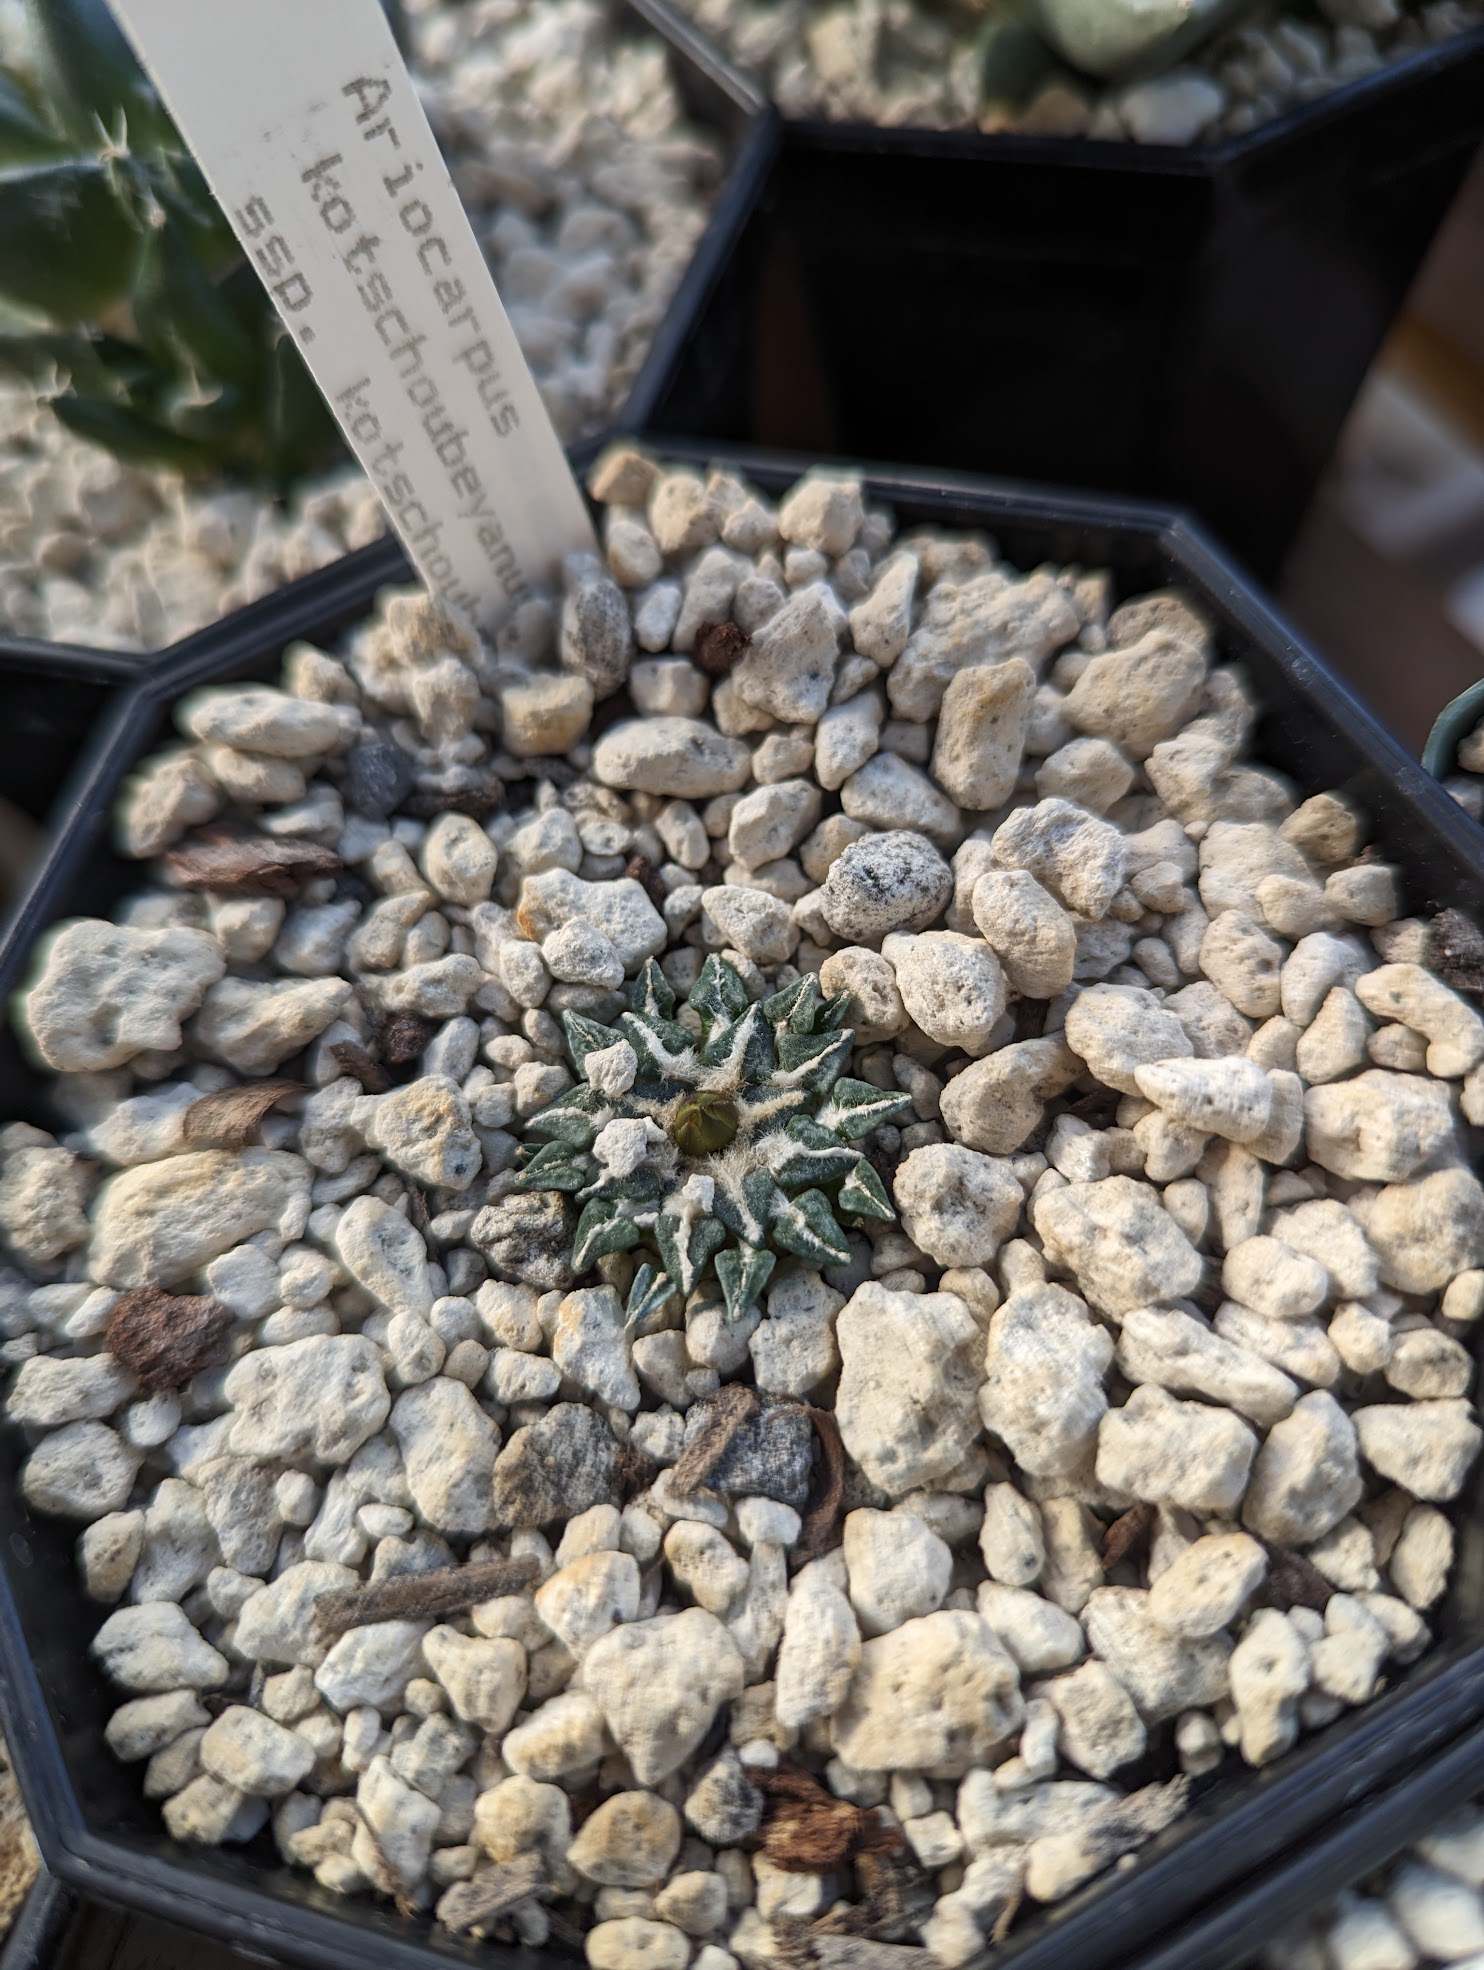
Ariocarpus kotschoubeyanus ssp. kotschoubeyanus
I acquired two of these from Miles a few years back; they’re a delightful little plant, consistently growing, and already blooming for me after only 2 years.
I think one of these will be one that I pot up into a habitat-style staging, with a muddy top and keeping them close to the soil line.
At right is a gallery of my two plants, with dates for the photos underneath.
10-20-24
5-26-25
10-2-24
10-13-24
6-4-23
10-27-23
10-23-24
10-13-24
6-22-25
4-21-25
7-15-21
8-22-22
9-12-20
11-28-23
11-7-20
5-26-25
12-11-23
2-22-25
8-28-24
9-12-20

4-21-25
10-11-23
4-5-23
5-26-25
10-23-24
10-2-24
5-10-20
7-4-22
11-22-23
3-21-20
3-21-20
Ariocarpus kotschoubeyanus ssp. sladkovskyi
This subspecies was my first of the species, and is the one you see in most of the photos in this post!
I picked up a second one a couple years ago, and I’m hoping for blooms to coincide so I can produce pure seed from these as well.
Ariocarpus kotschoubeyanus ssp. elephantidens
These are the most recent of my additions, and I’m looking forward to seeing how big they get!
Even the biggest one I’ve seen in person has still been a fairly compact plant. The biggest challenge will be keeping myself from watering these too much and having them grow too fast.
8-28-24
10-13-24
5-26-25
10-2-24
5-26-25
10-13-24
12-11-23
7-4-22
10-26-25
11-20-22
5-26-25
10-13-25
10-27-25
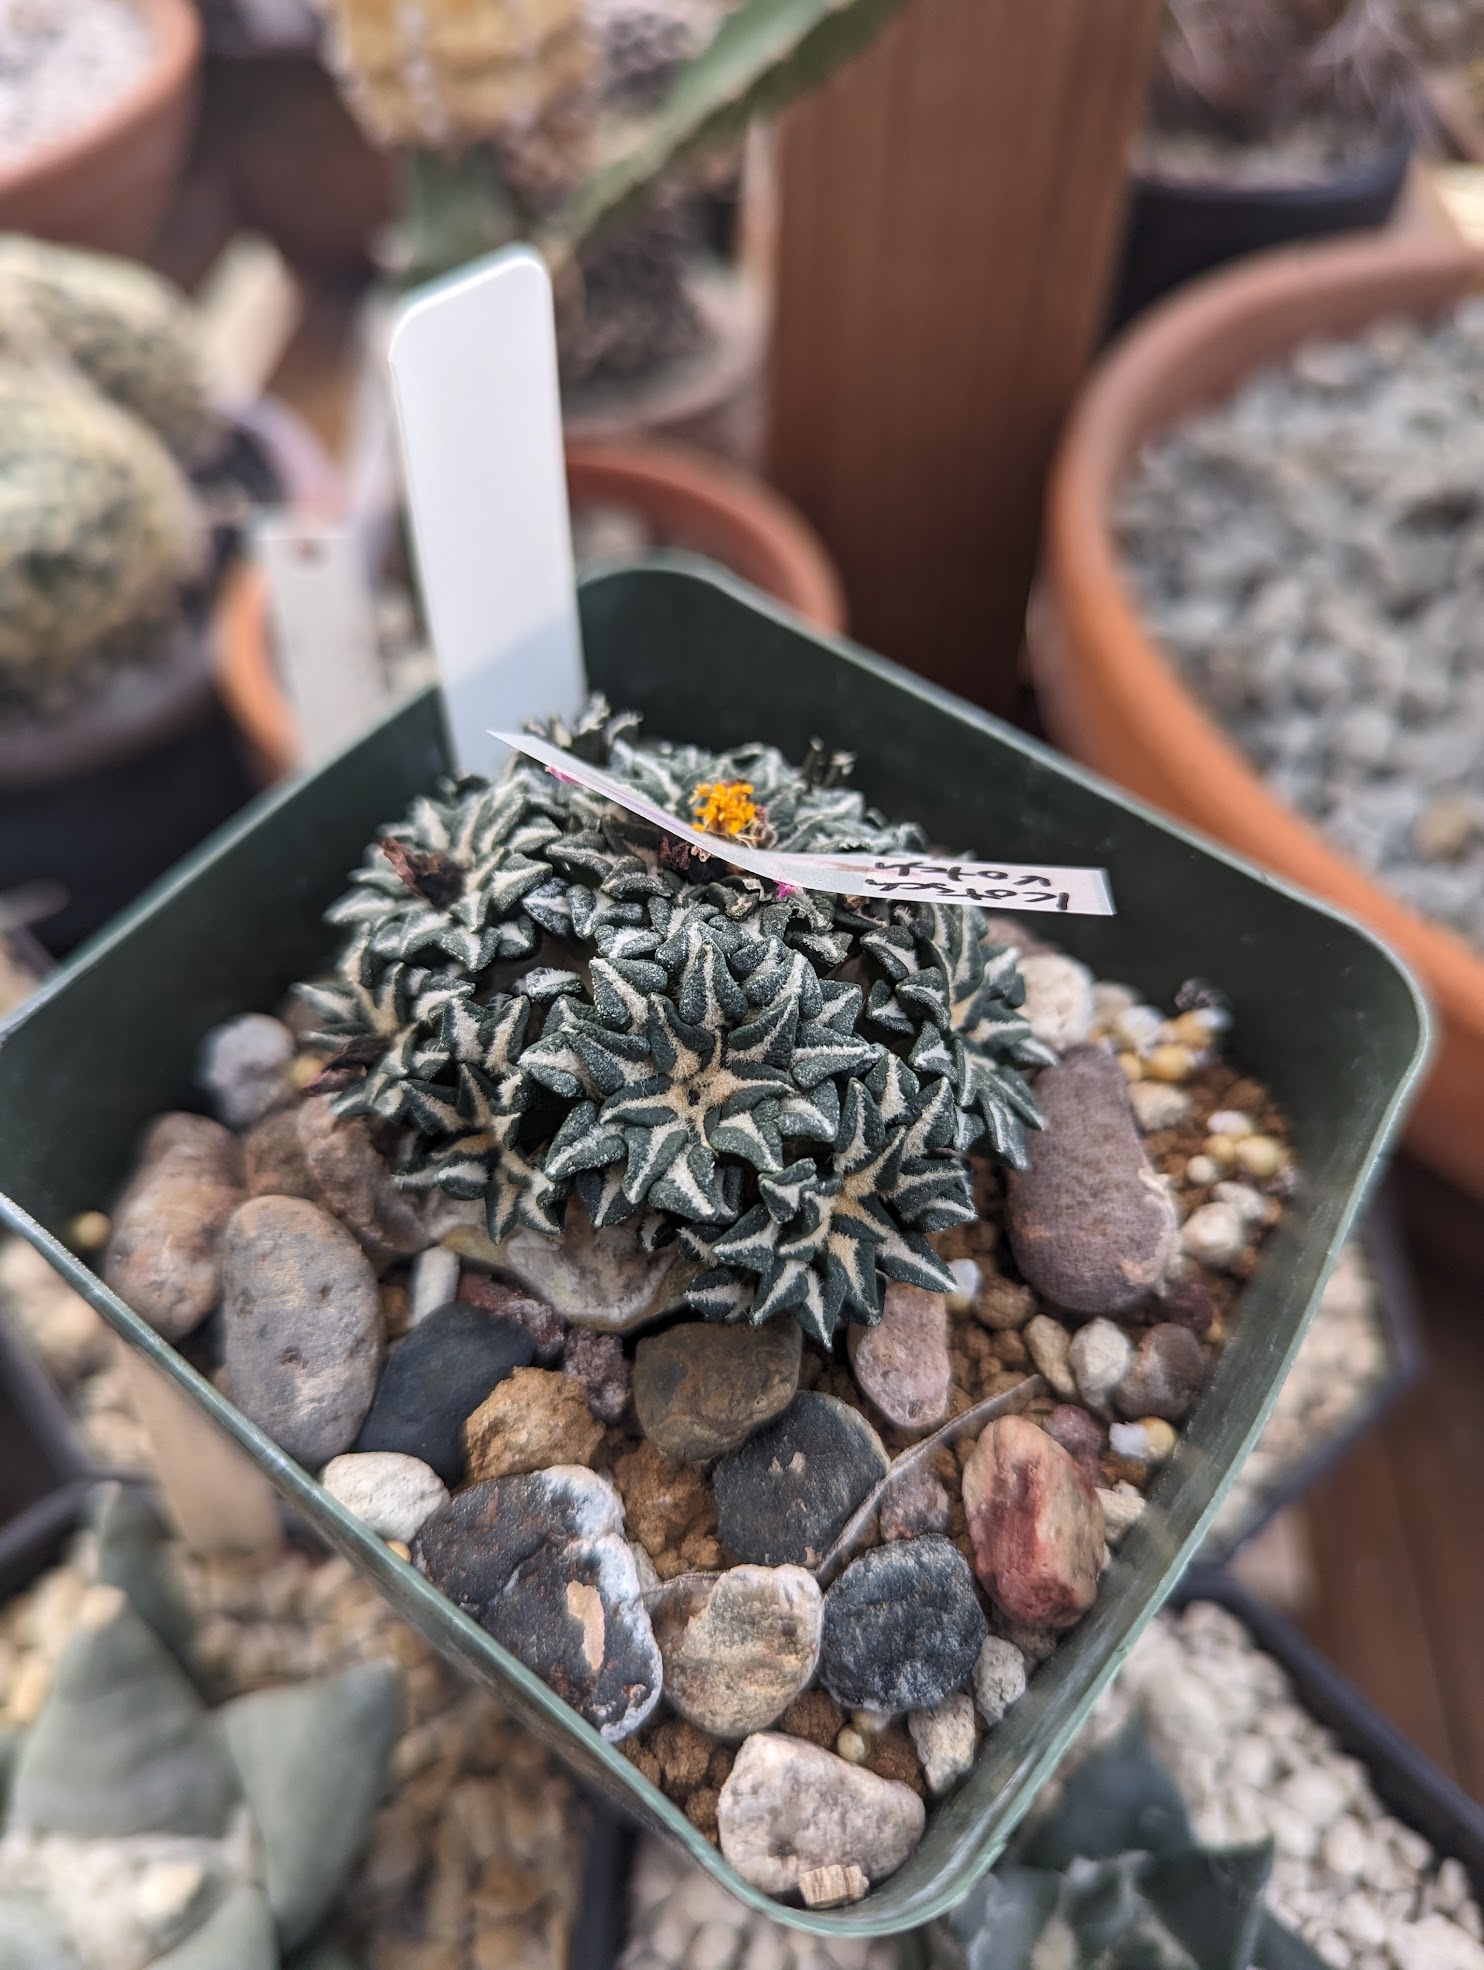
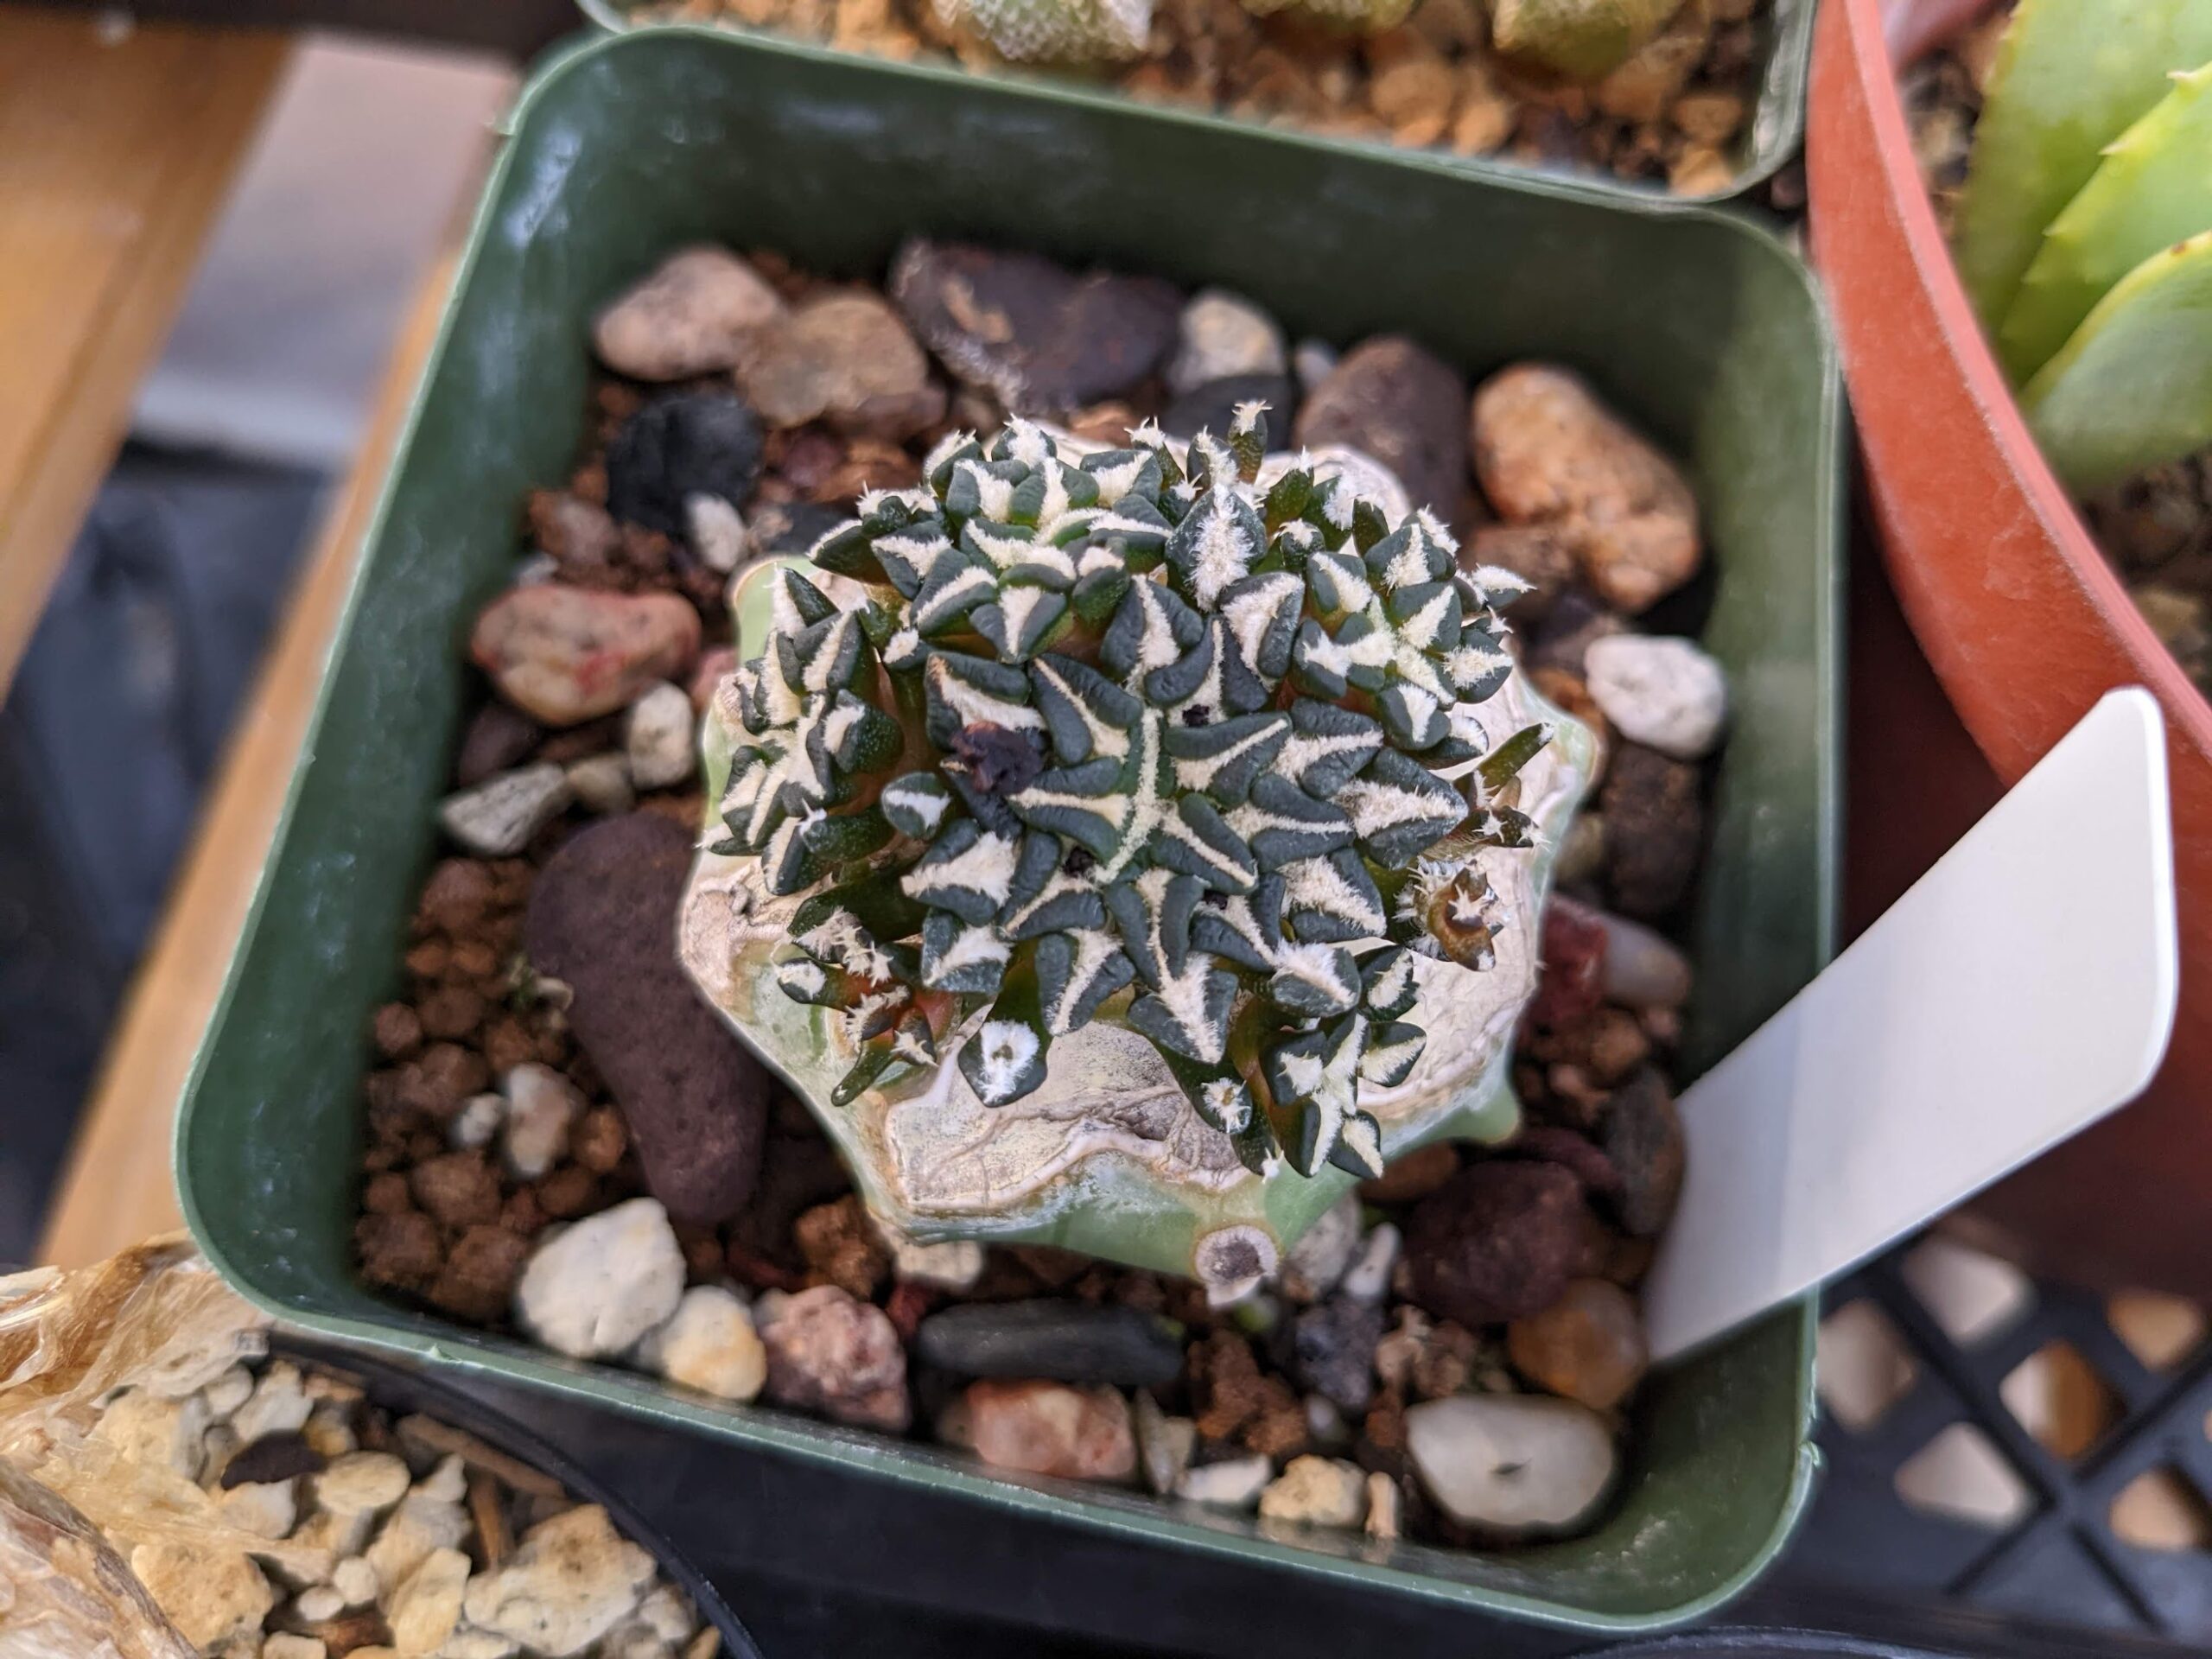
Ariocarpus kotschoubeyanus – grafted
This was a grafted seedling I bought from a friend a while back. It was a specific locale, a specific seedling, and unfortunately for me the name was written in sharpie and it promptly faded off the tag within days of coming home.
Being grafted has resulted in an abnormal growth pattern, which is all the pupping – the species rarely grows more than one head, much less this enormous cluster.
And that’s my Ariocarpus kotschoubeyanus group, along with how I care for them!
To see photos this summer, or future summers, you can follow me on Instagram at @TrexPlants. As I have seeds of my various plants available, I list them in my shop – I’ve been updating over on Square lately to make it easy to sell in person, too.
Thank you for reading! Happy growing 😀