Continuing the bloom cycle of my Anthurium magnificum, right around the end of the month the plant decided it was done with the female phase of the bloom cycle and it was time for pollen. You can see the previous photos of the inflorescence emerging and entering female phase in the previous post, linked here.
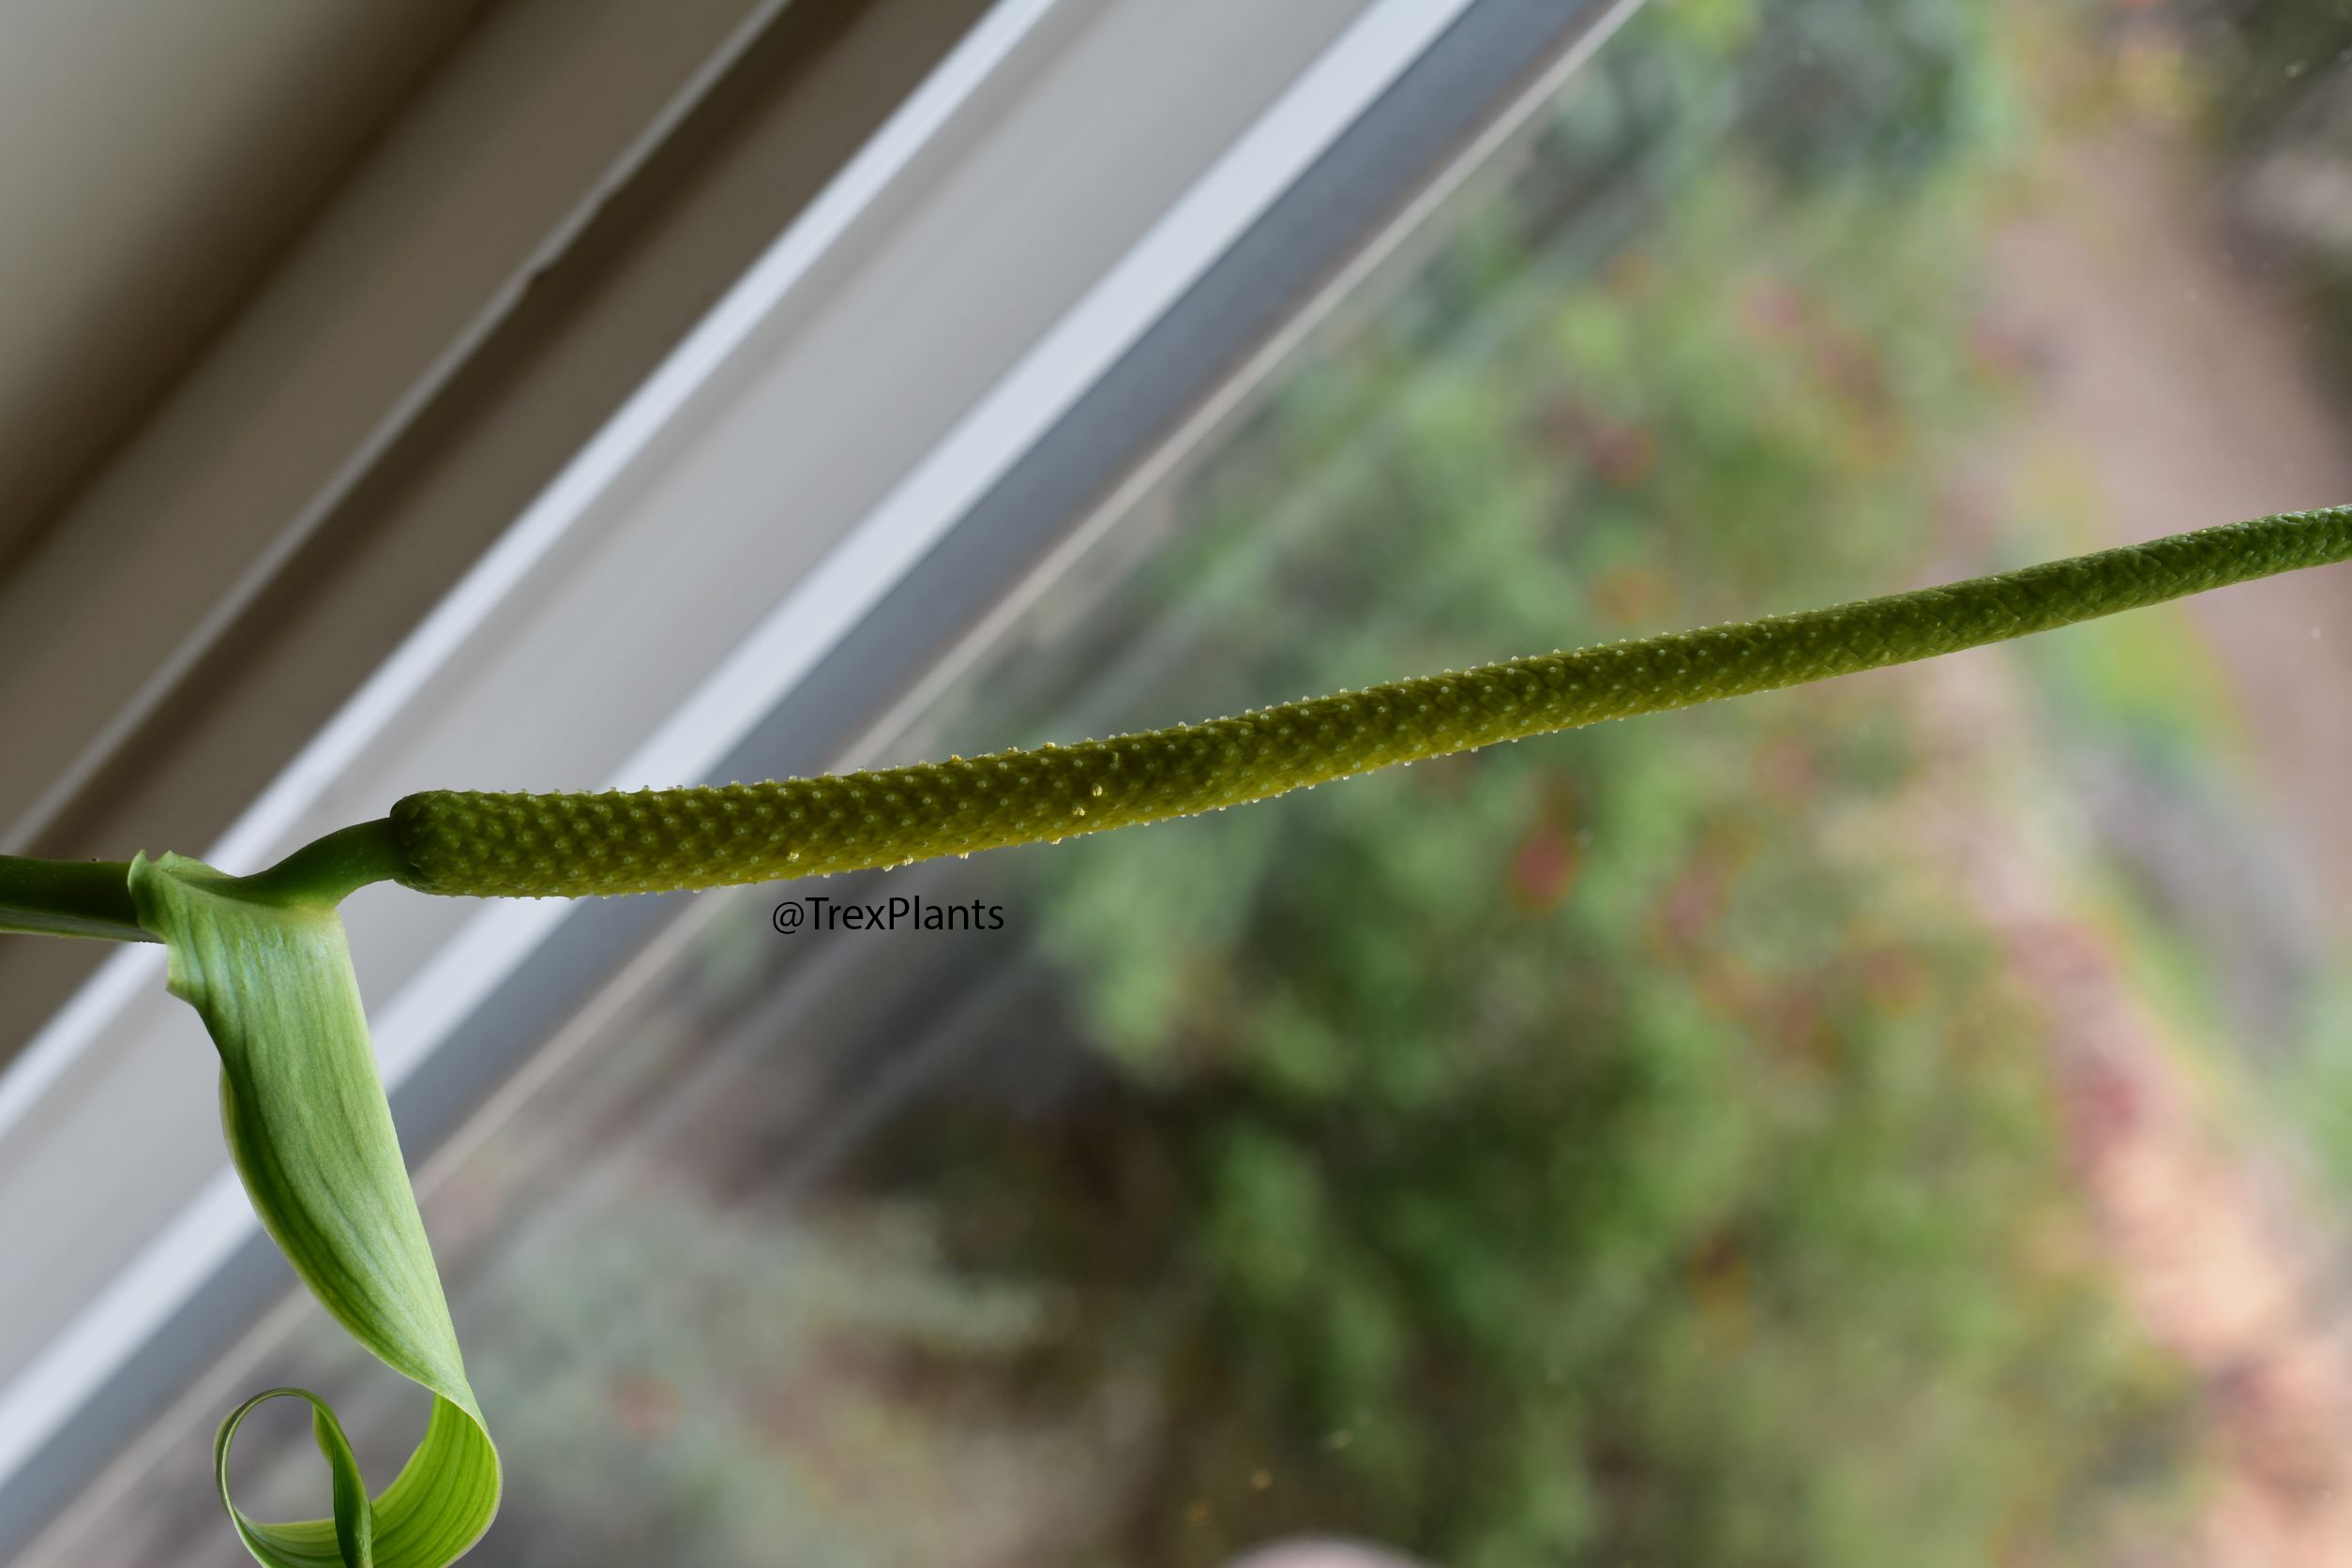
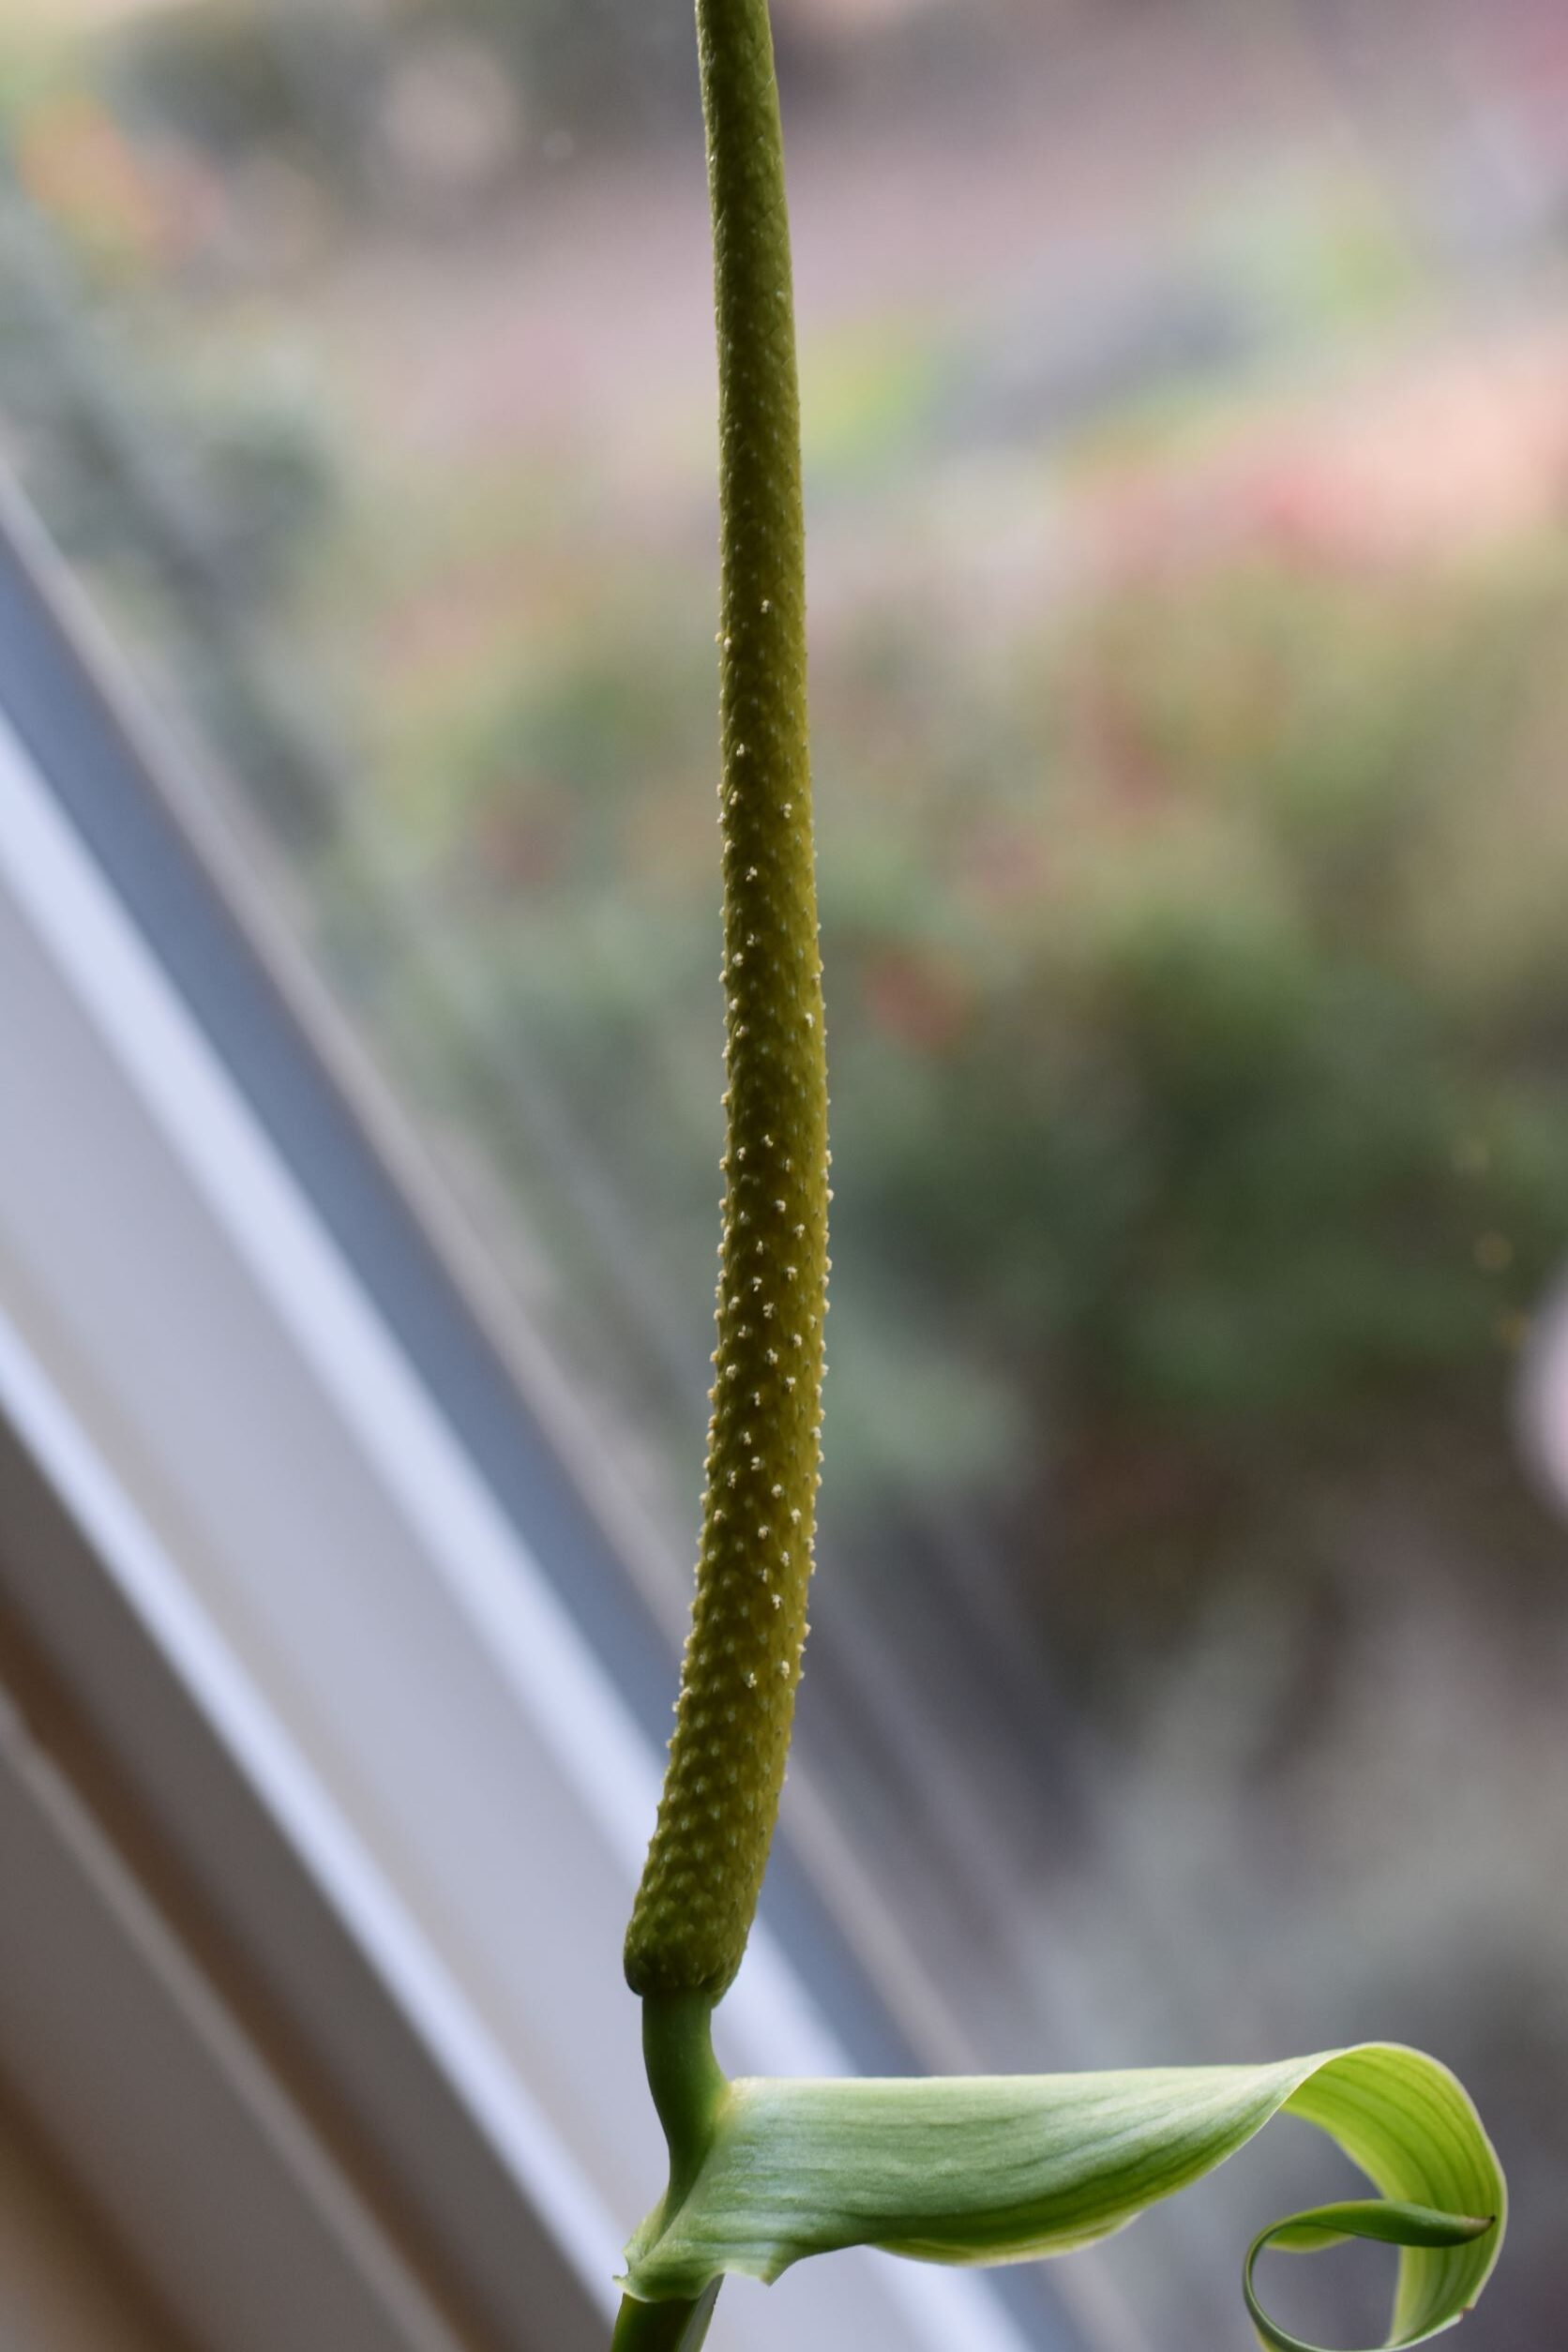
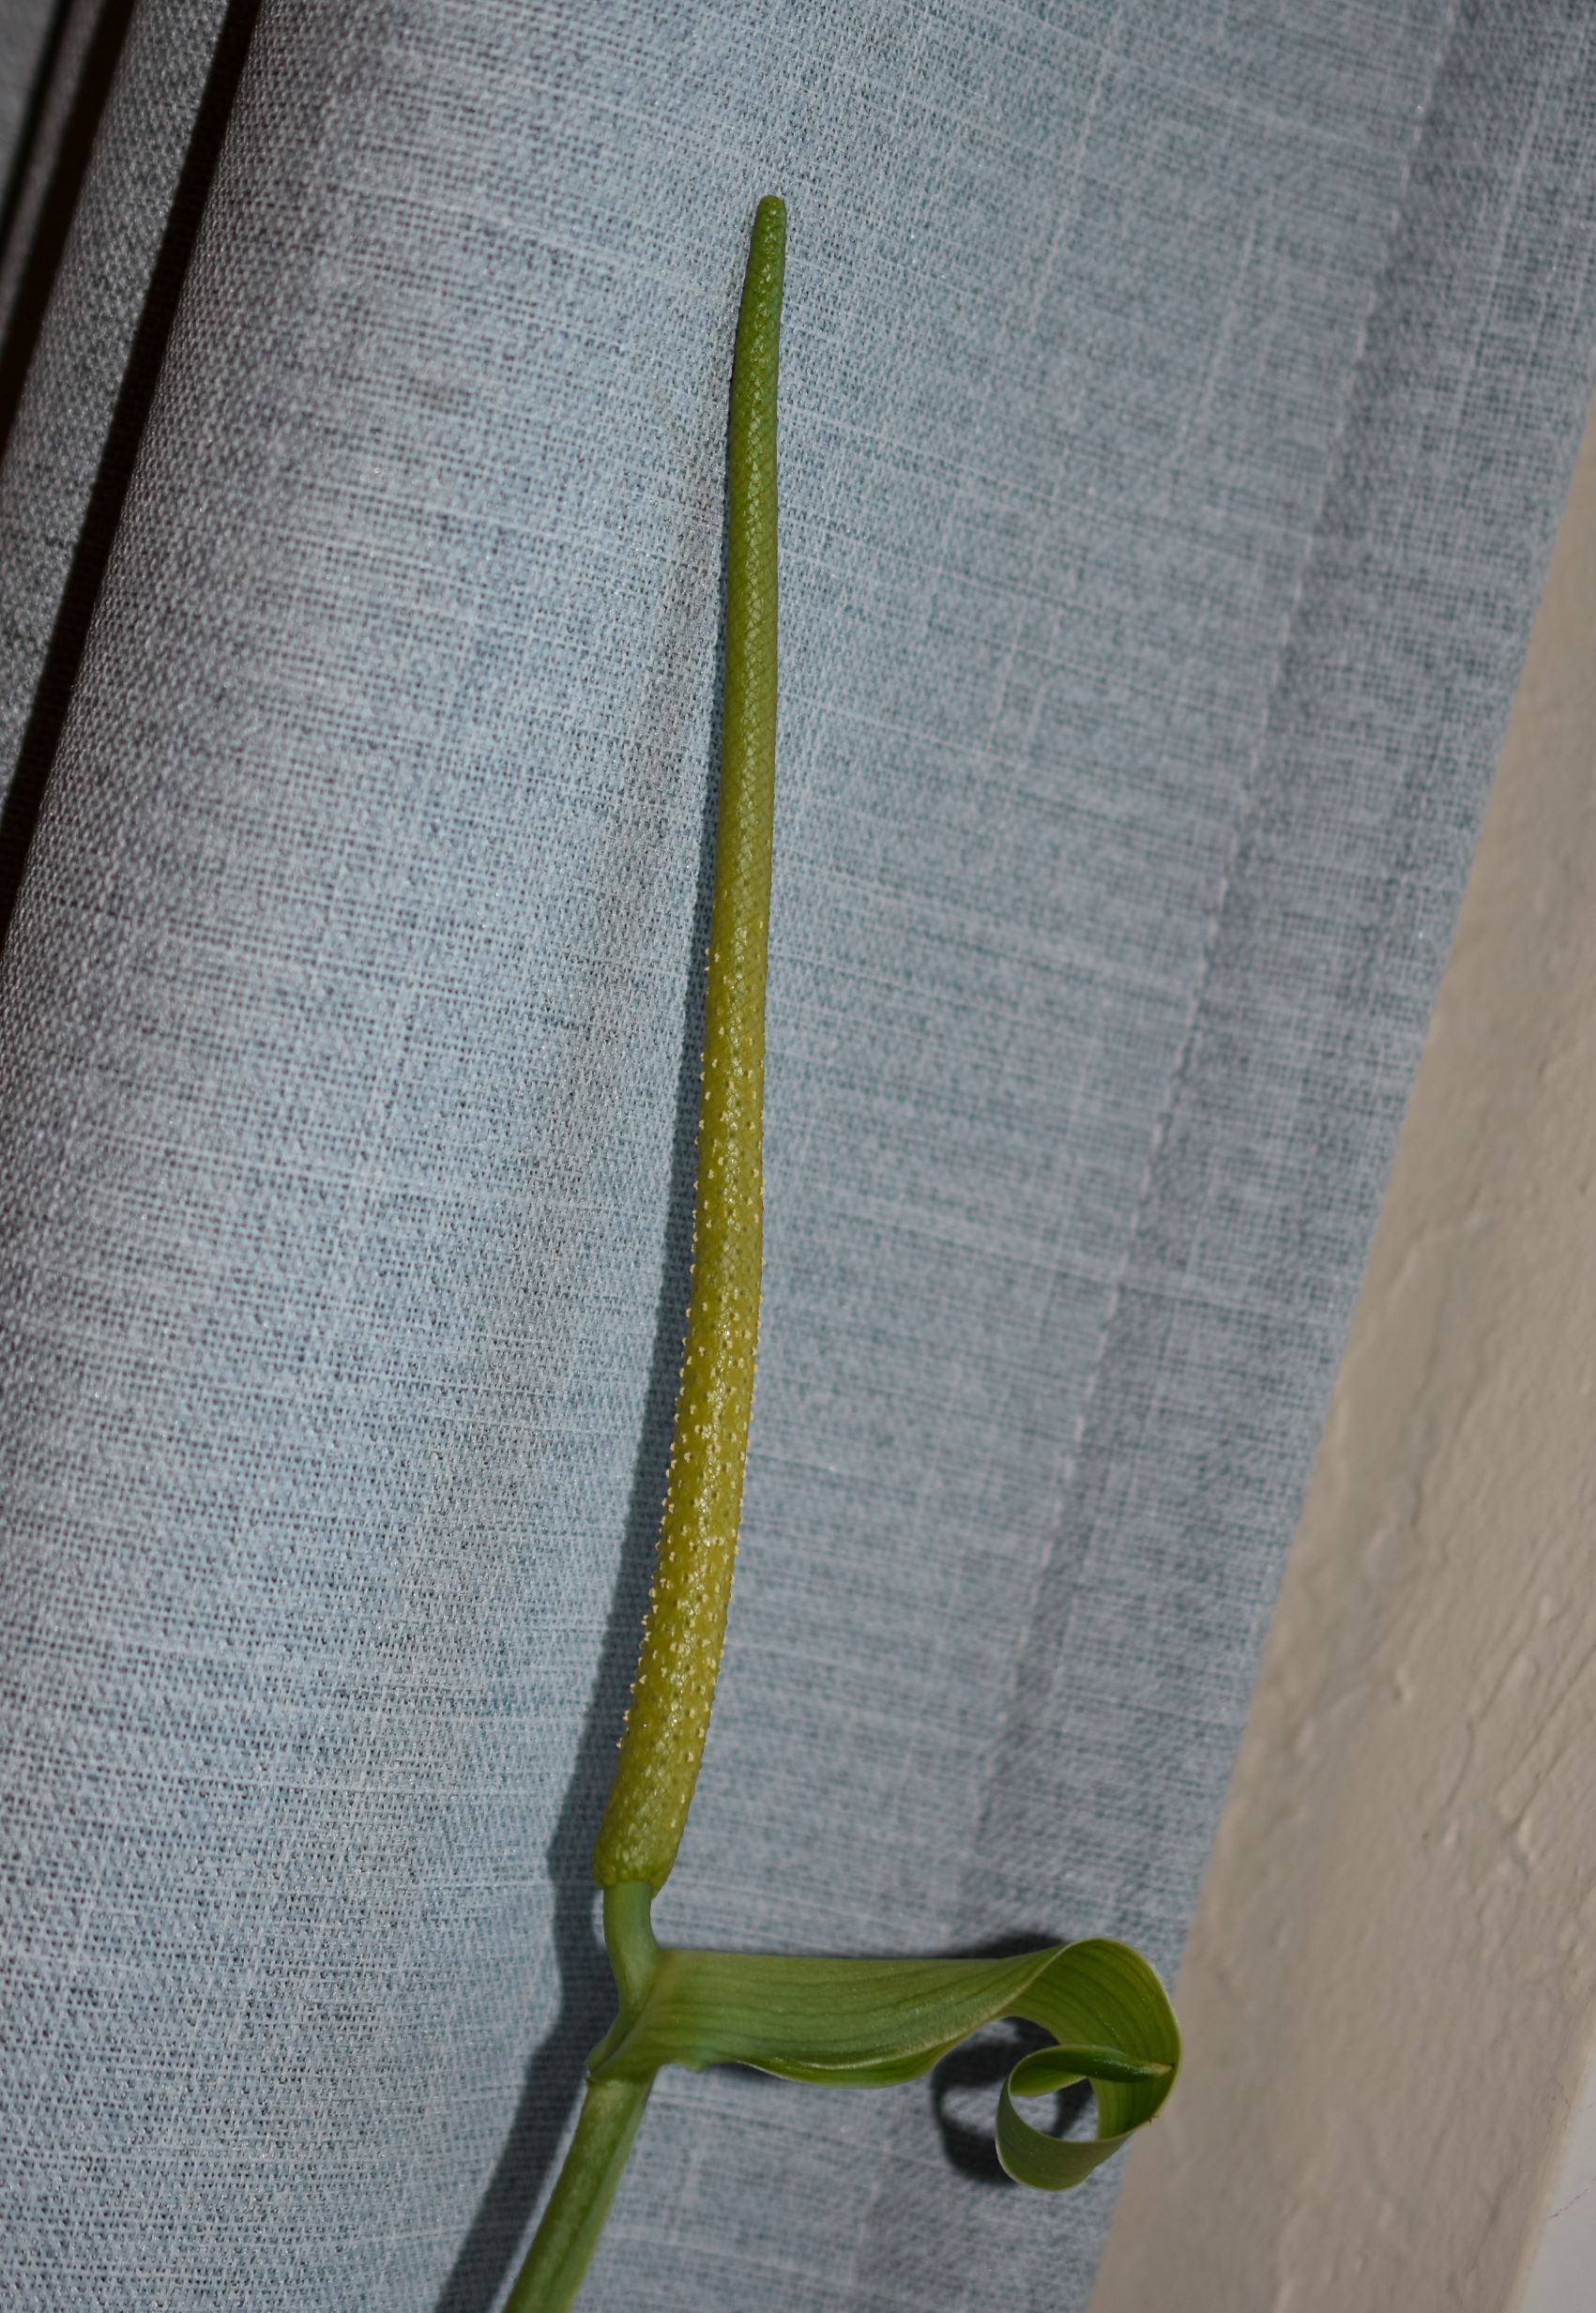
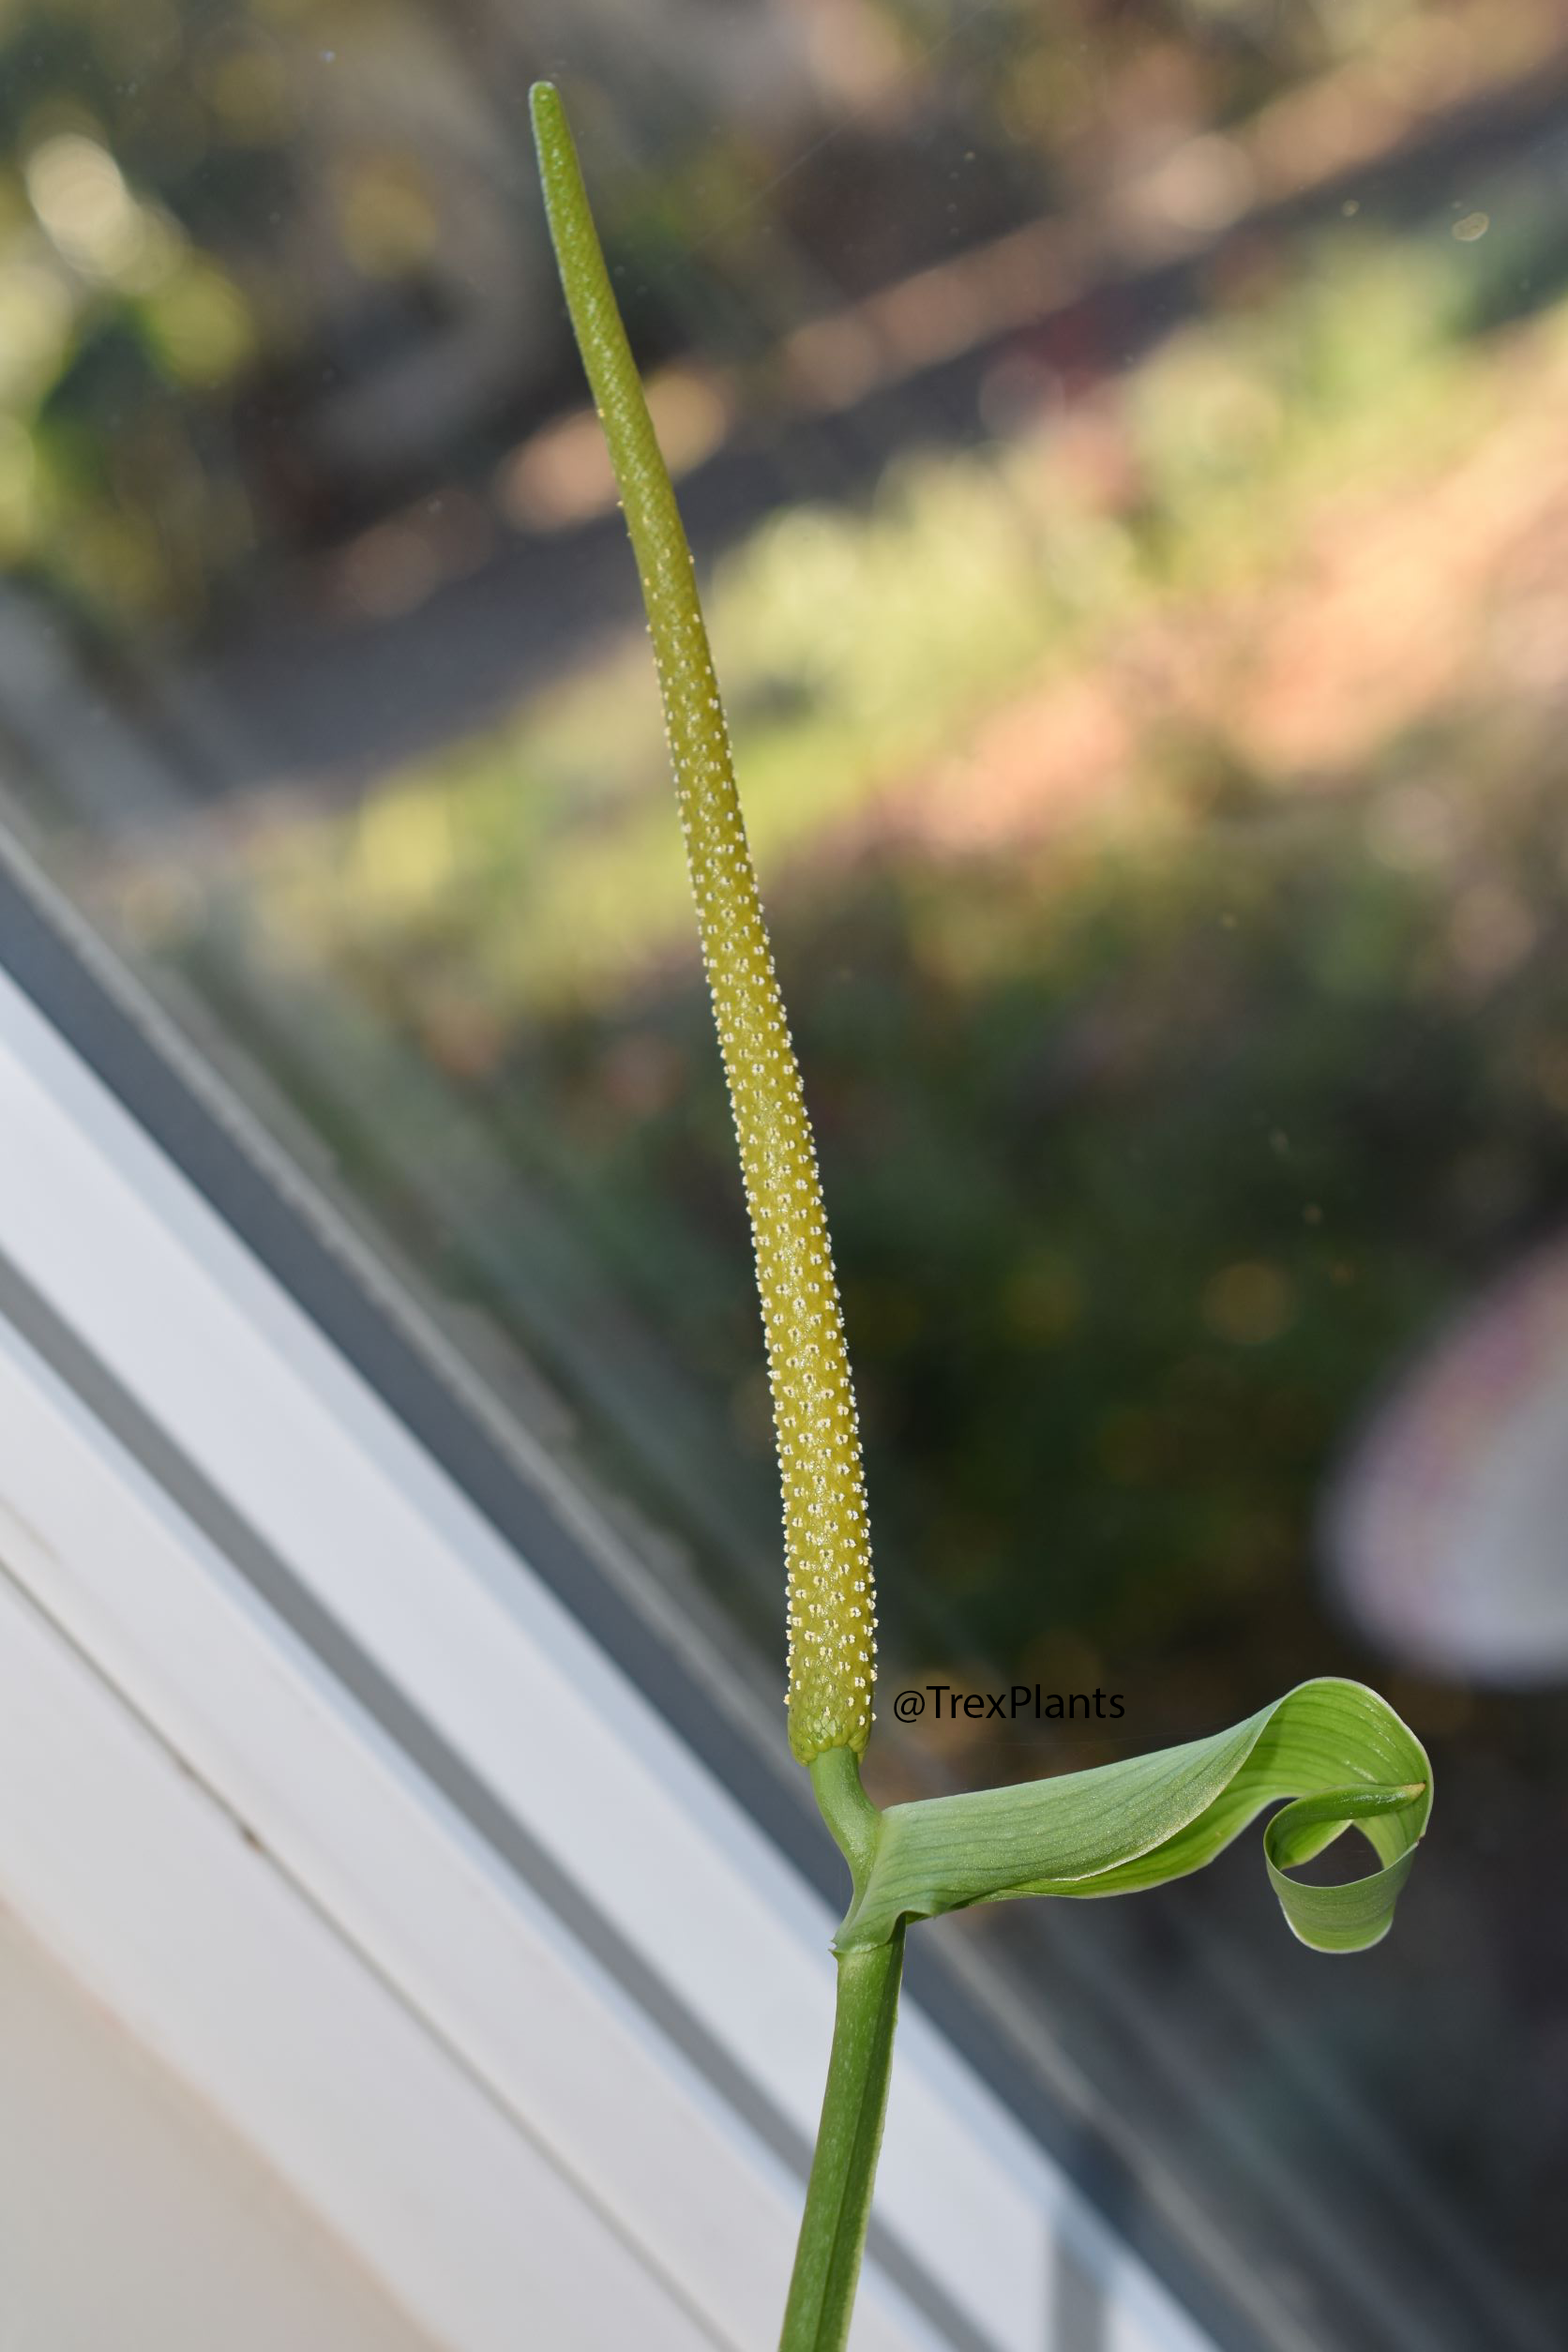
On January 31st, the very beginning of the stamens showed themselves. It’s worth noting that at this stage, there’s no pollen yet: the stamens are coming out and *those* will make the pollen when the flower decides it’s time.
Cute little stamens popping up.
You may still be able to see some of the stigmatic fluid appearing; at this point the female bits are generally unreceptive. The main inflorescence body is also definitely a yellowish hue now.
February 1st – lil stamens popping up everywhere. No pollen yet.
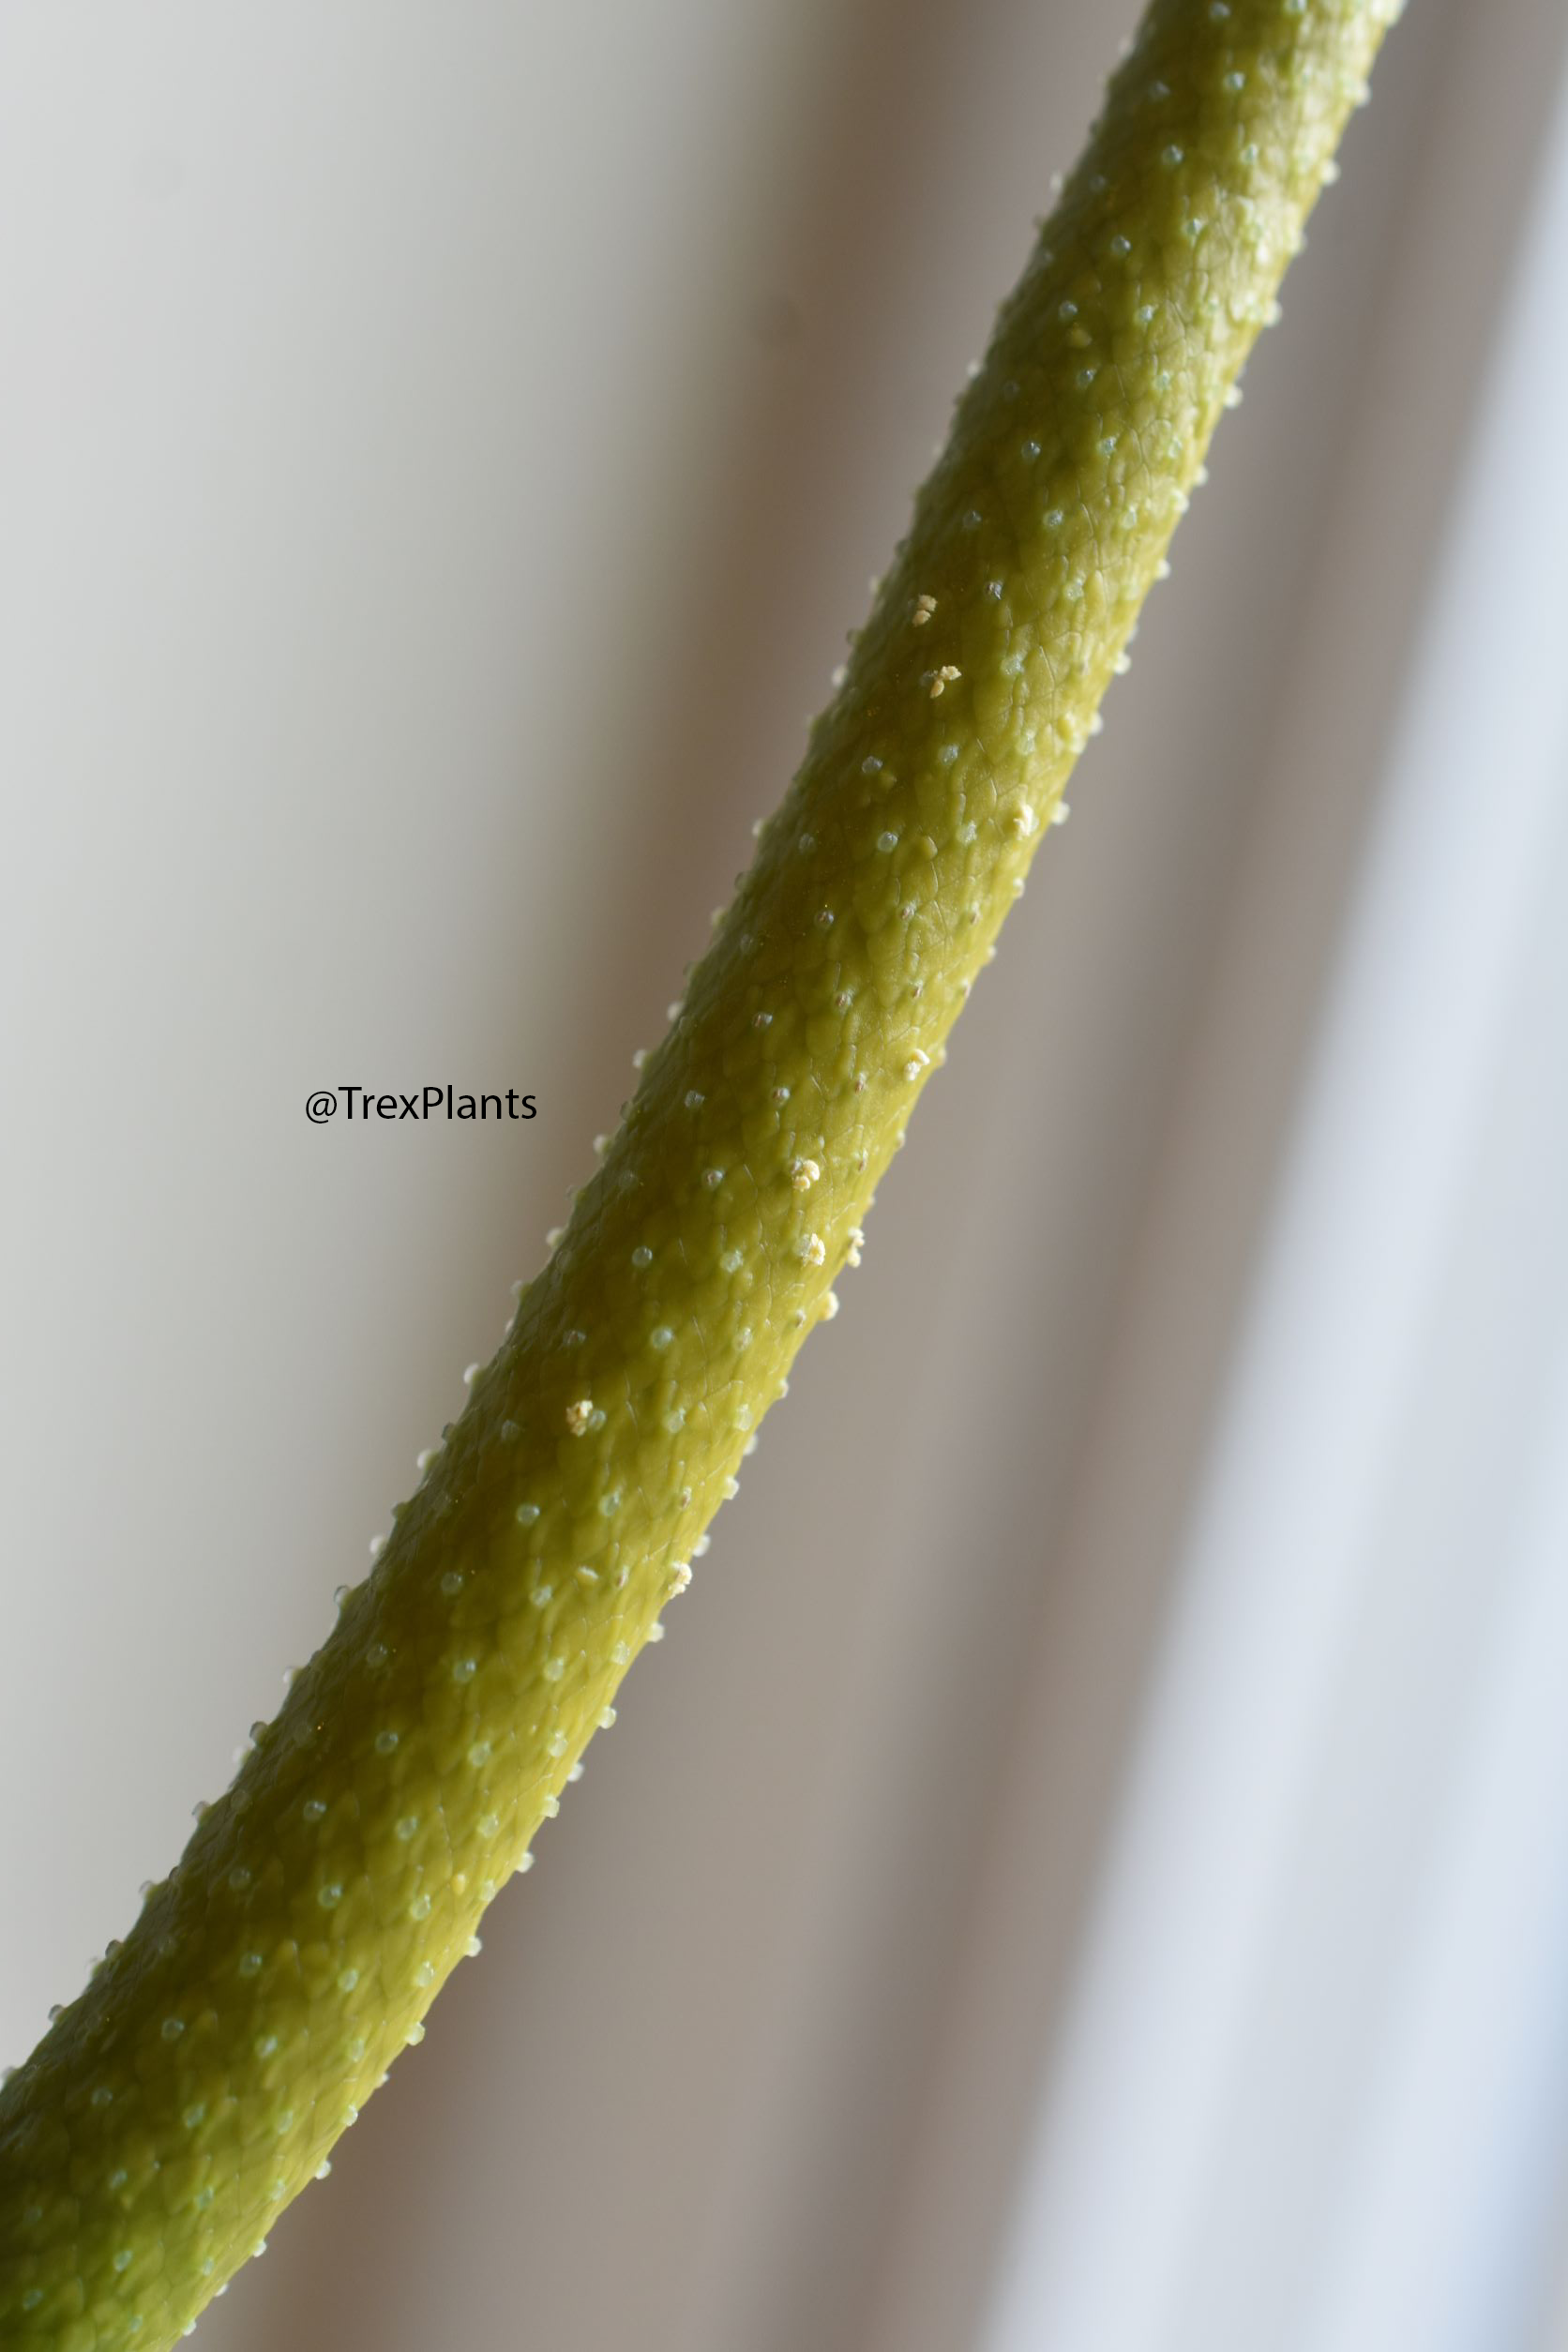
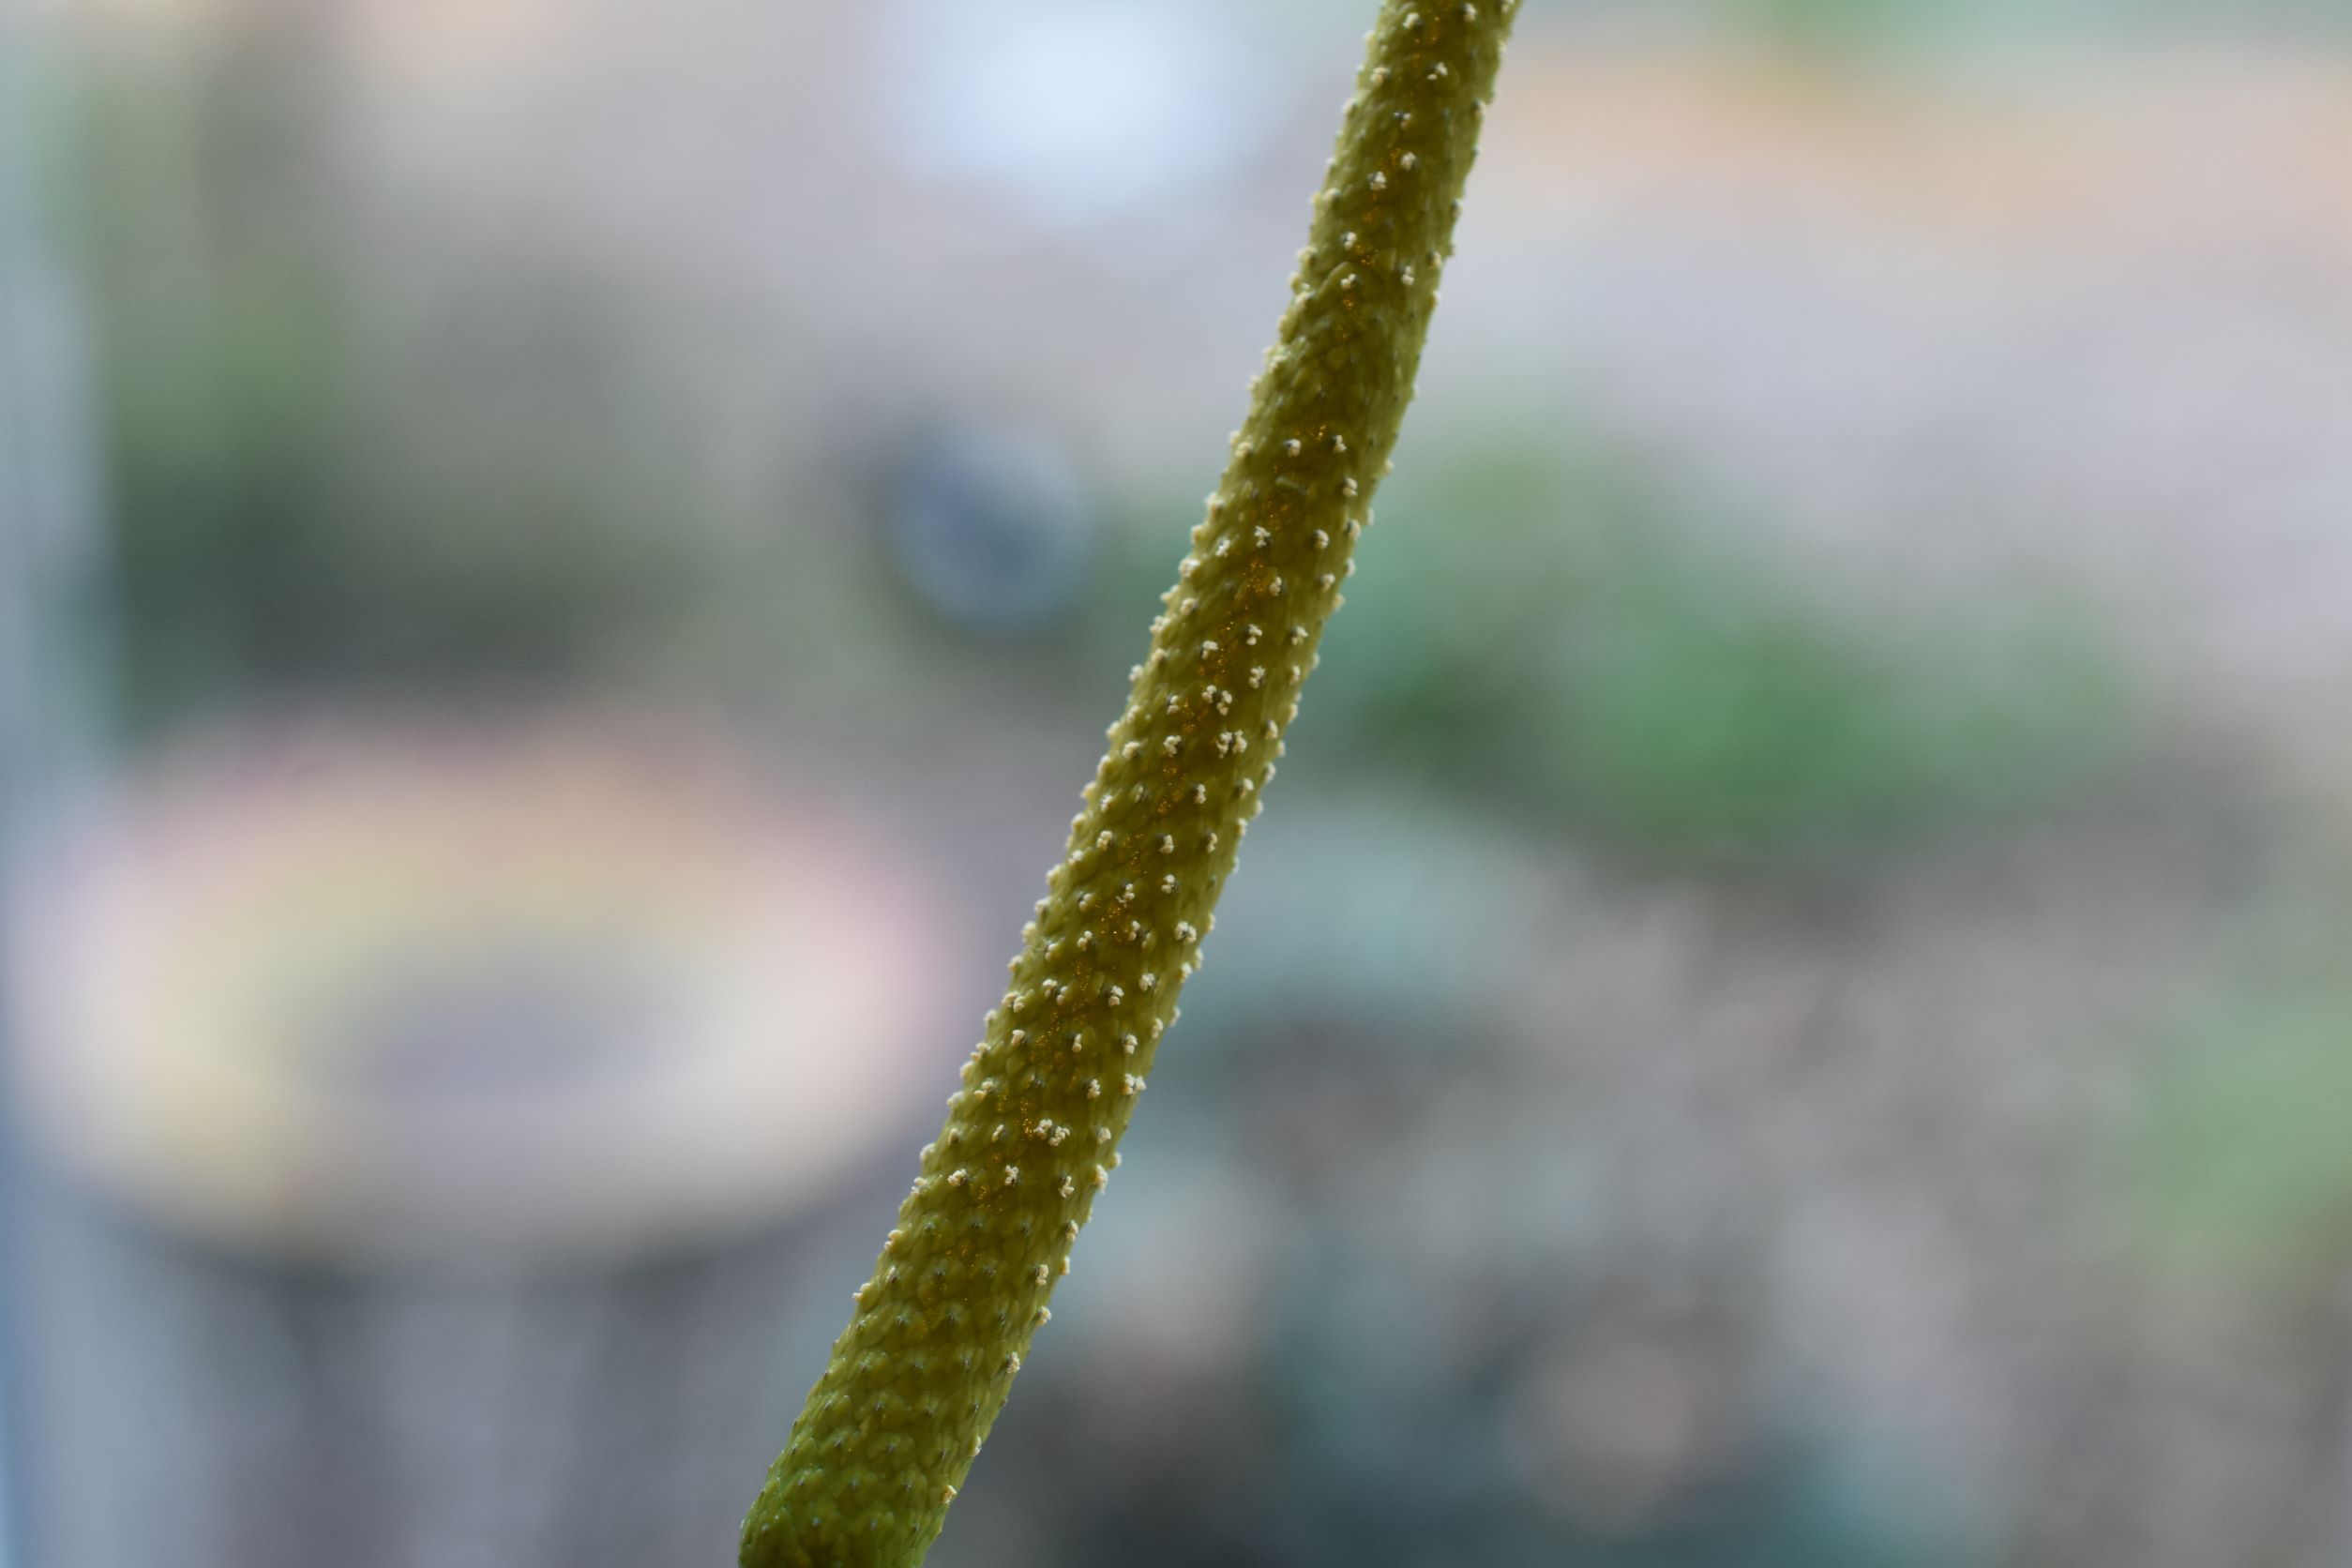
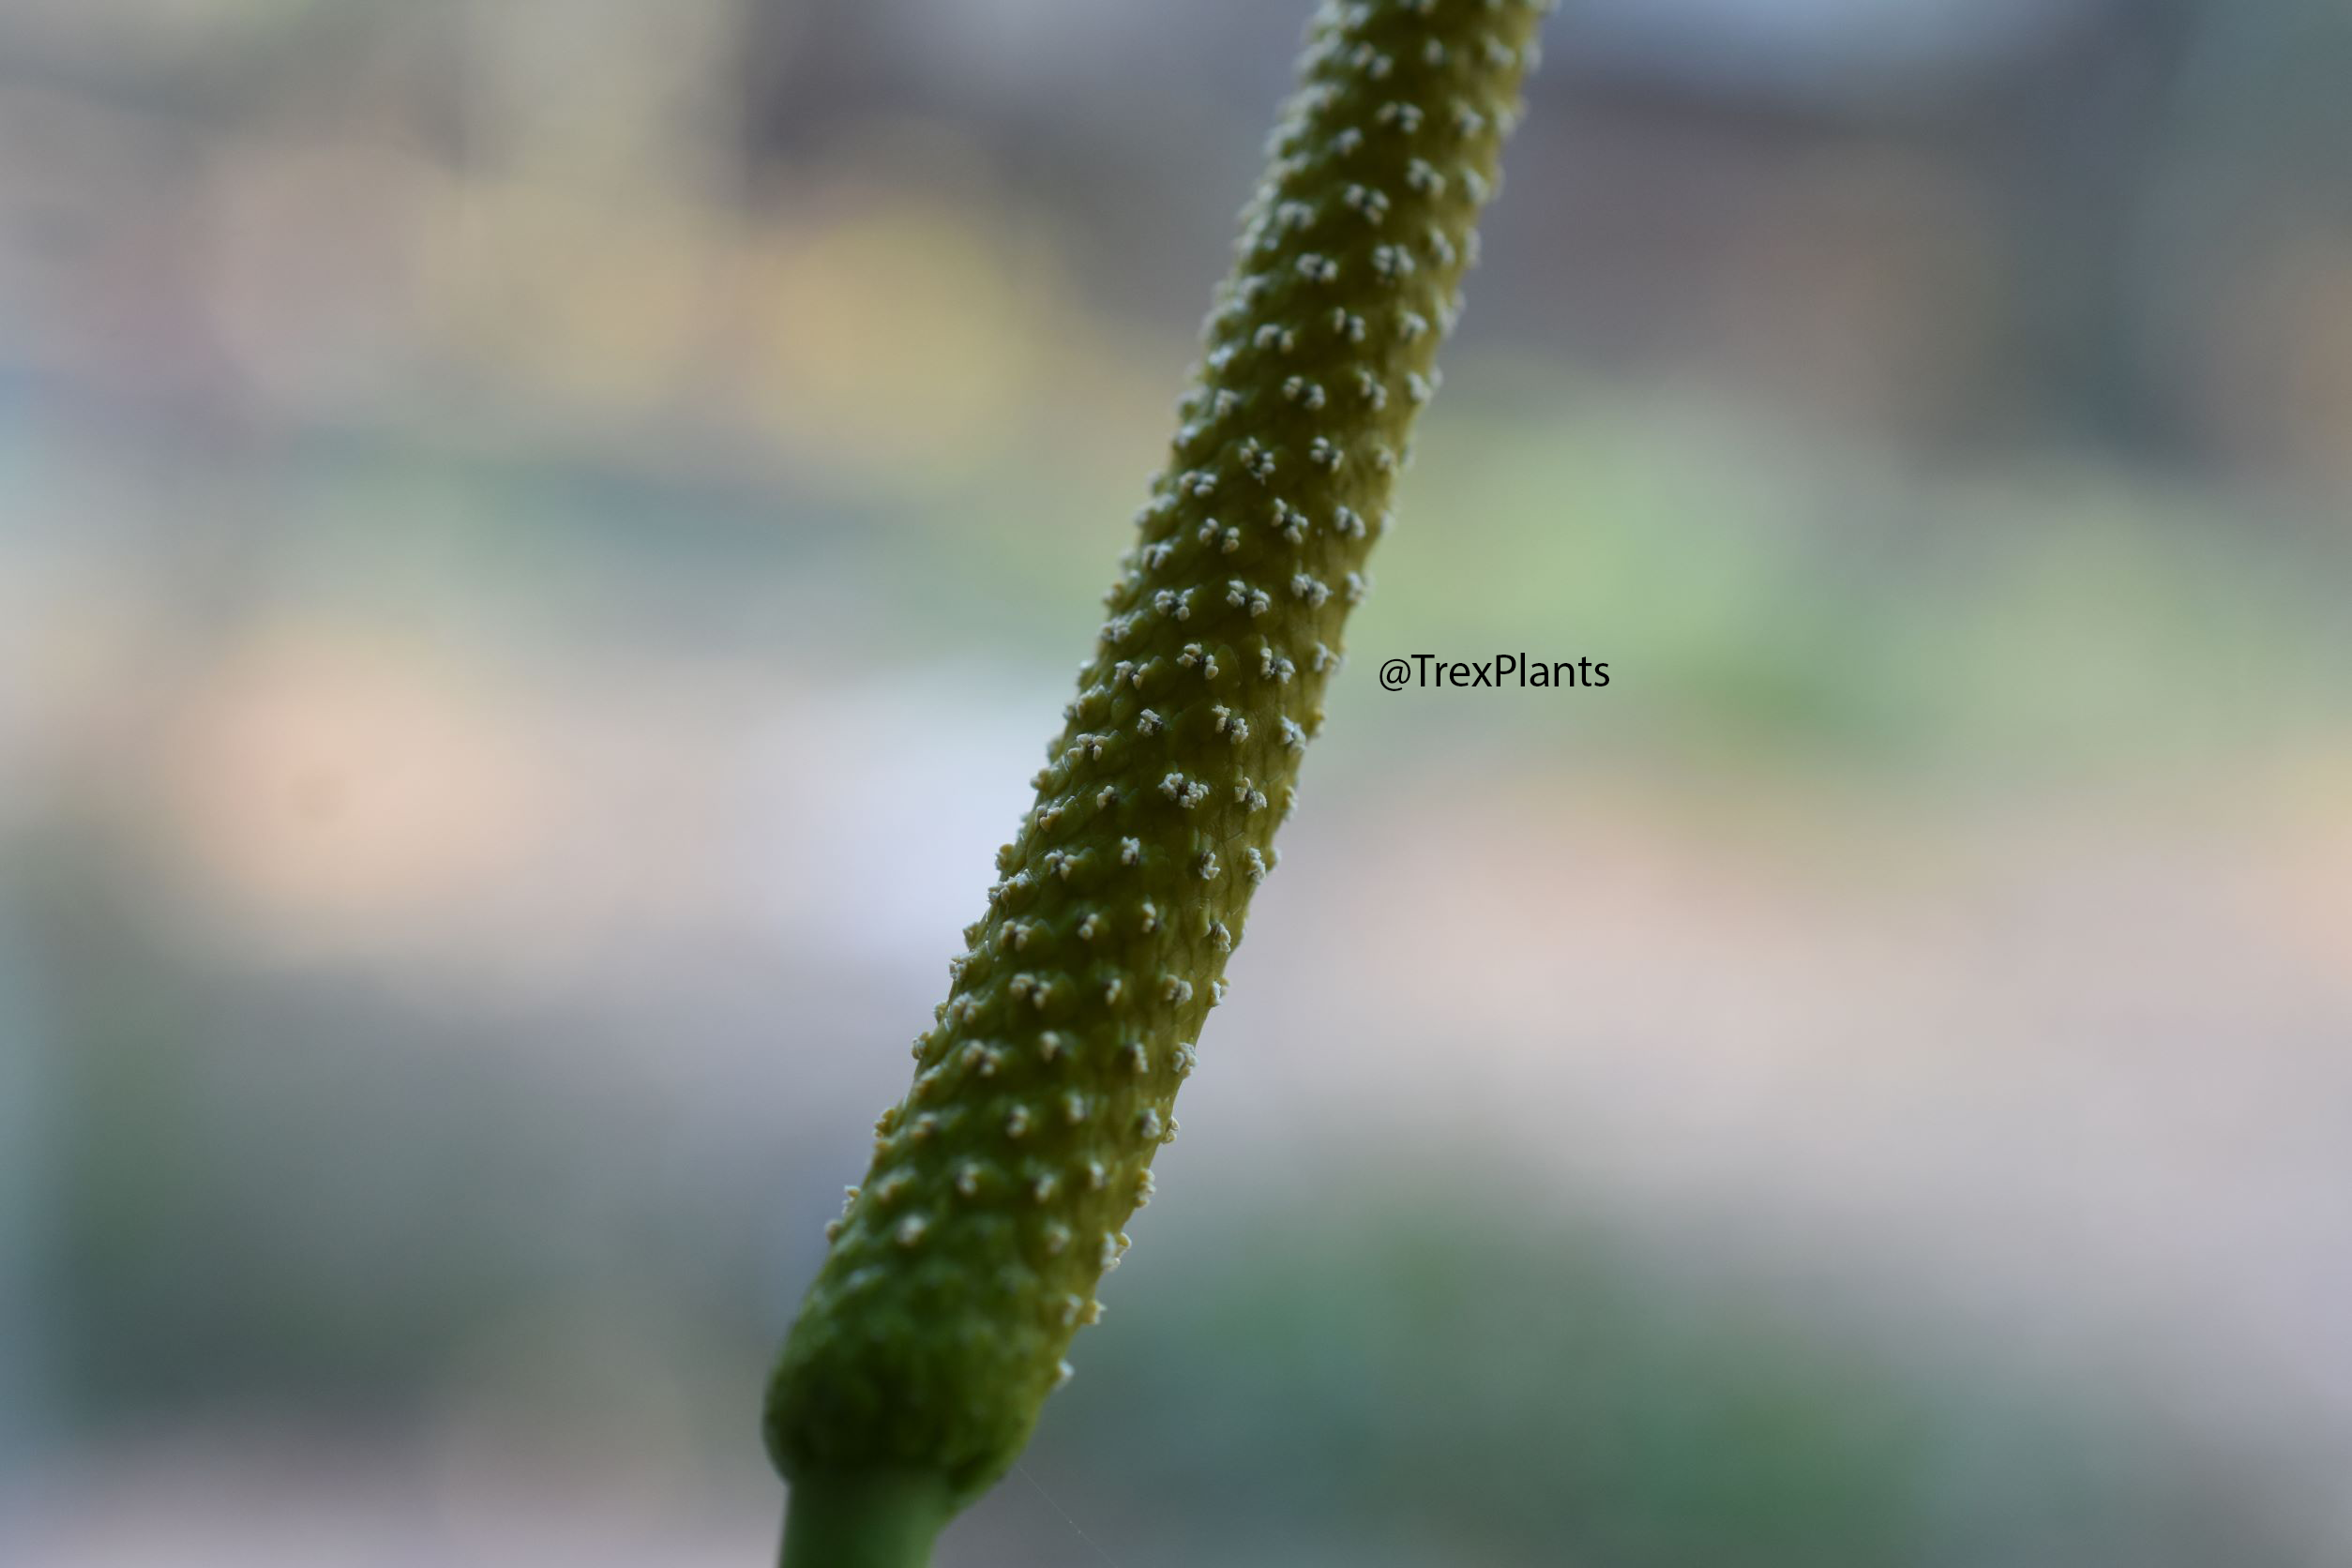
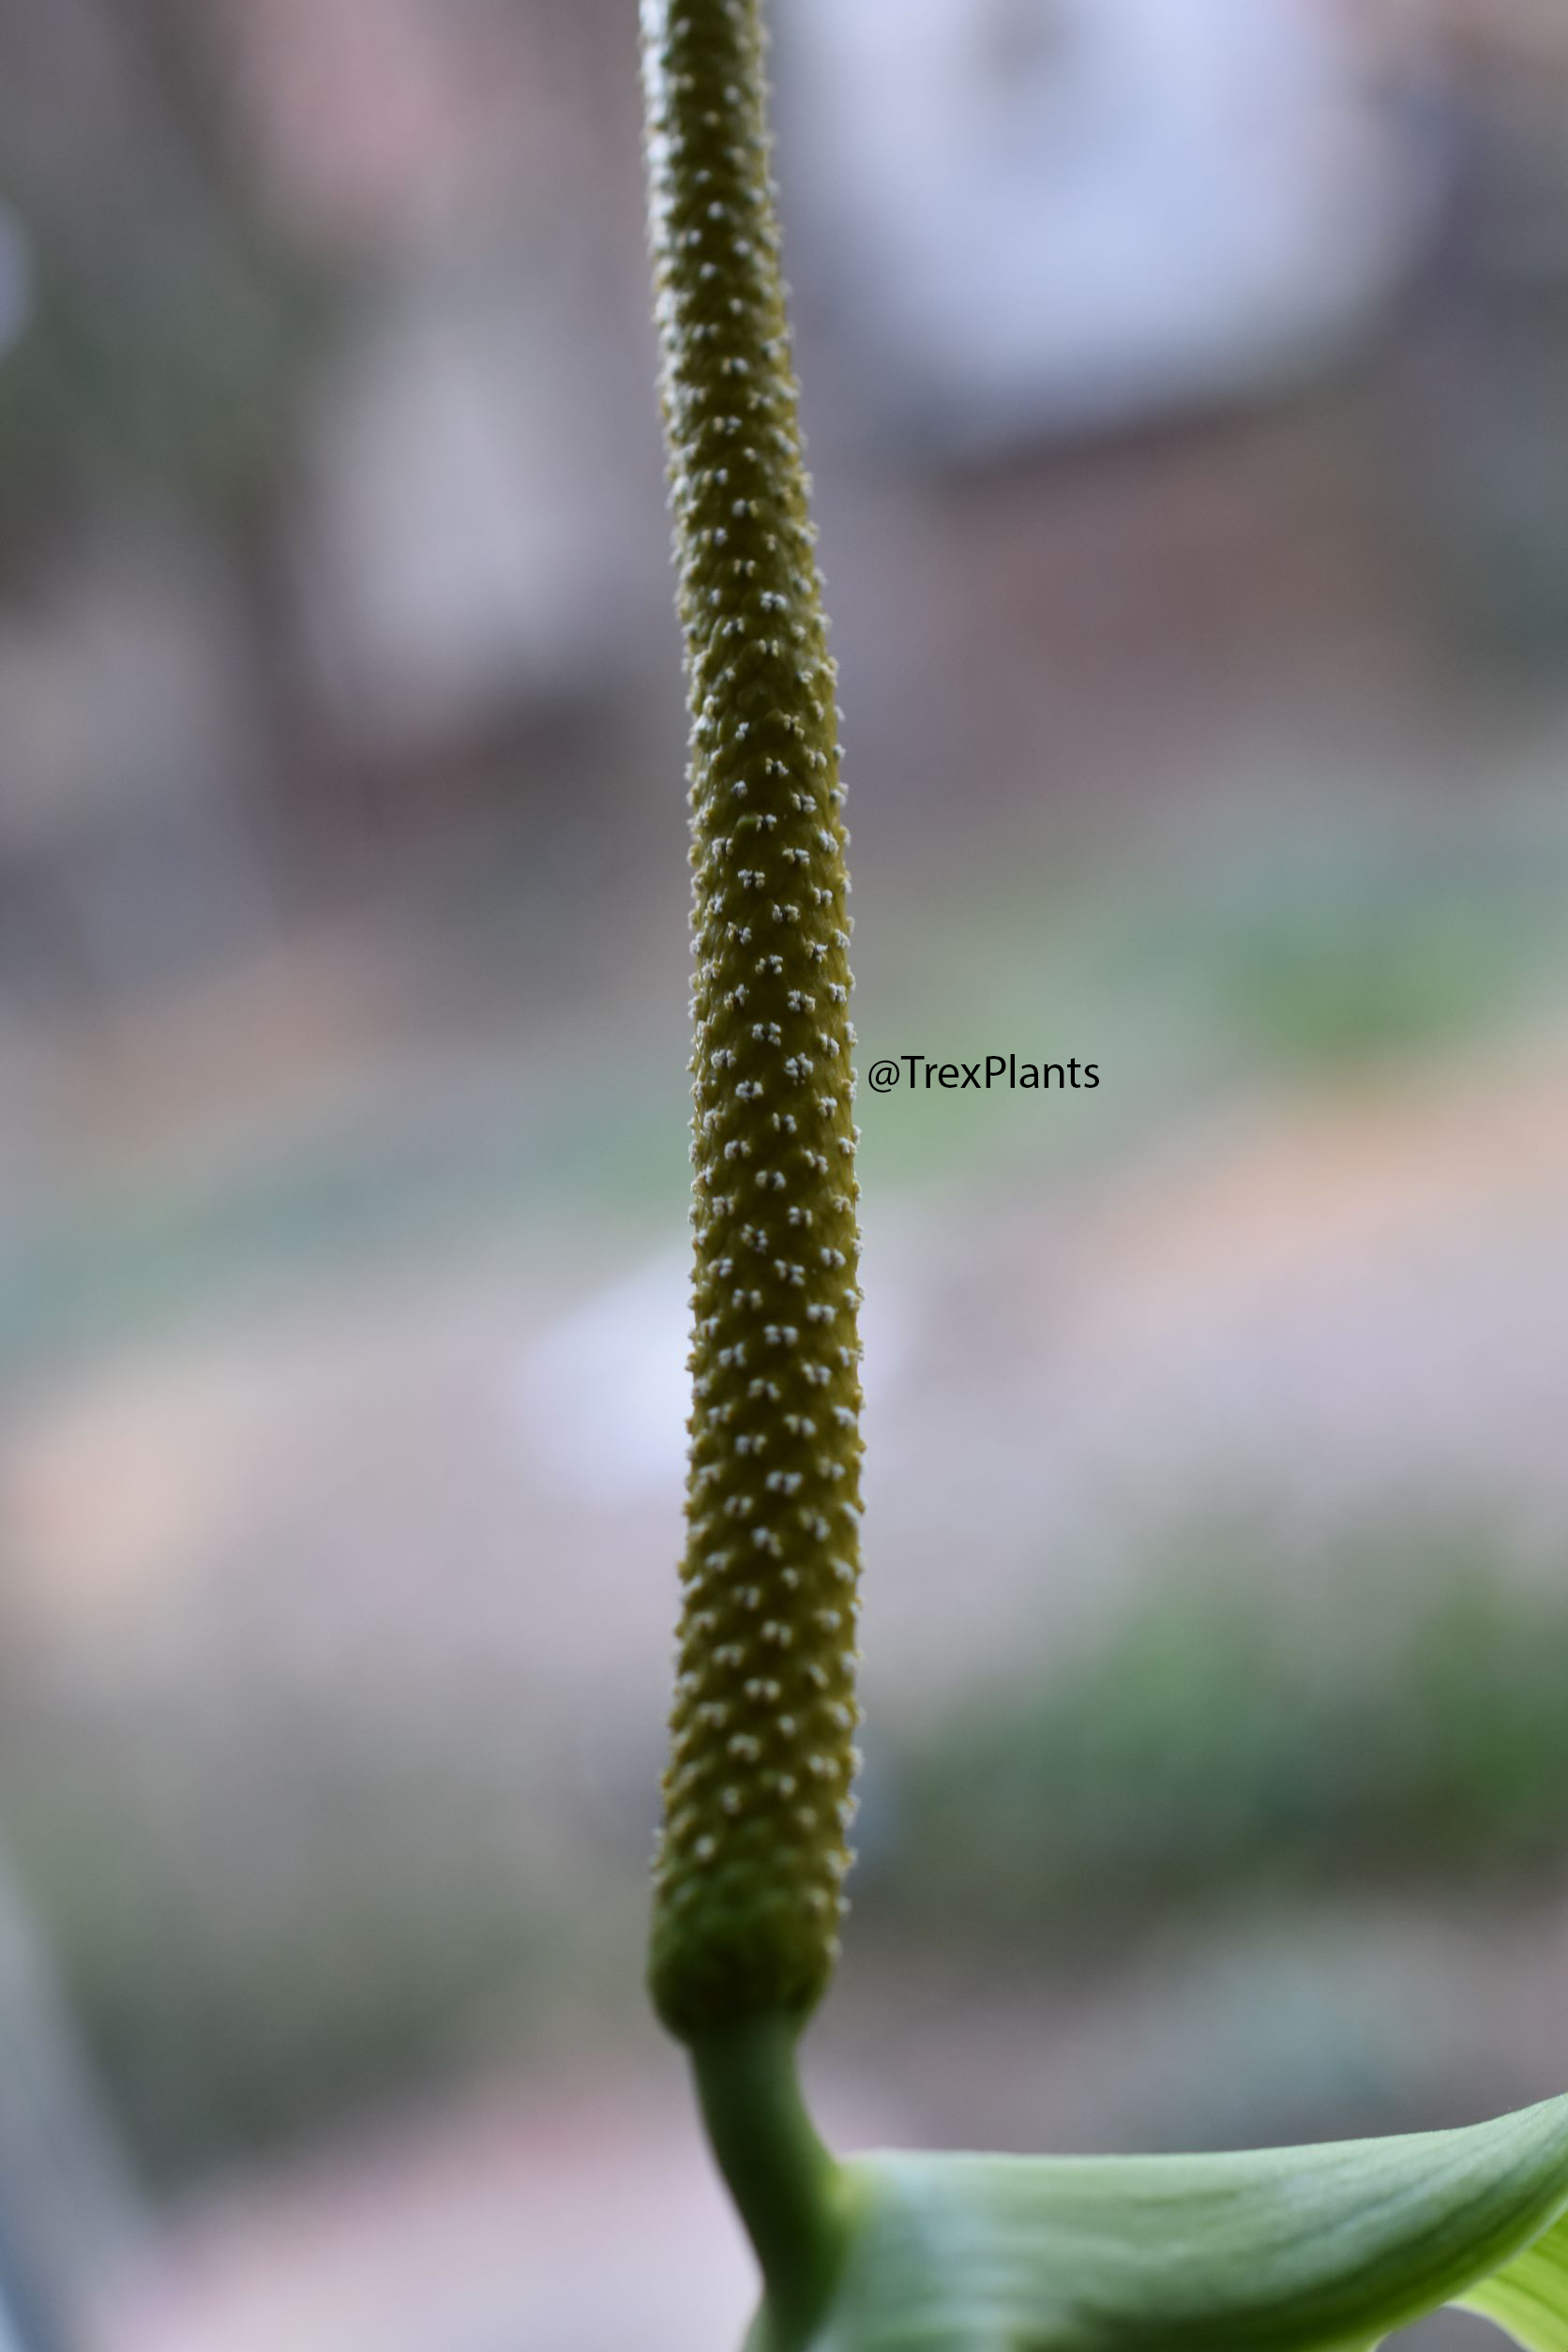
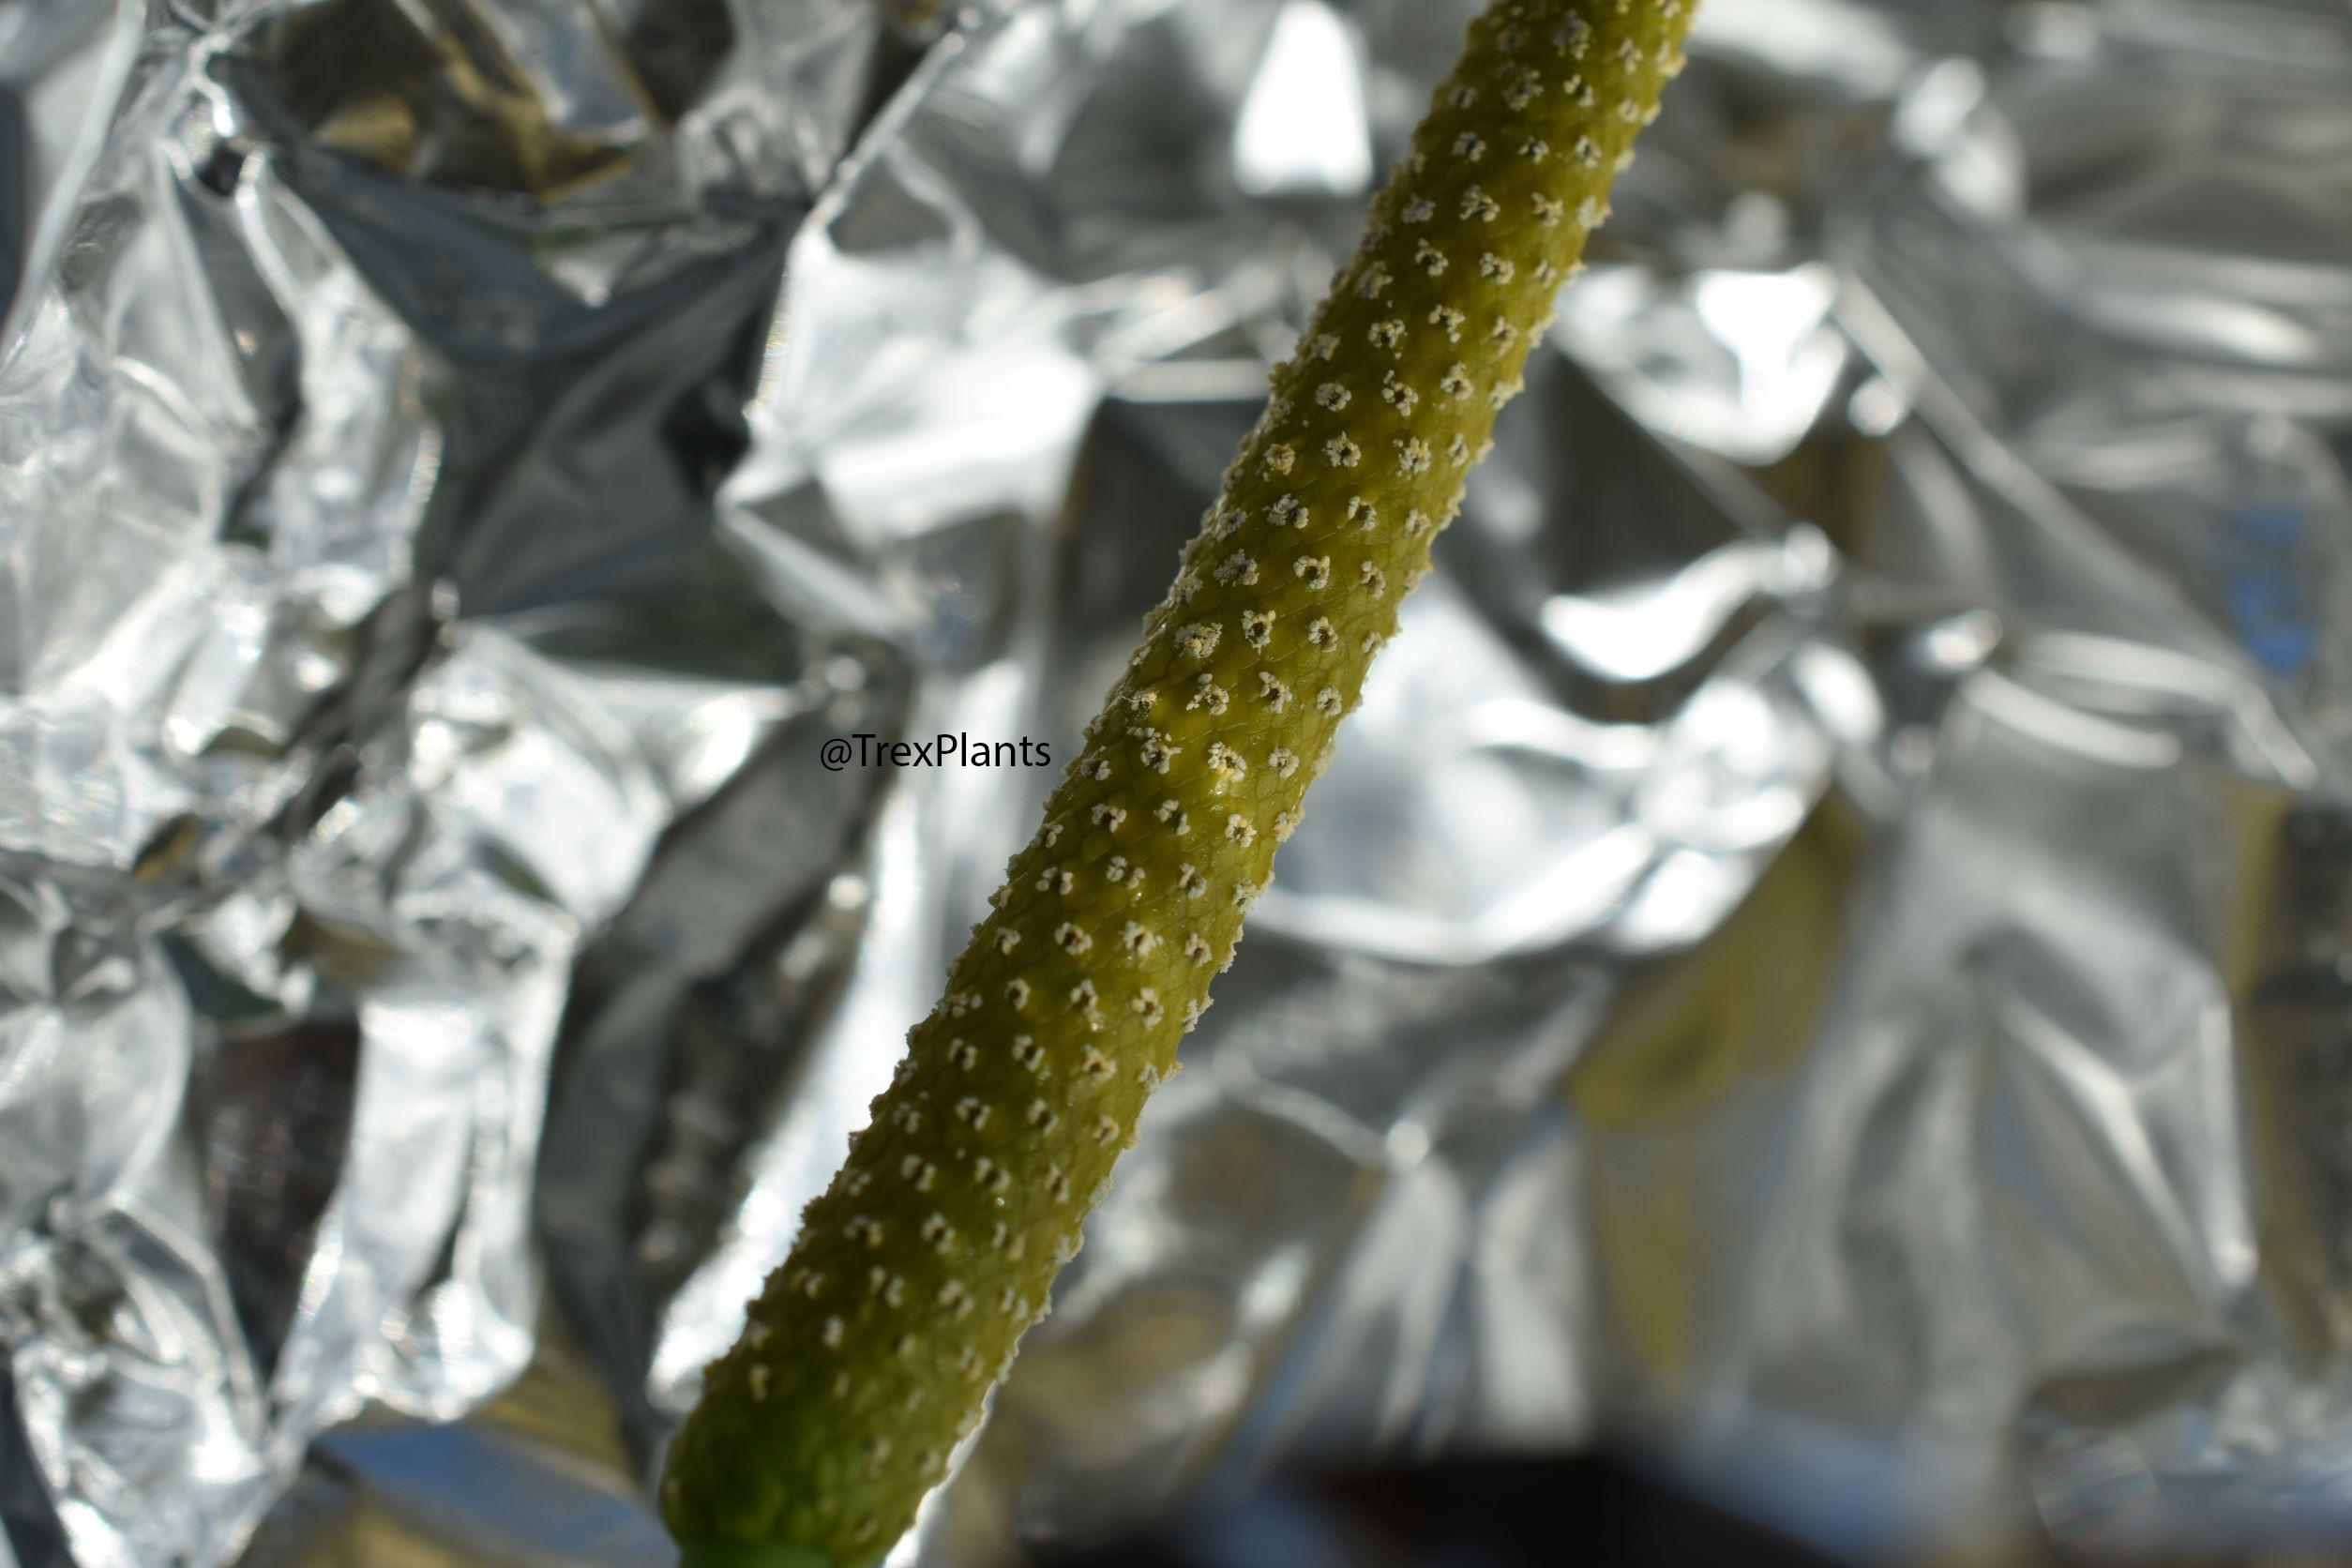
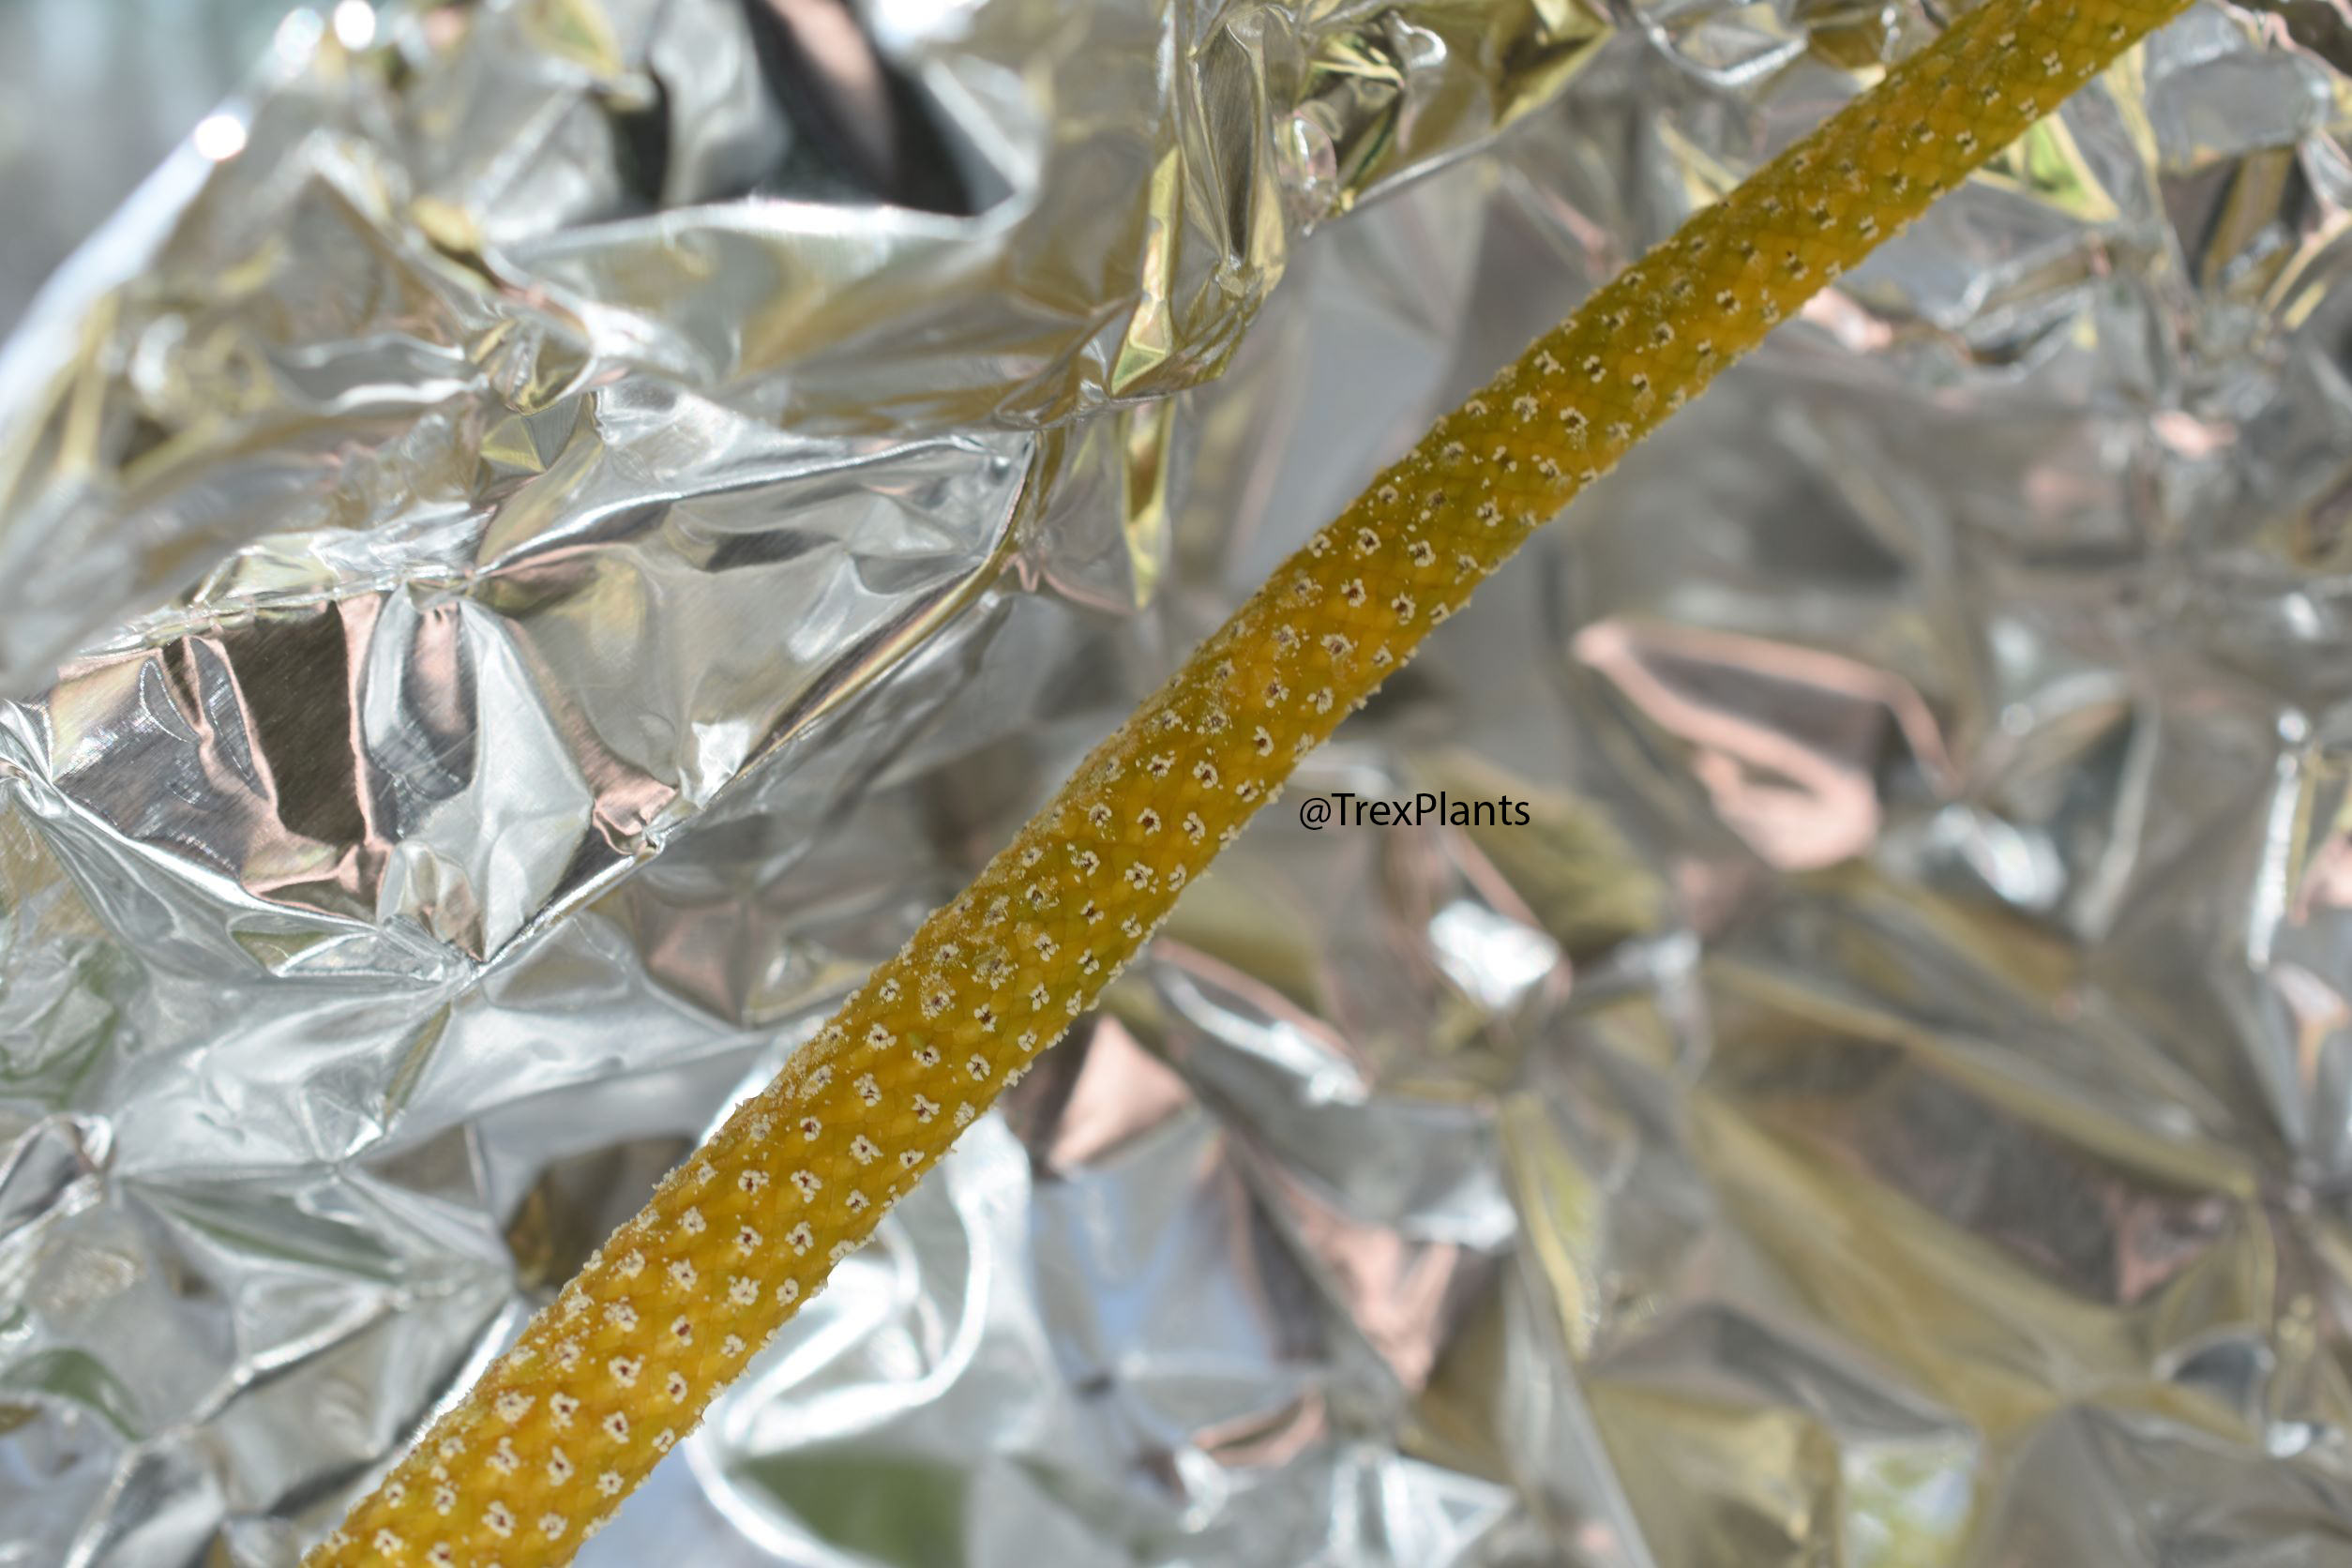
February 2nd saw more stamens appear, and the first beginnings of pollen – I think. Check the close up and photos with flash to see if you spot pollen production.
February 3 – definitely entering the full male phase and pollen is nearly ready to start dropping. If you tried, you could probably brush some off, but based on the few blooms I’ve had that did successfully get pollinated, it works better when the pollen is coming off like tiny bits of snow.
If you look closely at the stamens on the inflorescence below, you can see that there’s just the barest beginnings of pollen starting to show. It’s yellow, not white, and looks like tiny dots on top of the little dots that are the stamens.
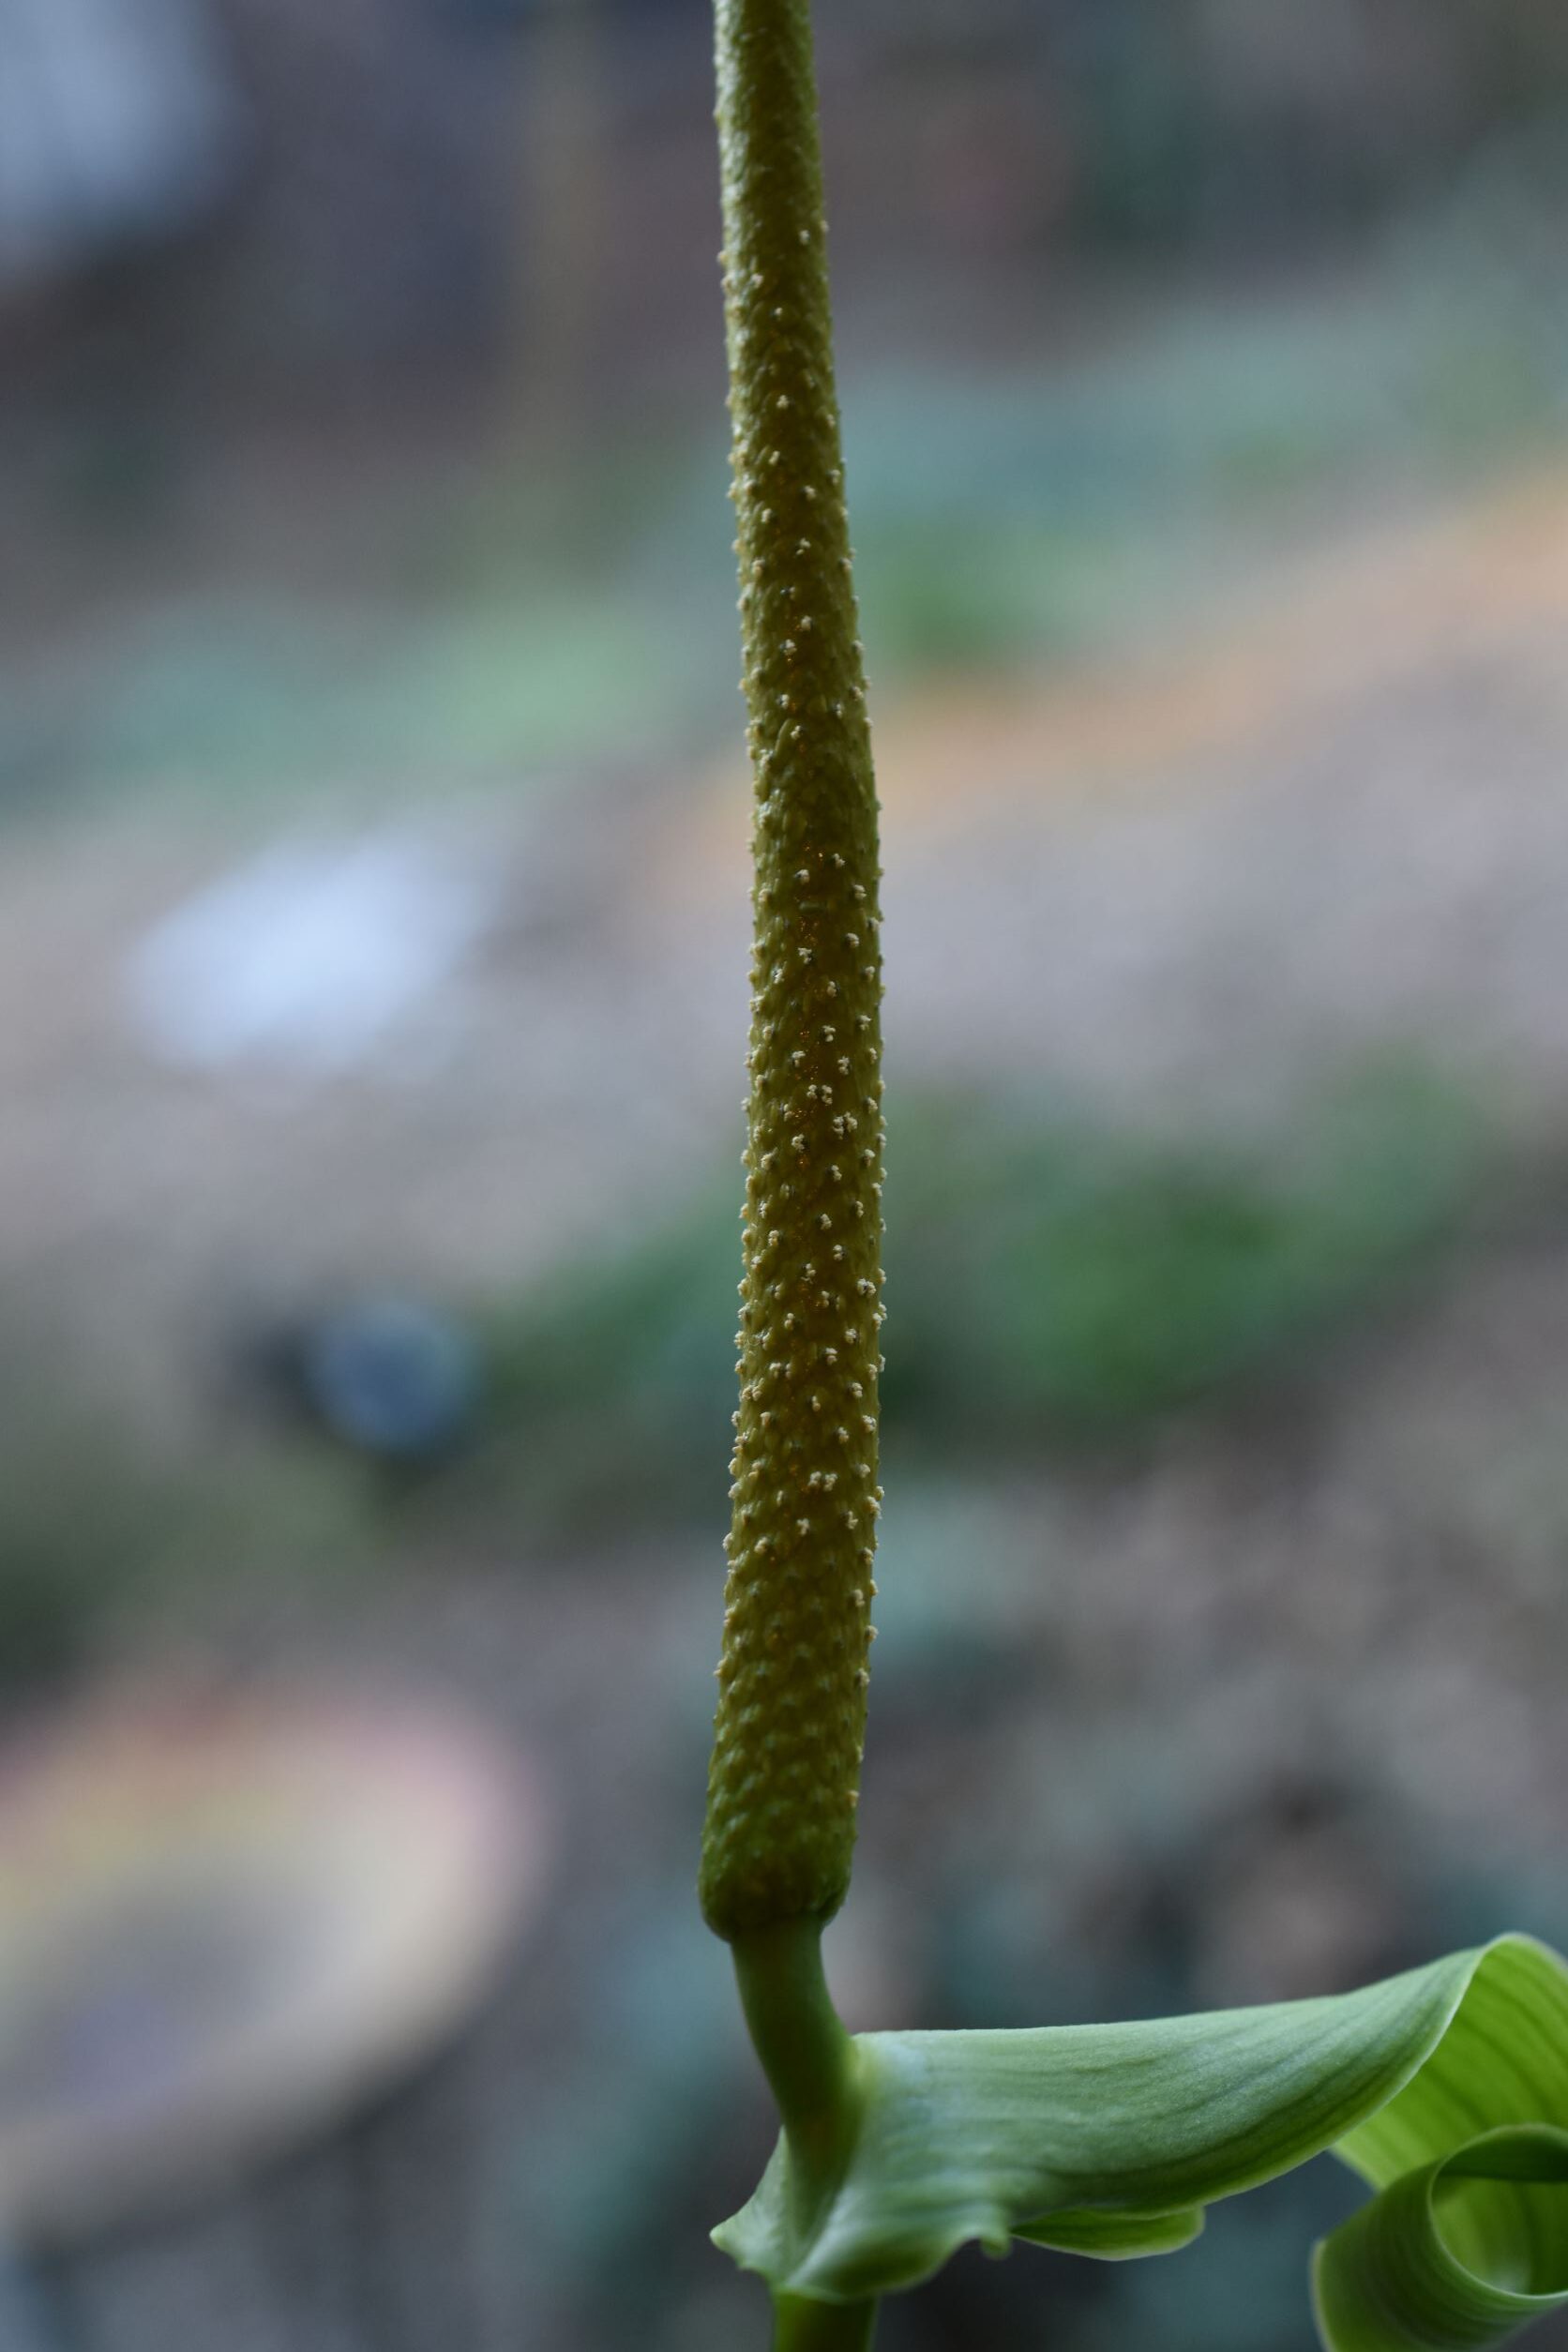
February 4th – definitely seeing the male stamens appearing all over the body now, and you can spot production of pollen.
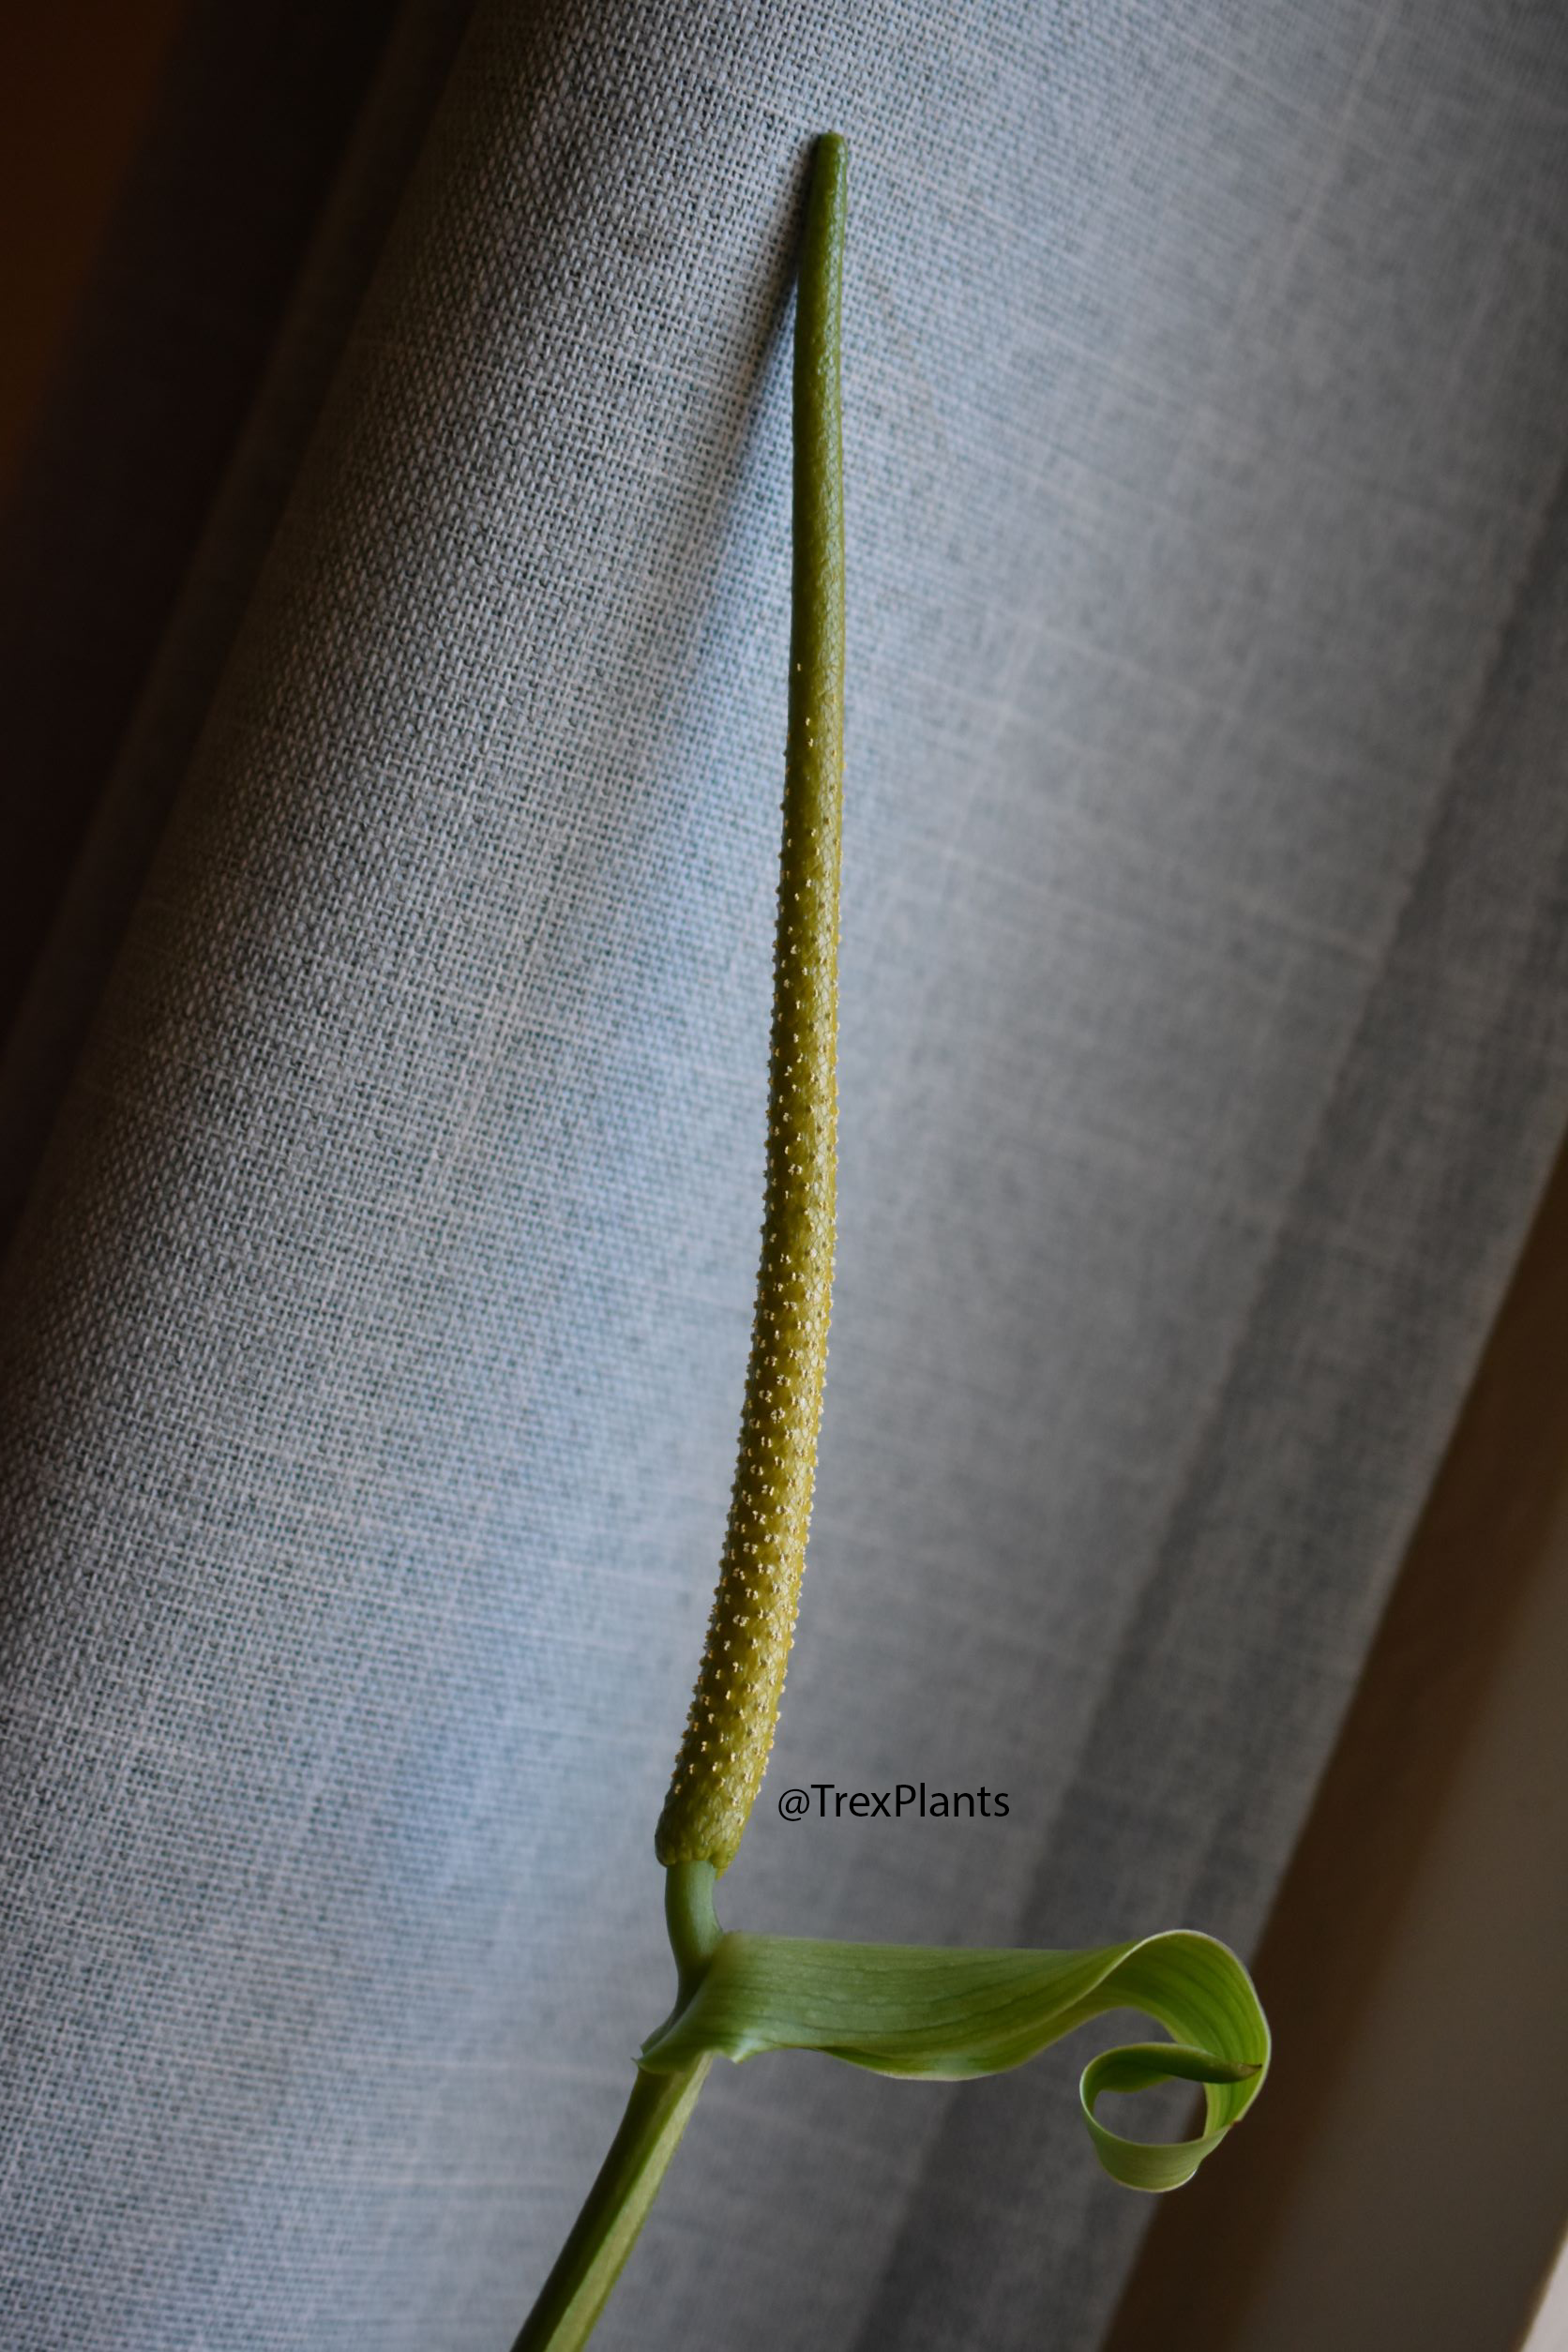
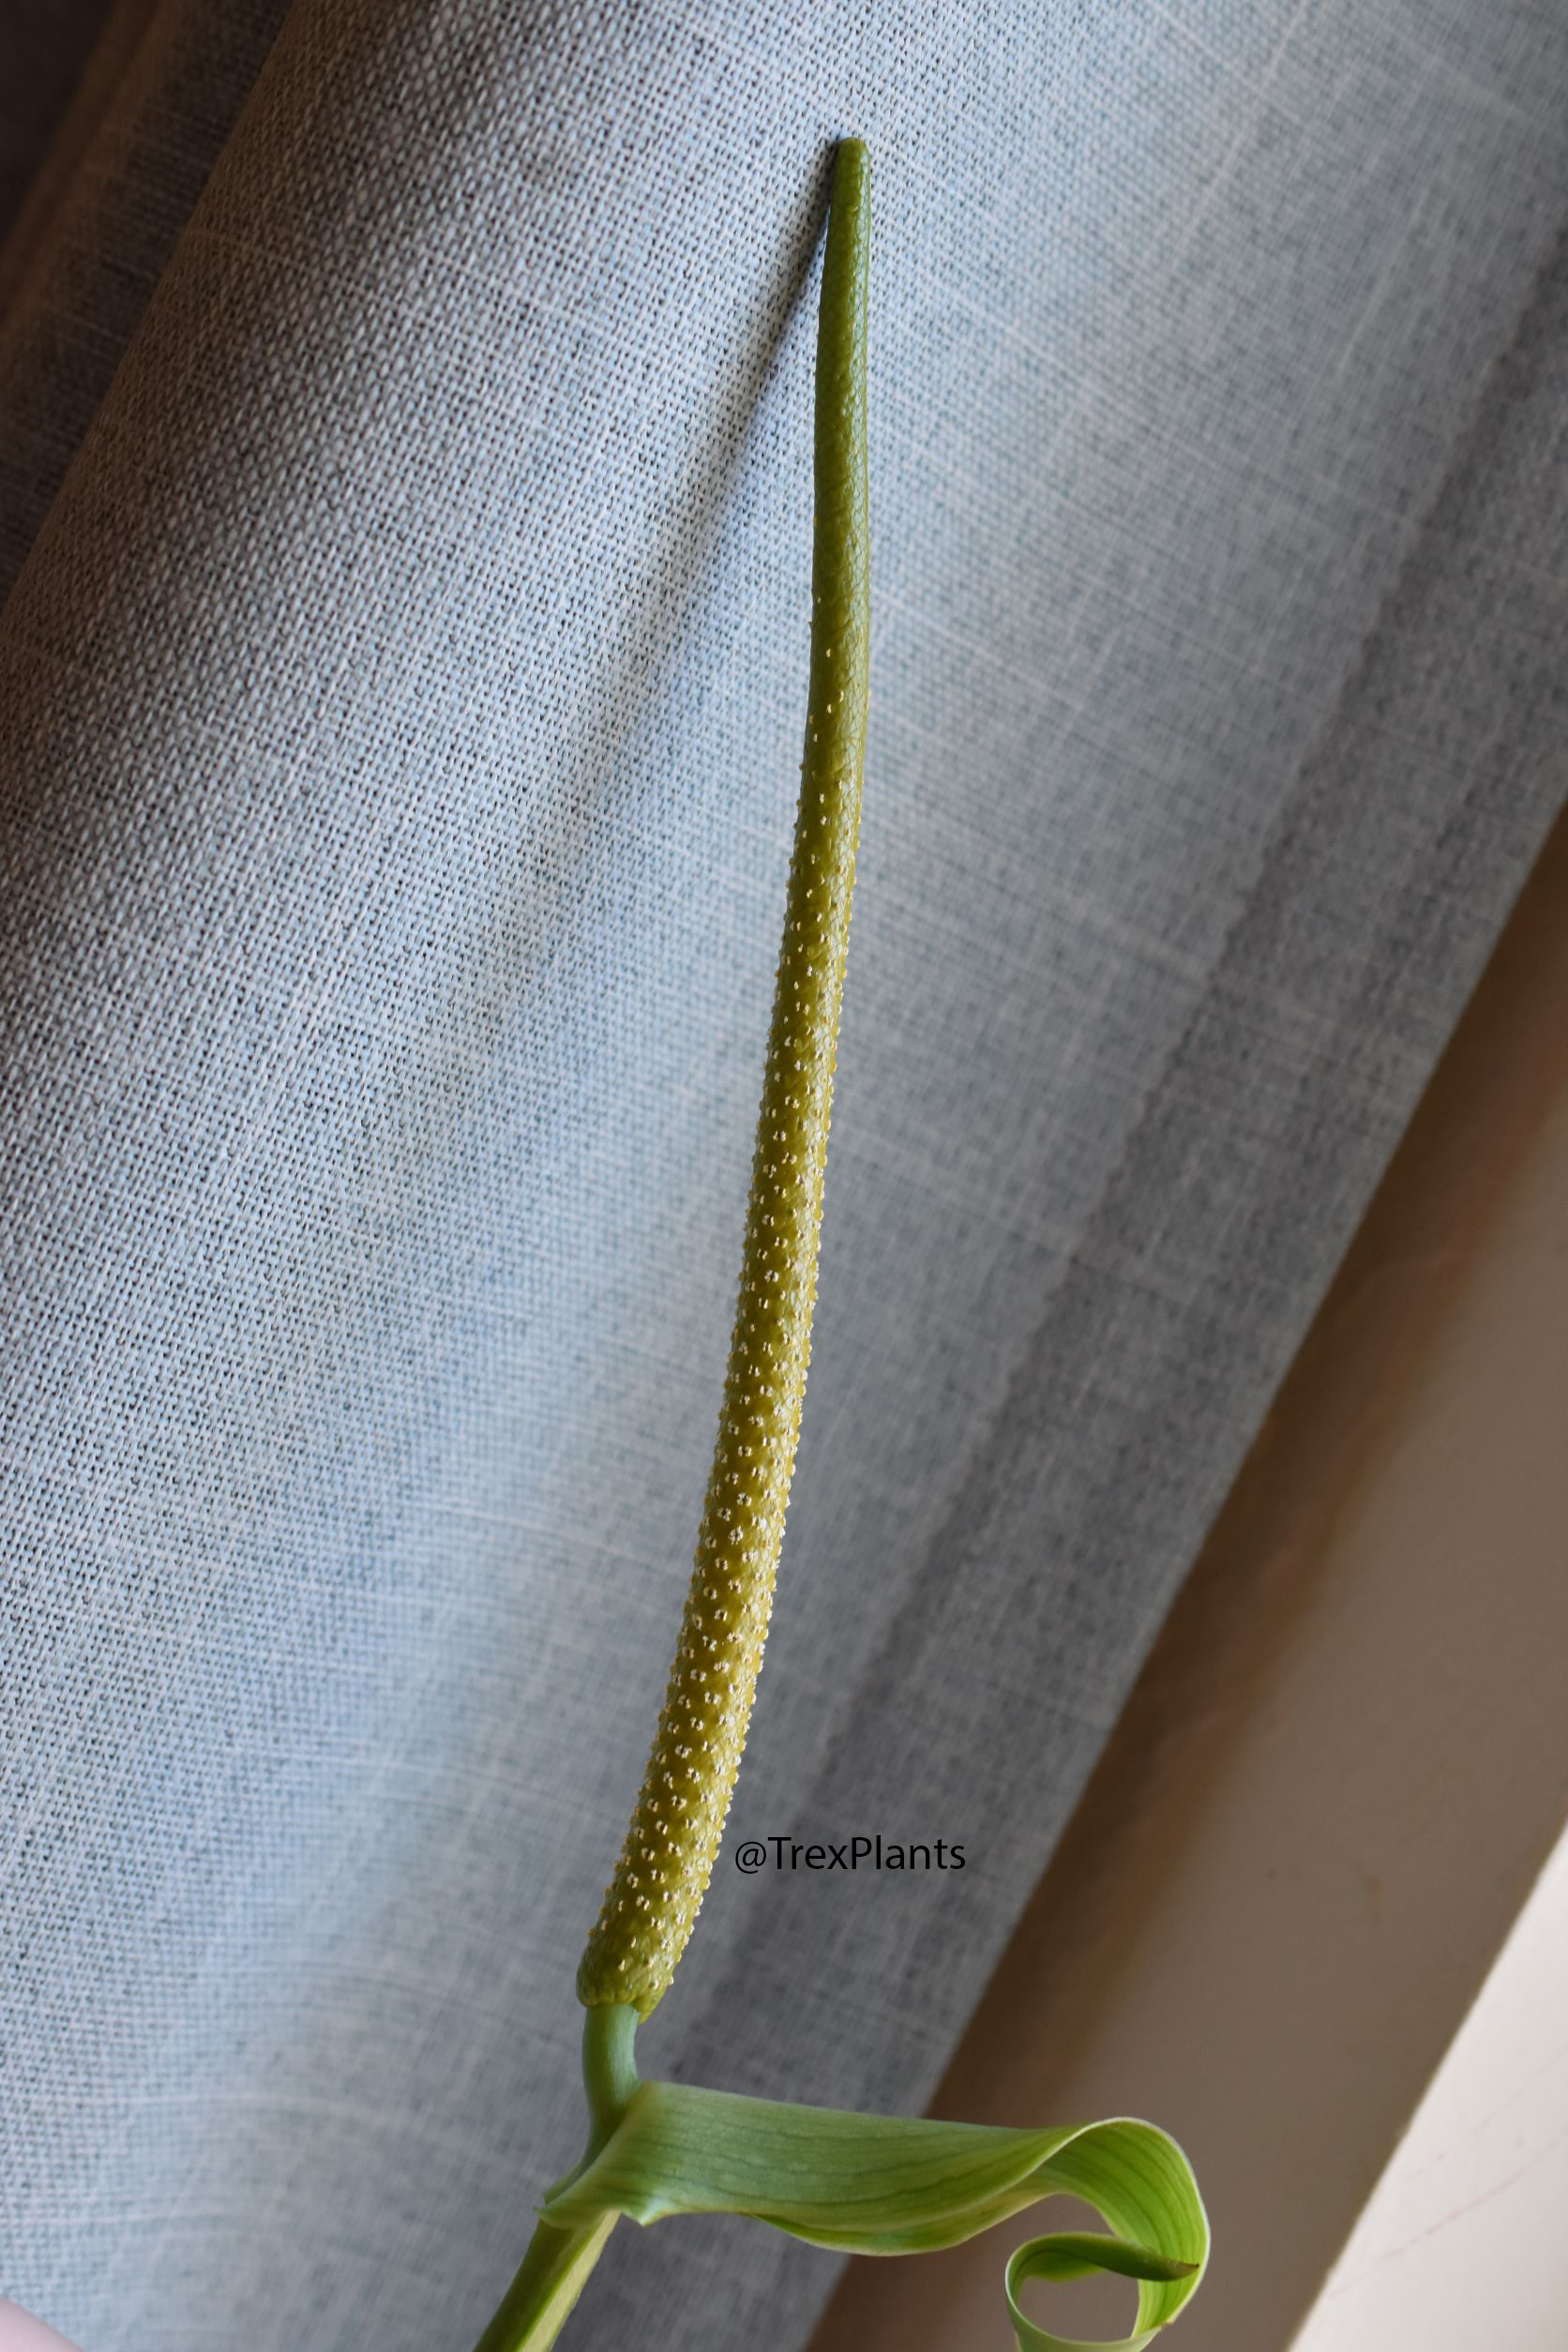
February 5th – we’re starting to enter the “I should probably be collecting this” phase of pollen readiness. Nearly all the stamens that will emerge, have emerged, and the inflorescence is distinctly yellow-hued.
Below is with flash:
Without flash:
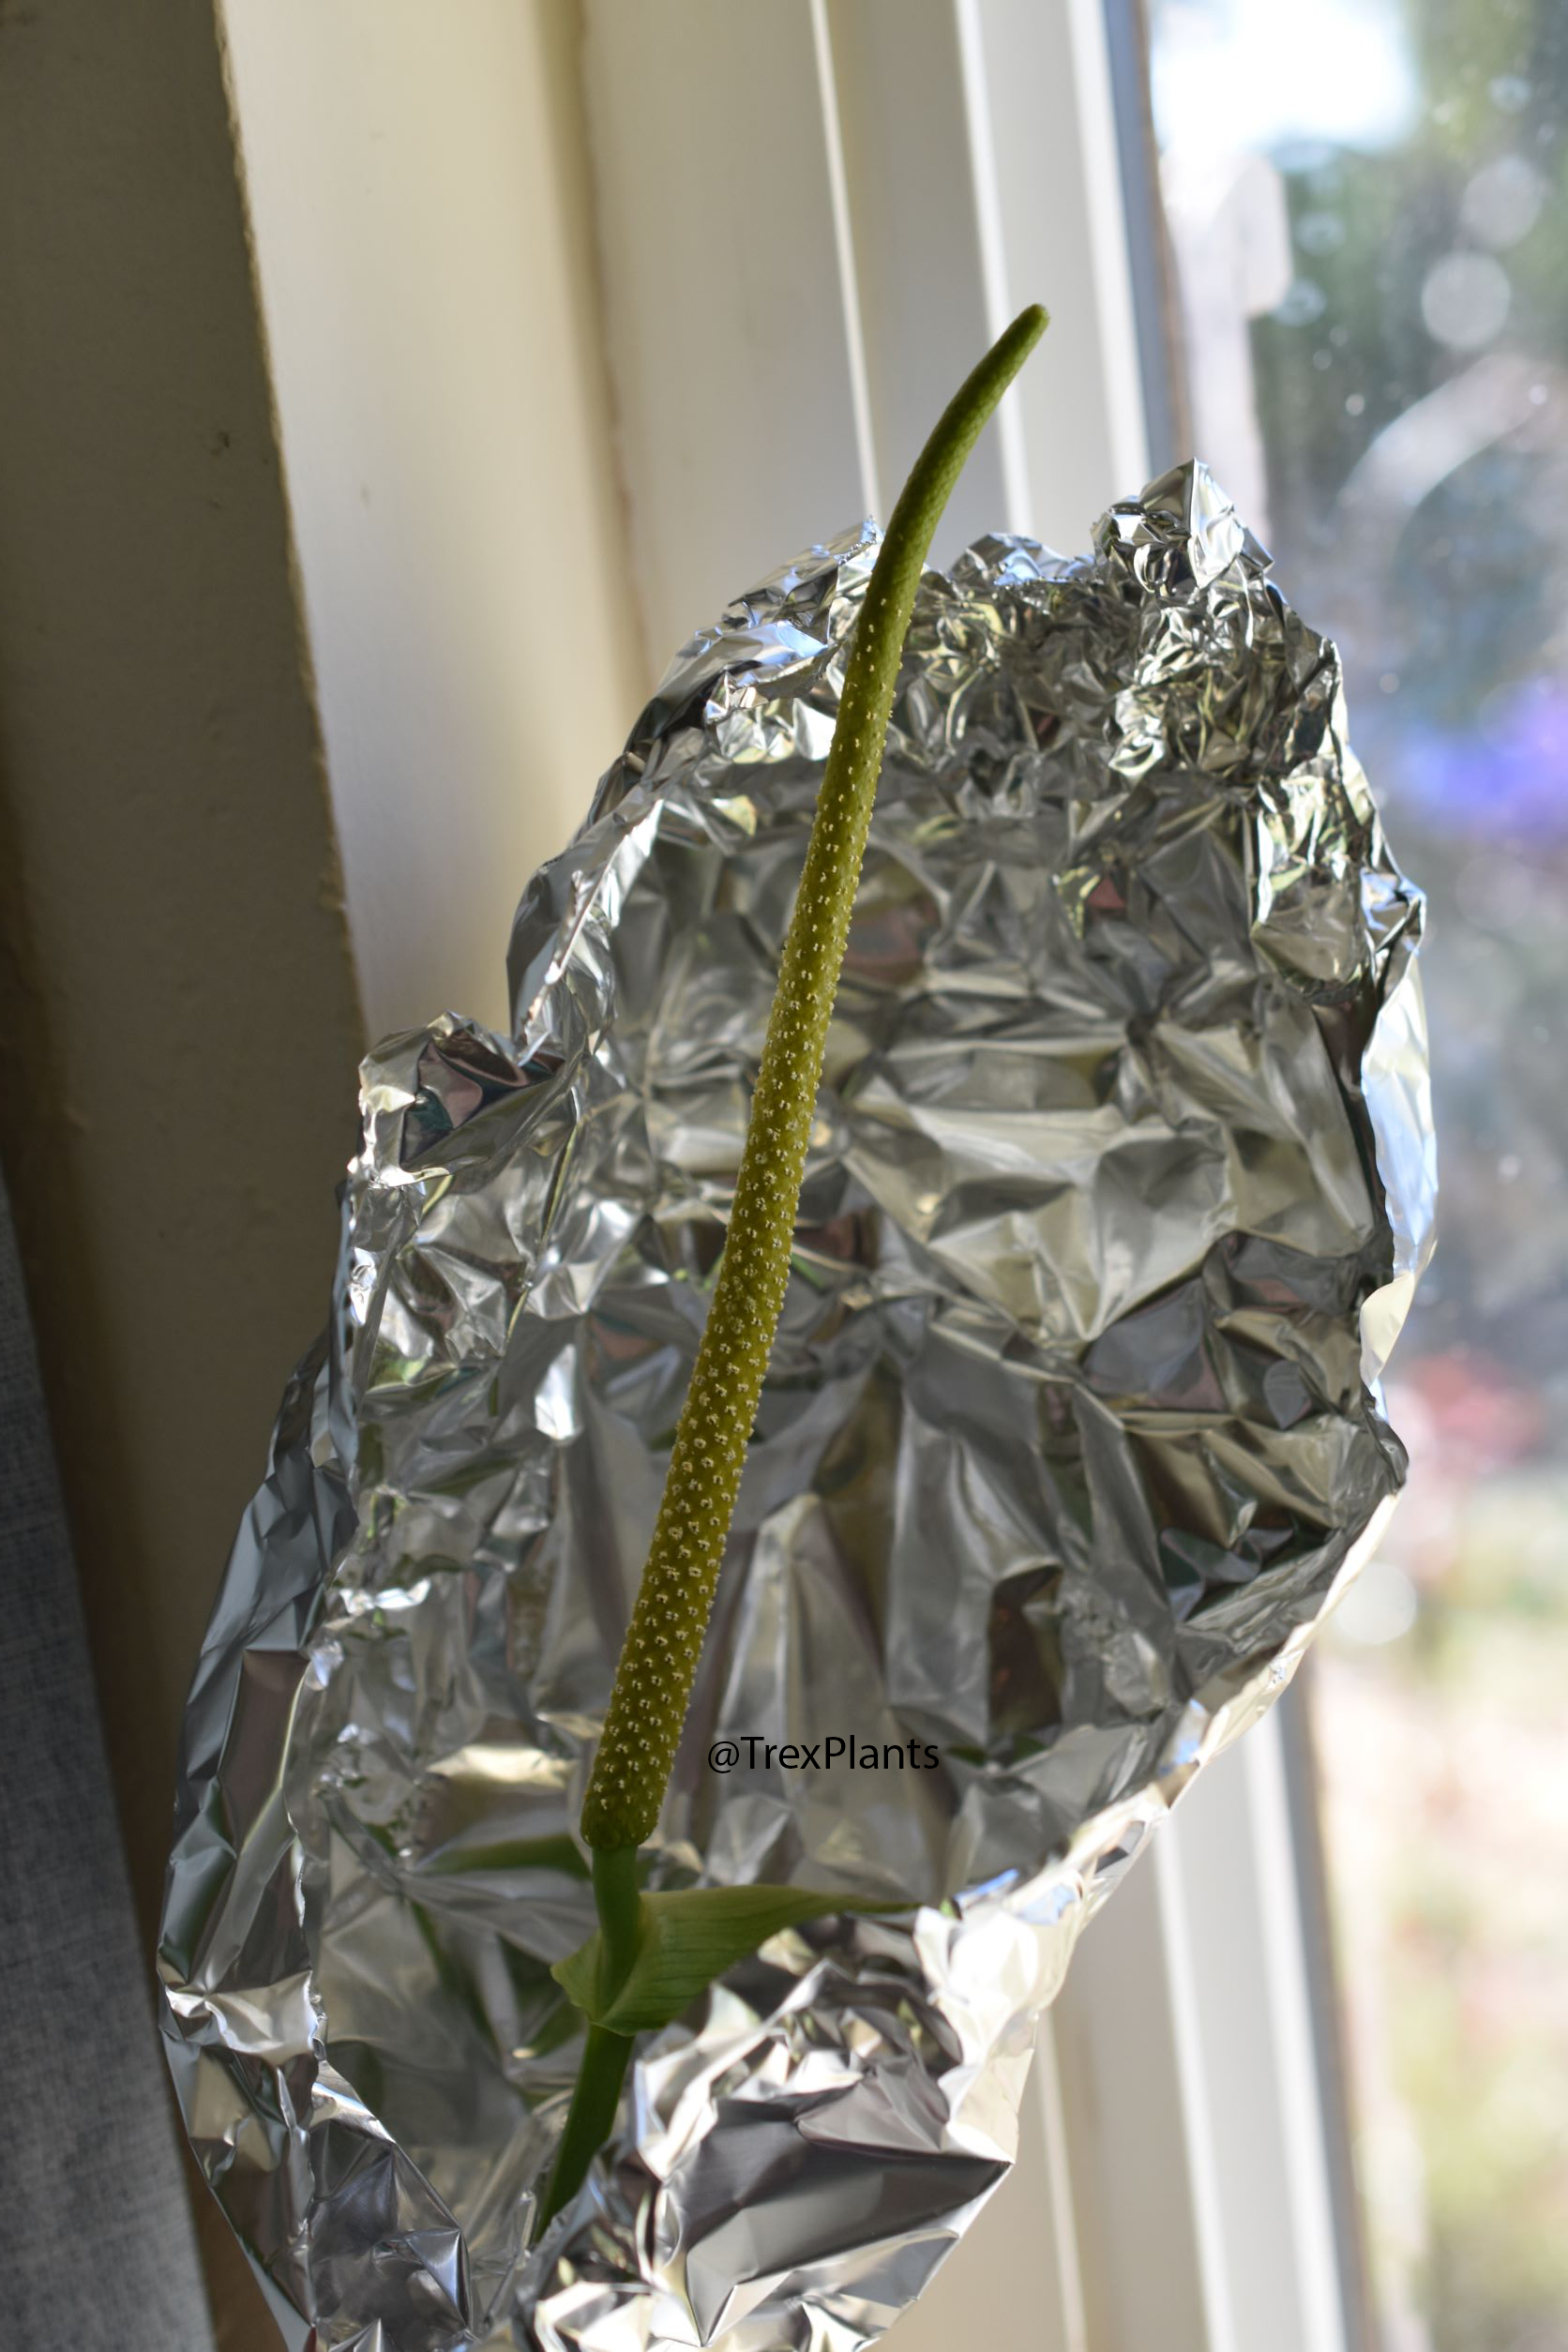
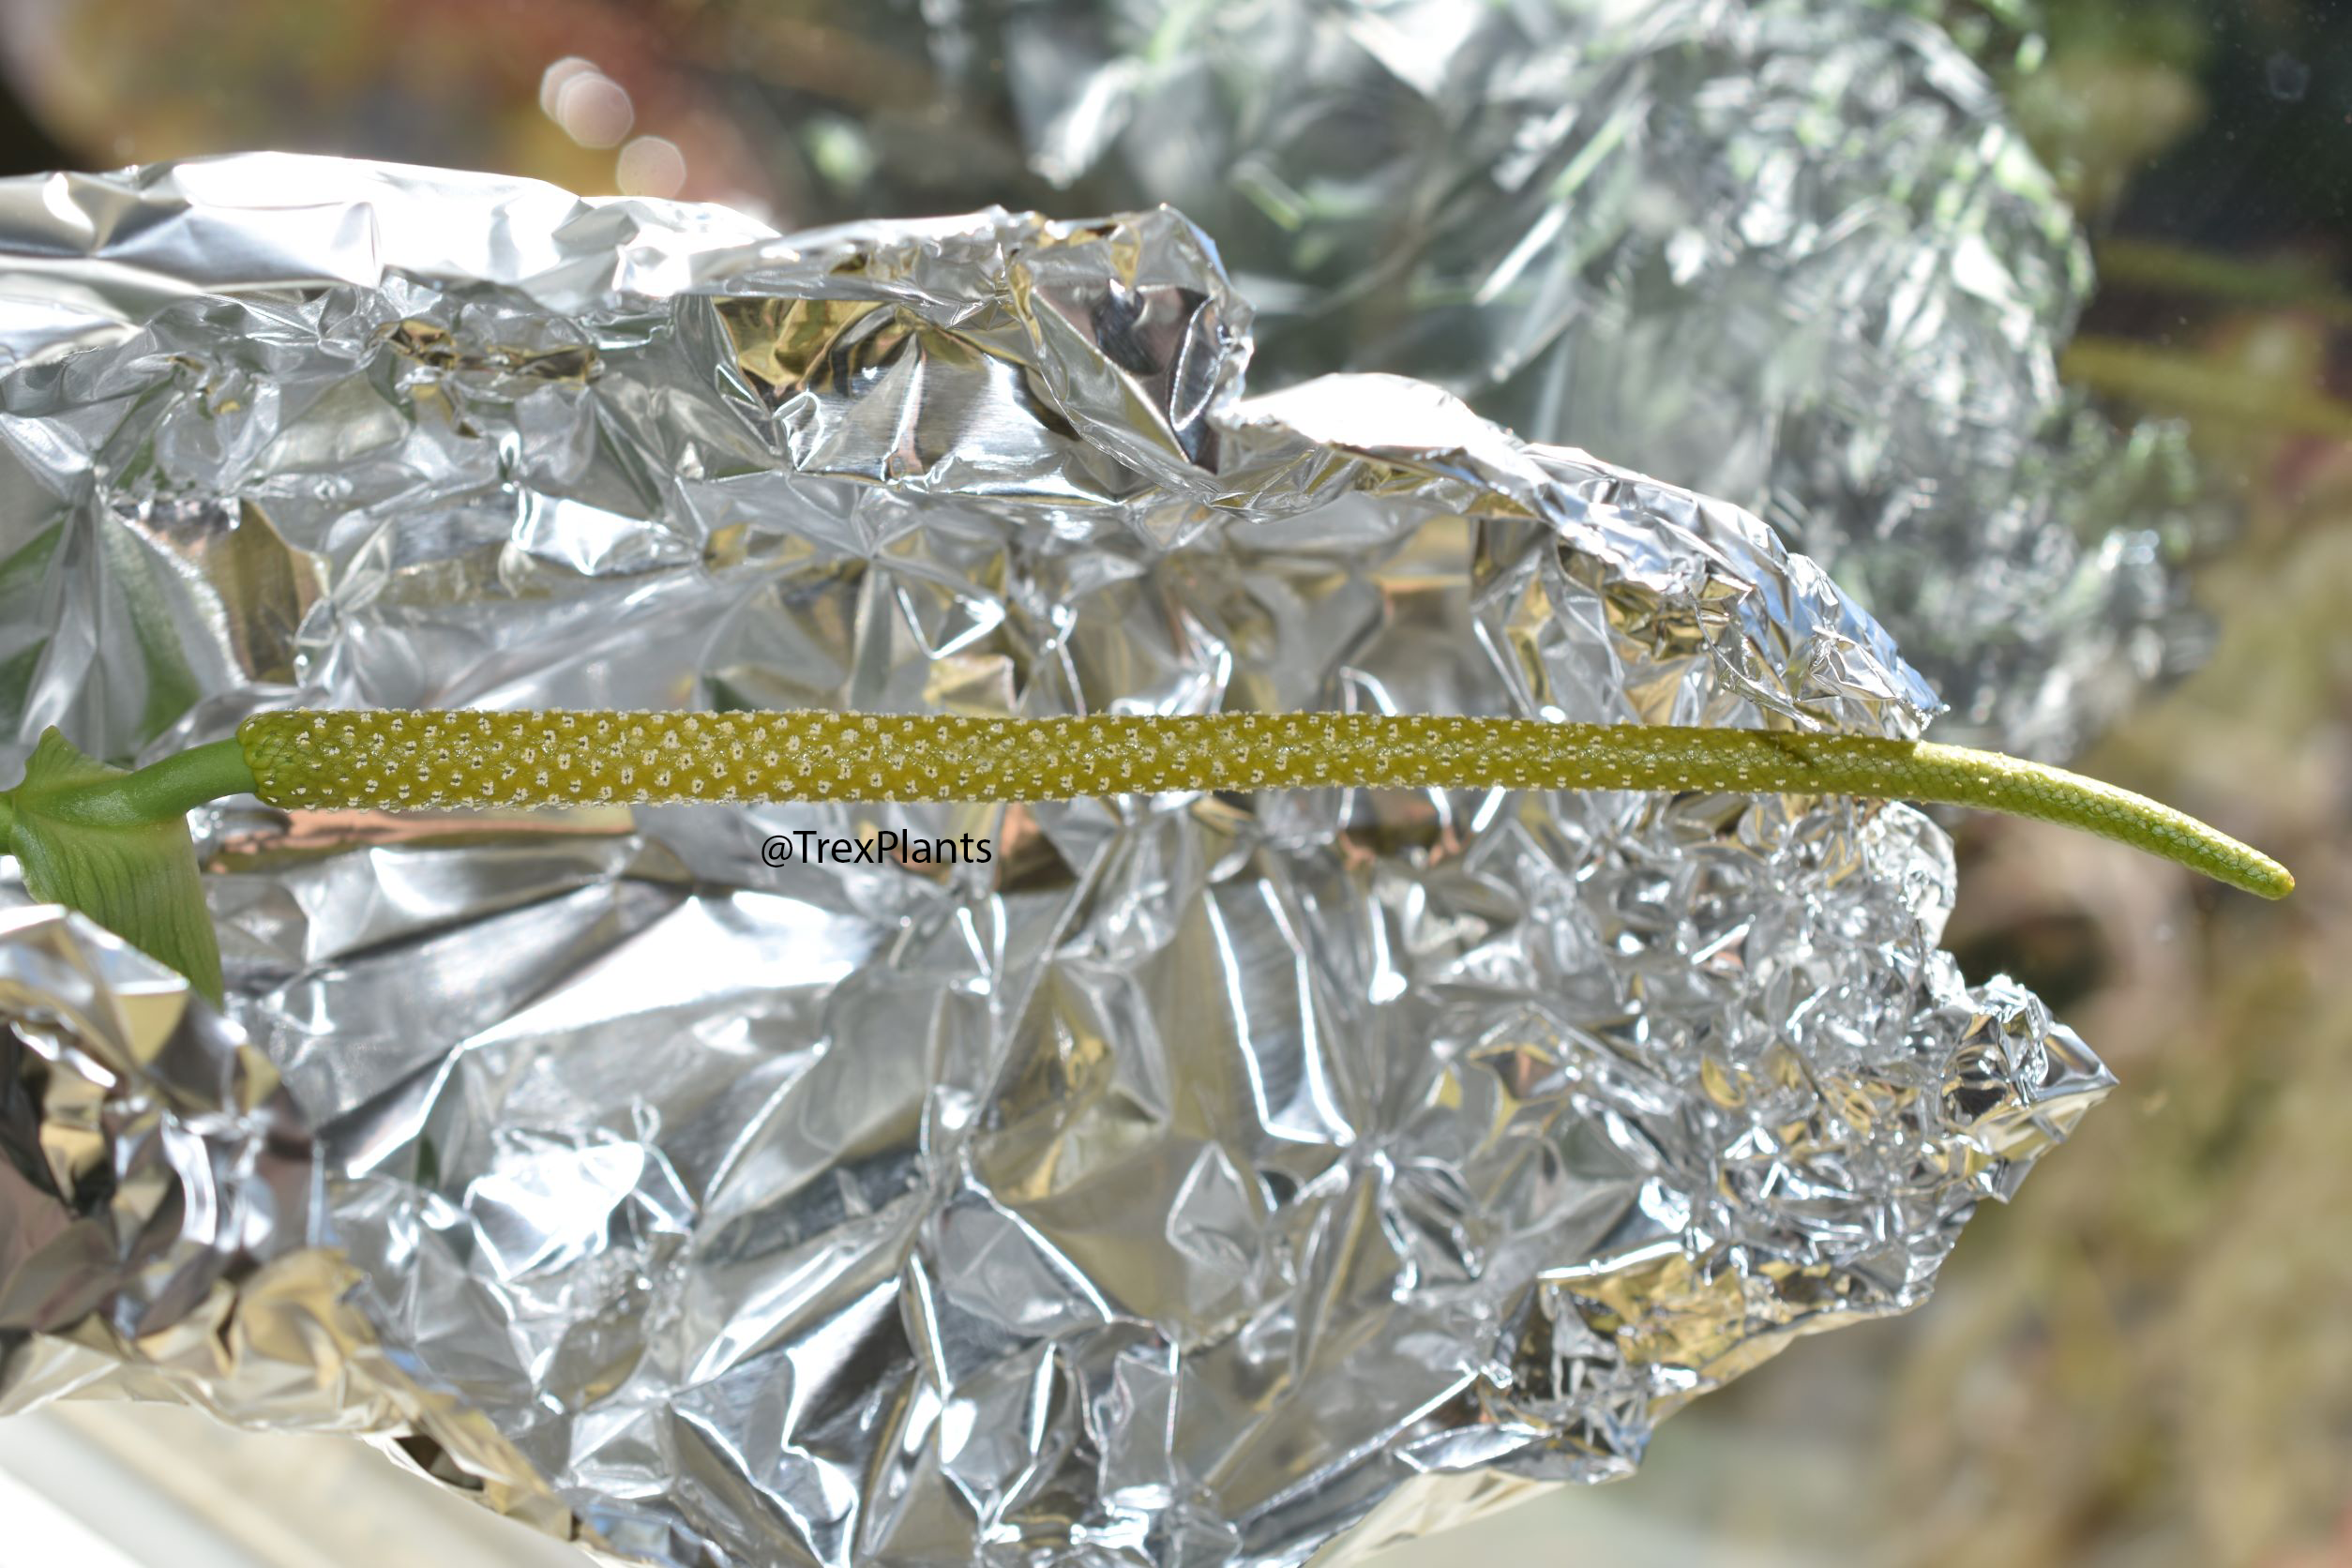
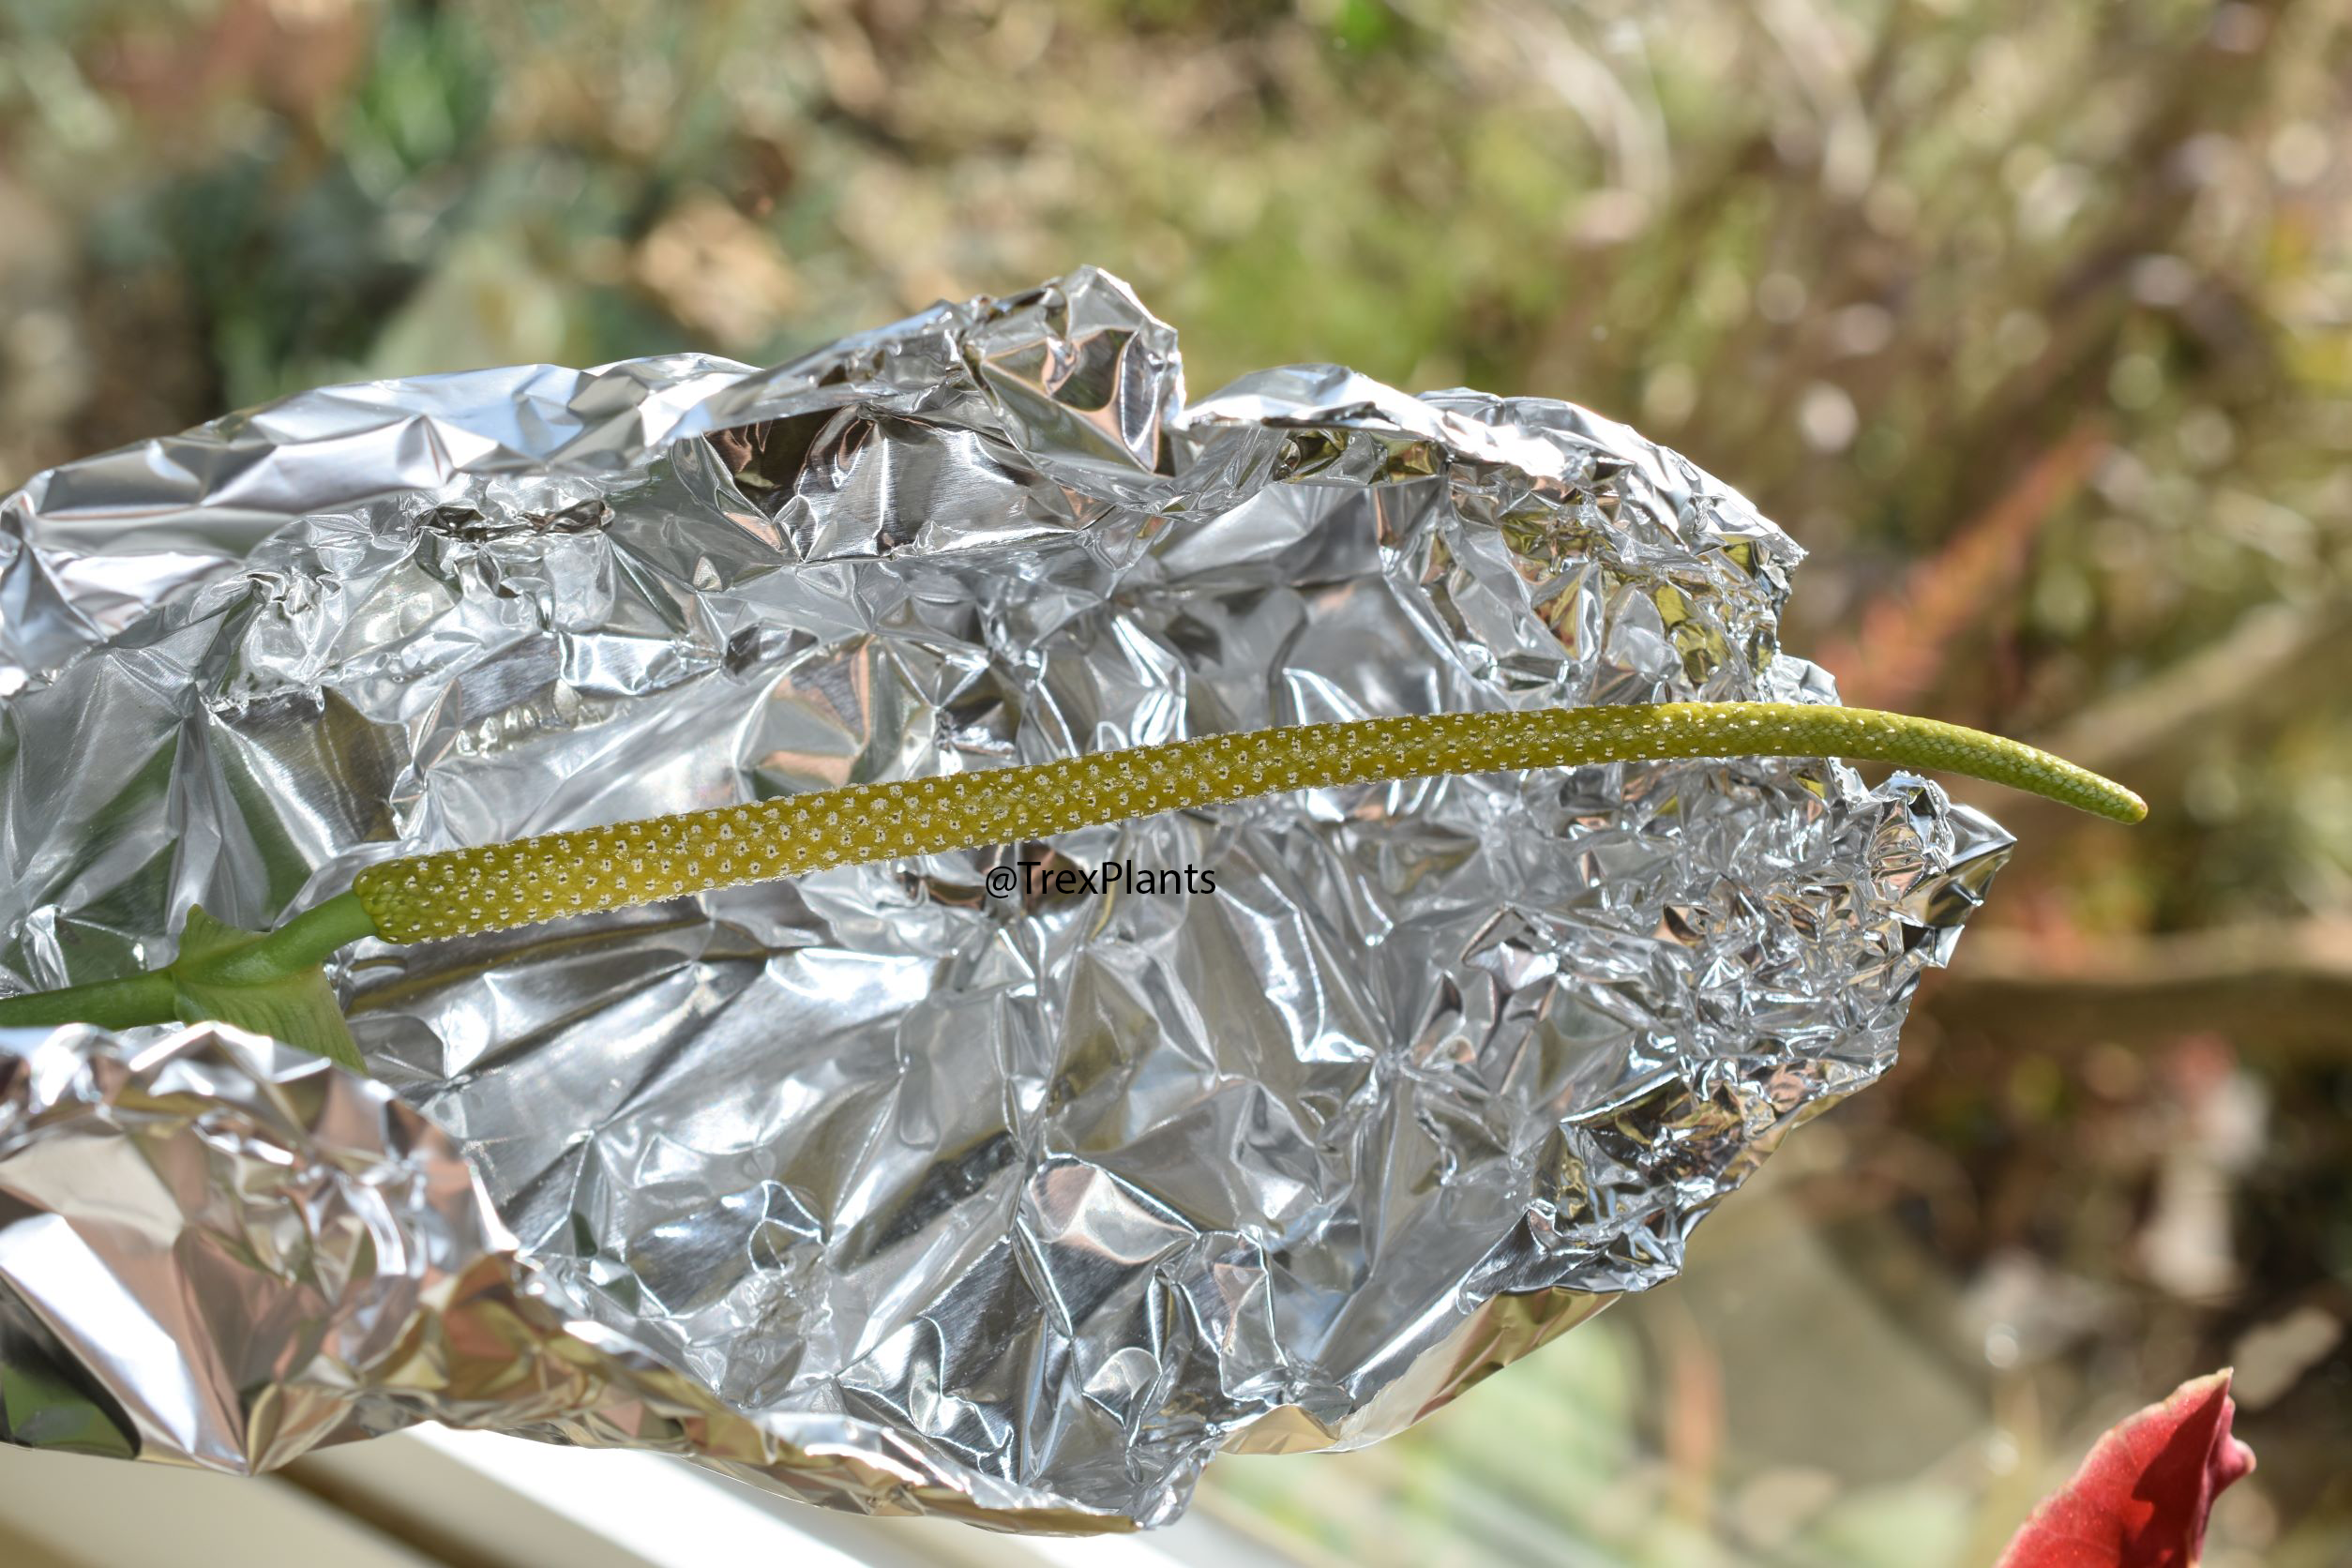
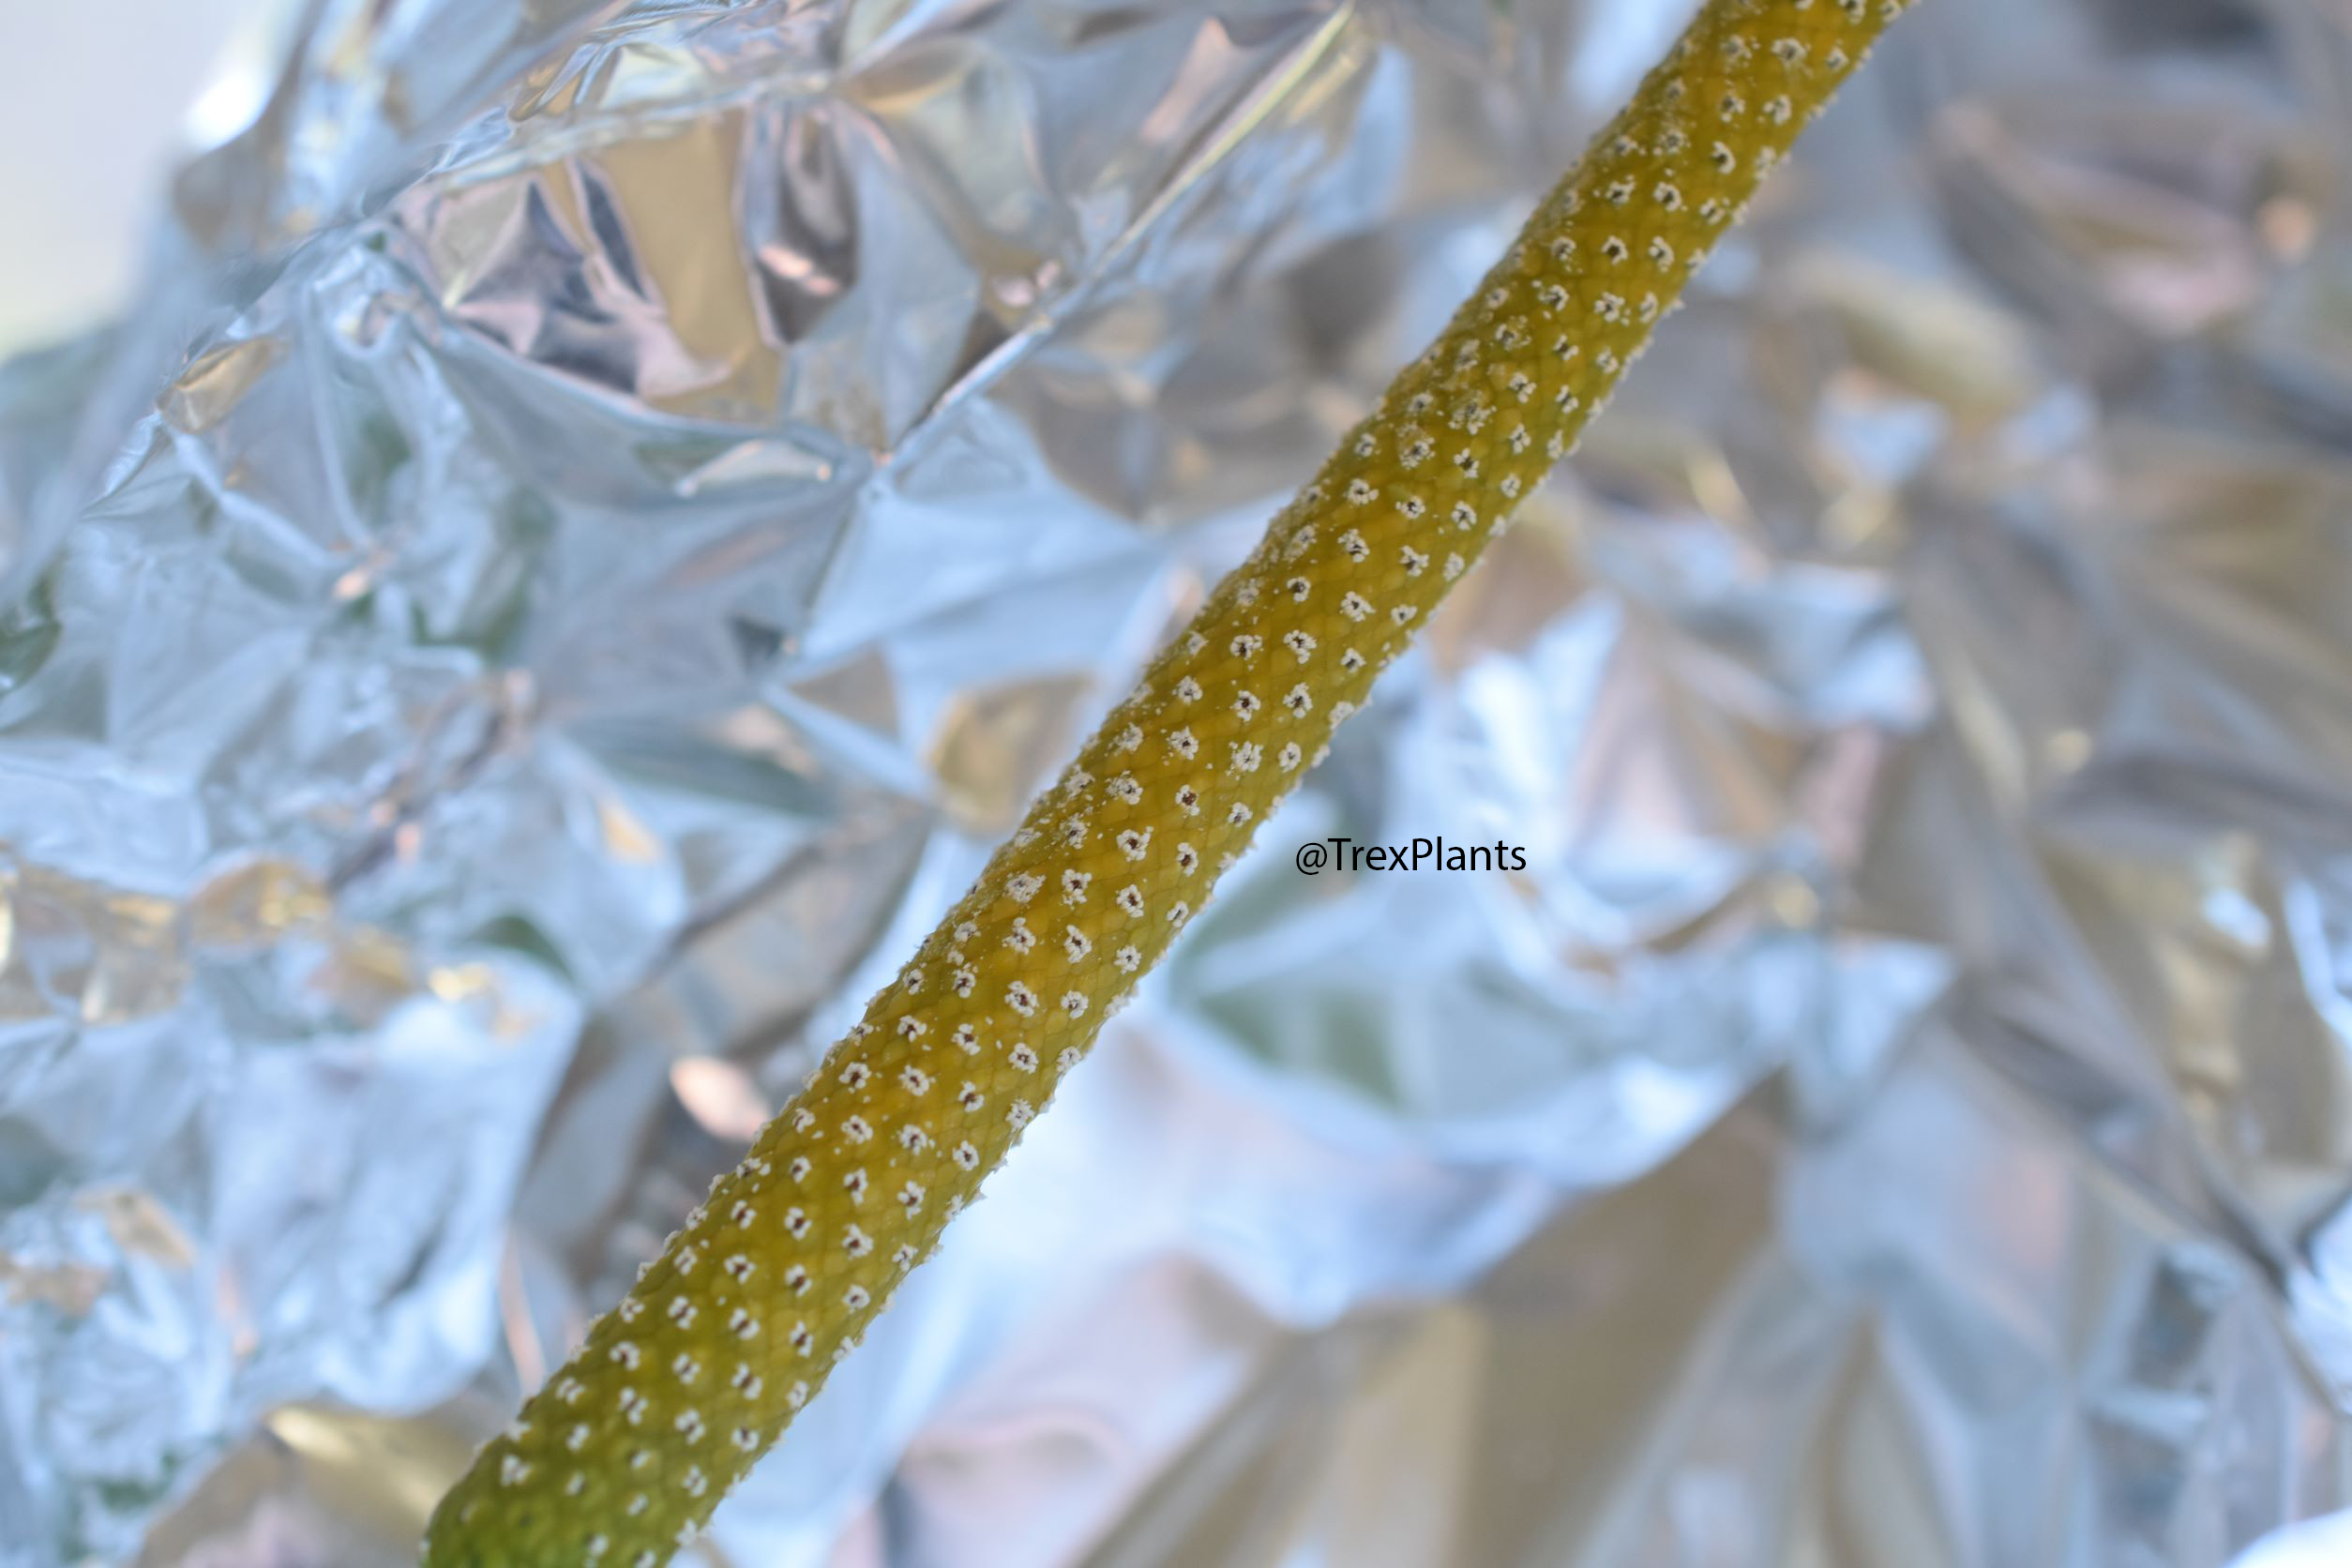
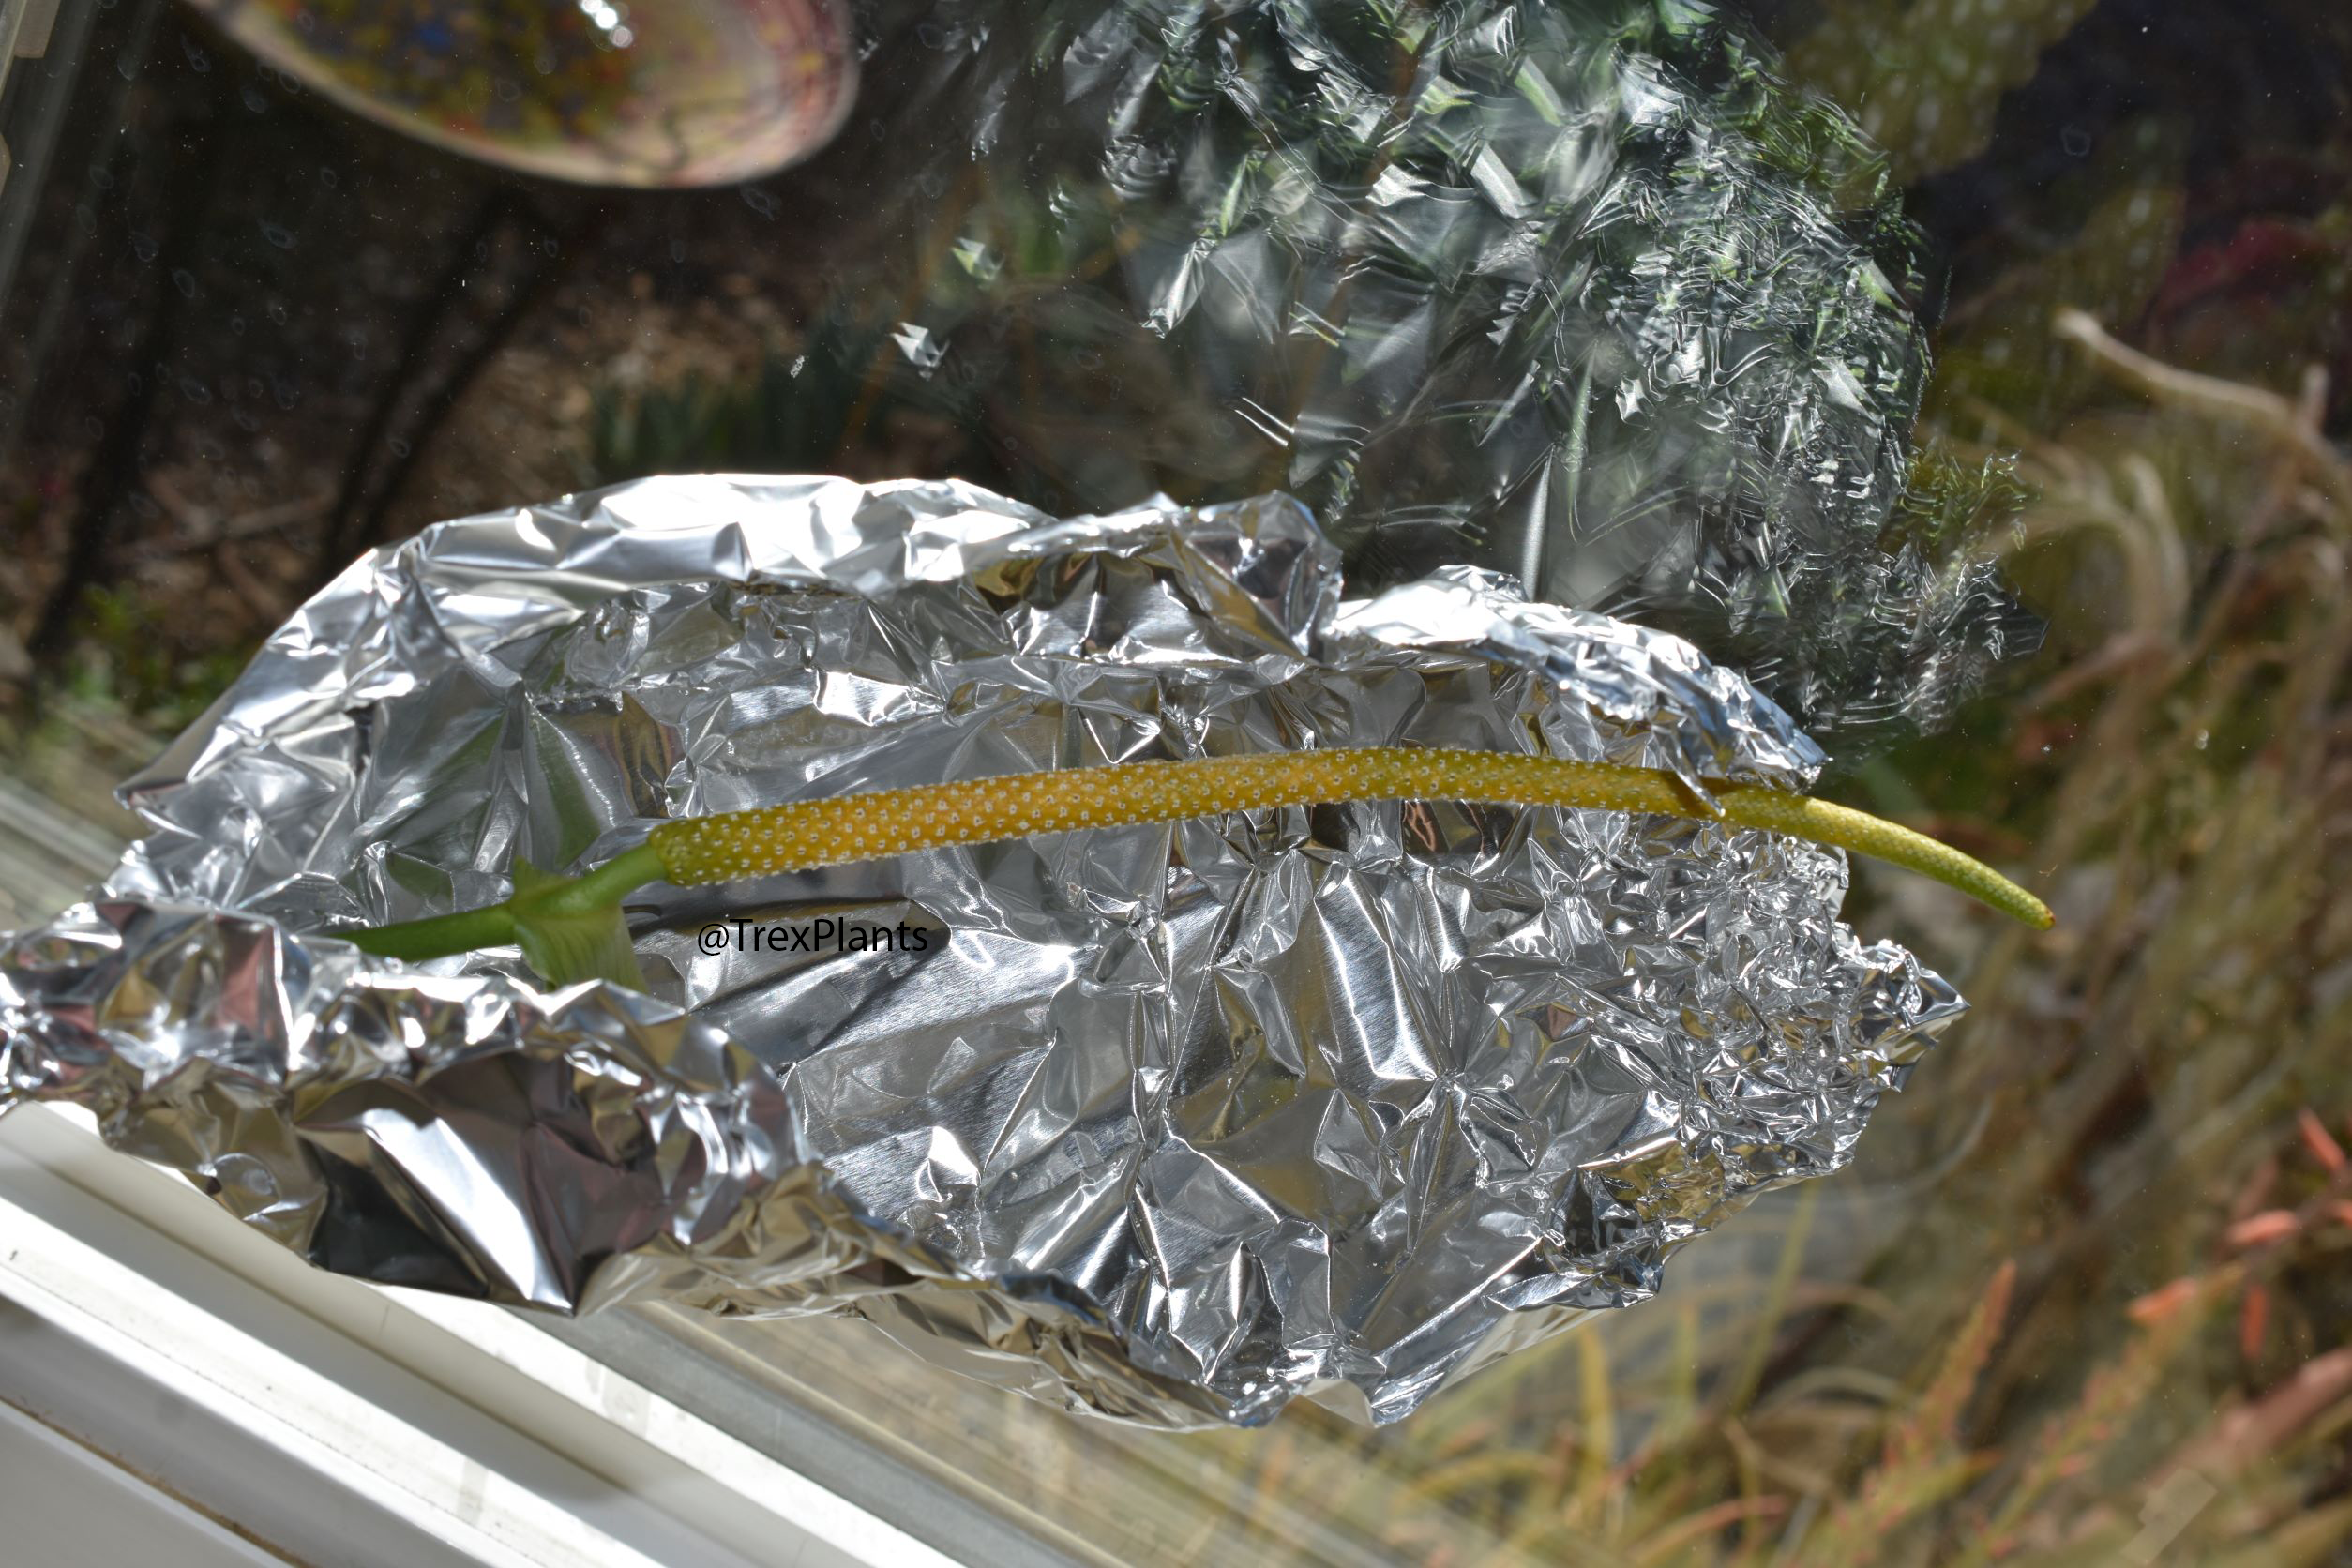
On February 6th, I made a little aluminum foil shelter for the bloom. I formed it so it would protect the bloom when I brought it in to the shower for a thorough soak – we’ve had a series of Santa Ana wind events, so that combined with cold nights mean it’s been dry, dry, dry in this house. To keep the pollen from getting wet (and being unable to harvest it for later), I wrapped the tinfoil around and brought it in anyway. This particular morning, I finally saw the first of the pollen falling off the inflorescence, so it was time to set things up for collection!
Below, you can see the pollen is definitely starting to come off the stamens.
February 7 – inflorescence is definitely yellow, and the aluminum foil makes for a fantastic background.
Pollen fell off any time I shook the stalk, and the foil made it easy to collect. Interestingly, more of the inflorescence seemed to put out stamens and pollen than actually activated for seeds.
February 8th – based on previous experience, this is about when the bloom gets boring and/or messy.
At this point, there’s plenty of pollen shedding. Not as bad as a Hoya, but it definitely leaves behind evidence that it’s pollen time.
February 9 – Moar pollen!
Compared to the female phase, once the inflorescence is producing pollen, this seems to be fairly consistent for several days.
You can see where the aluminum brushed against the inflorescence on one side, and there’s pollen smeared all along the spadex. At this point I also started using a paint brush/my finger to gently brush pollen off and into the aluminum foil for collection.
February 10th – the beginning of the end. It’s hard to explain, but at this point, the inflorescence is definitely less… robust-looking. It’s starting to get the hints of red hues that indicate it’s starting to die.
From February 11th onward, I was preparing for/attending the San Diego Cactus and Succulent Society’s winter show and sale.
I have a few photos to process of the bloom dying, but the 11th was the final day that it readily shed pollen. The very weekend of the show and sale, the bloom stalk began drooping and turning the deep red of an infertile inflorescence that’s dying.
I collected the pollen, but ended up not able to successfully store it – I know that it’s possible, but I didn’t have the right storage container to do so. If you plan to do this, have a plastic amphere or similar type of airtight (and small!) storage container on hand. Use tape or something similar to label it with species + date collected for the future.
During this same time period, I also successfully collected the berries and seeds from this same plant (from successful self-pollination with coinciding blooms). That post of cleaning, prep, sowing, and sprouting is next!
You can see day by day updates of my growing and plant care by following me on Instagram – @trexplants.

